Creating and Editing Tags
There is no "one-size-fits-all approach" when it comes to which Tags you'll use or how many Tags you'll need for your church database. ChurchTrac includes sample Tags to help you get started. You can edit or delete these Tags.
- Creating new Tags
- Using SubTags
- Church Attendance Tracking with Tags
- Church Volunteer Scheduling with Tags
Creating New Tags
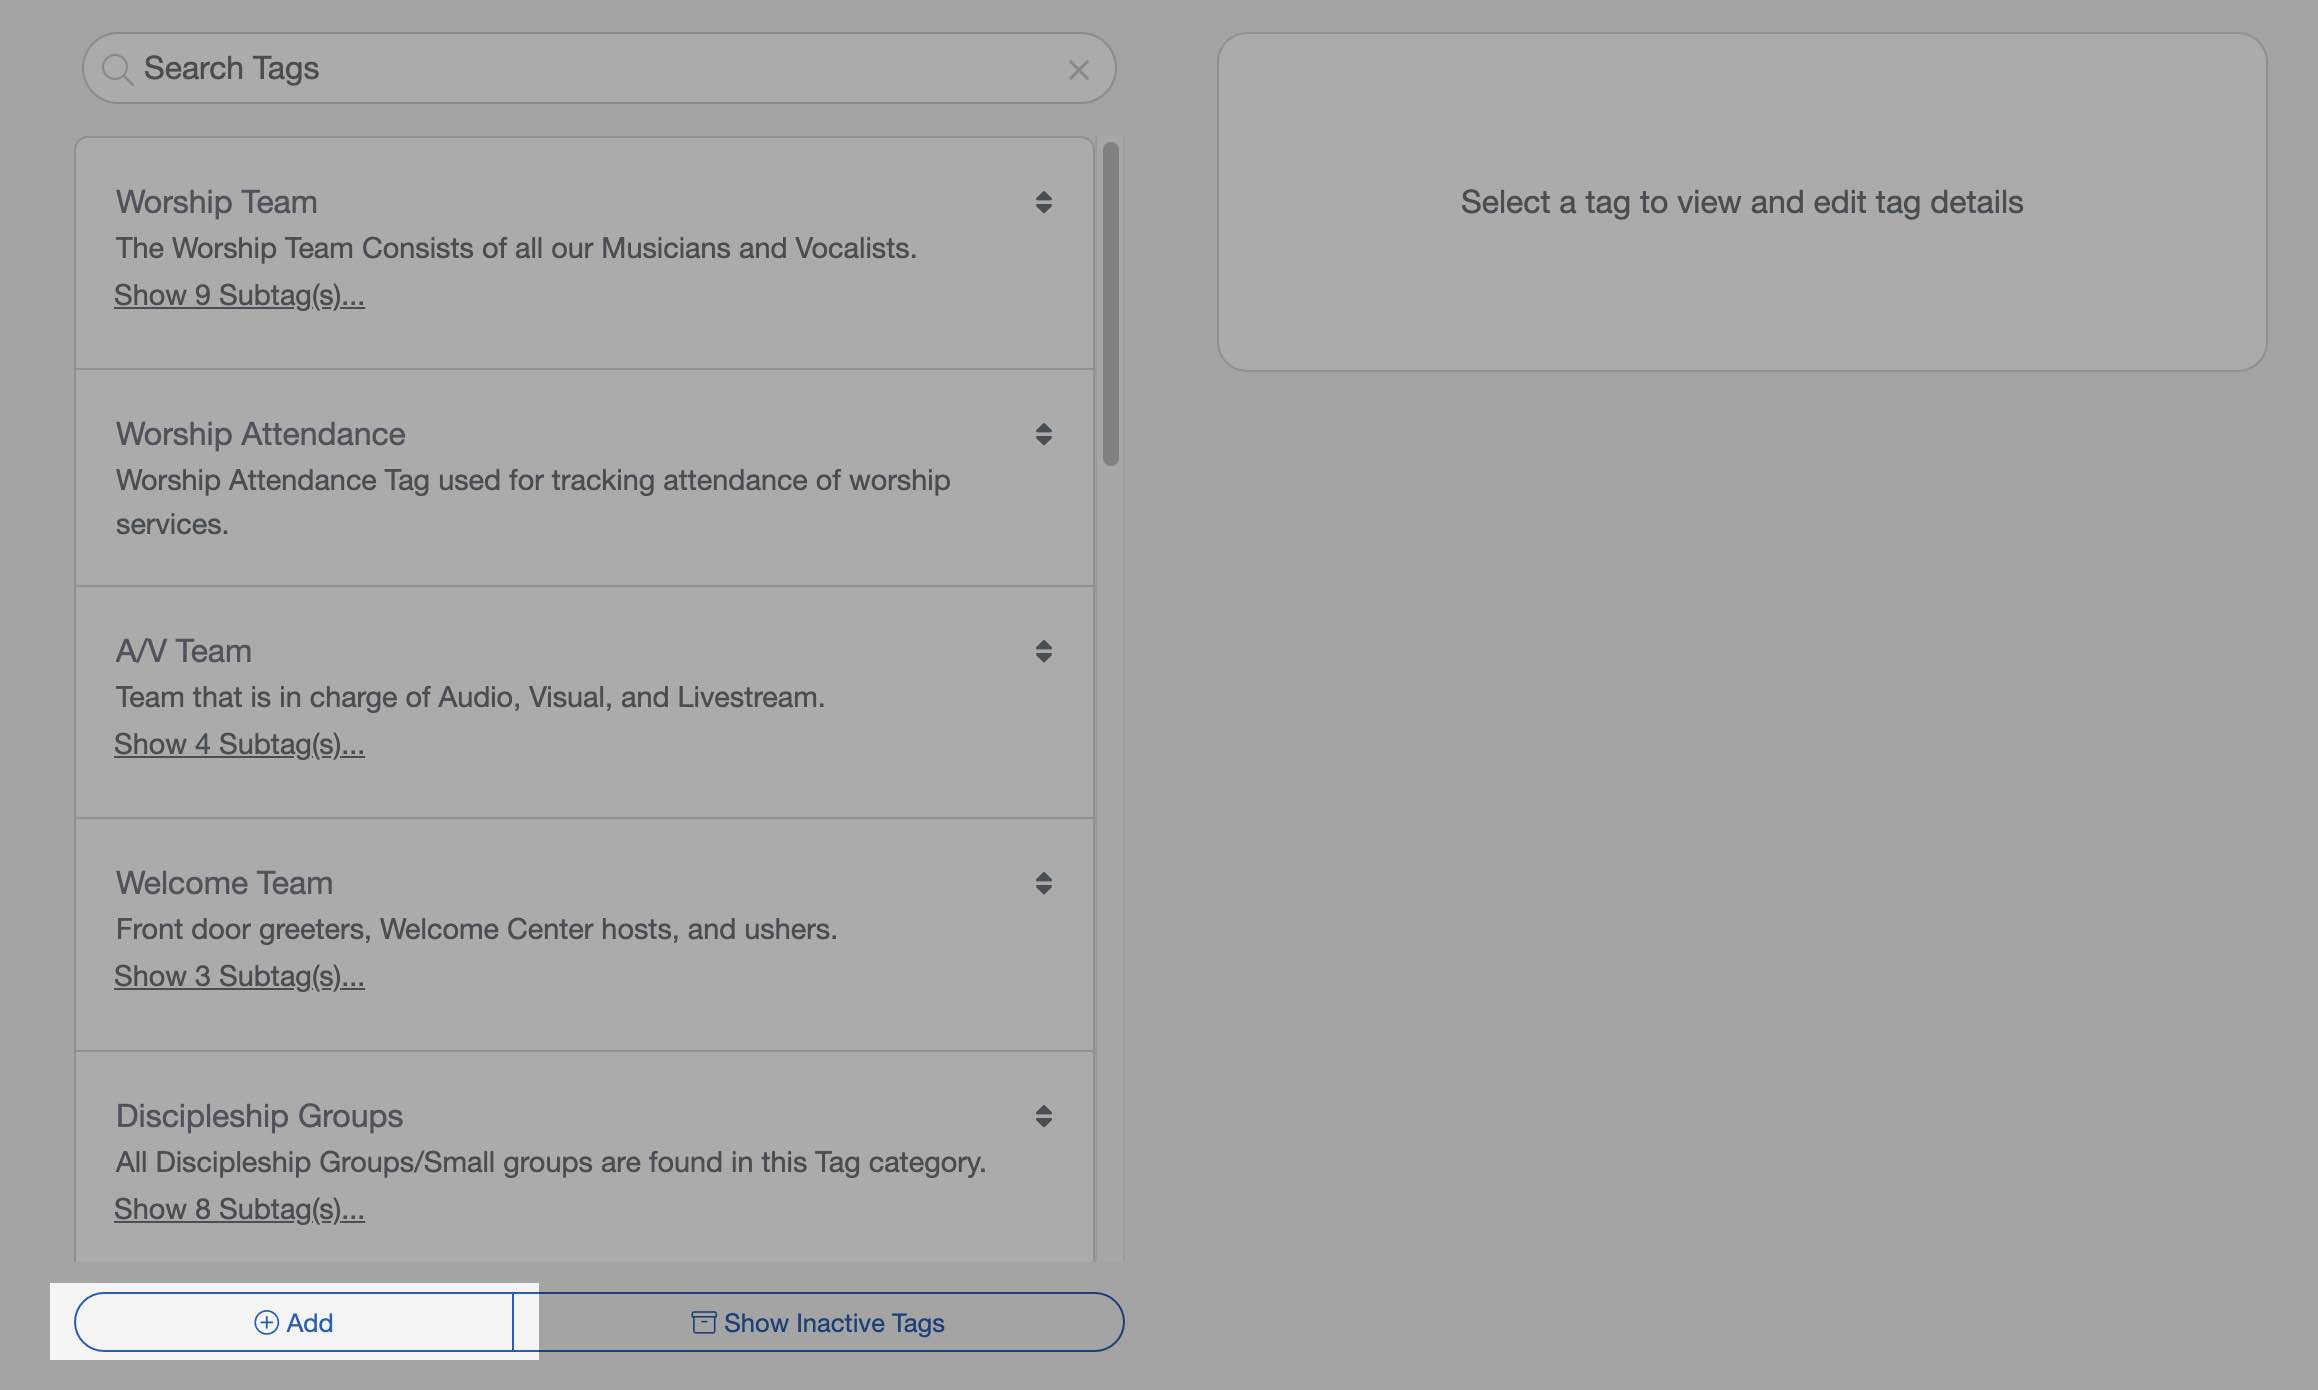
You can create and manage tags by going to the Tags page on the People screen. Select the "Create a New Tag" button to add a new Tag.
Once a new Tag is created, you can edit the tag's details. You can edit the Tag Name, add a description of the Tag, designate a tag as a sub-tag of another tag and more. You can also mark a tag as inactive so that it stays hidden in the application.
Using SubTags
There are situations when you want to create a collection of related Tags. You can do this by assigning a Tag as a "subtag" of another Tag. For example, let's say your church has several discipleship groups that meet during the week. Your main (or parent) Tag would be "Discipleship Groups" and each of these groups would be listed as a subtag under the parent tag, as illustrated in this example:
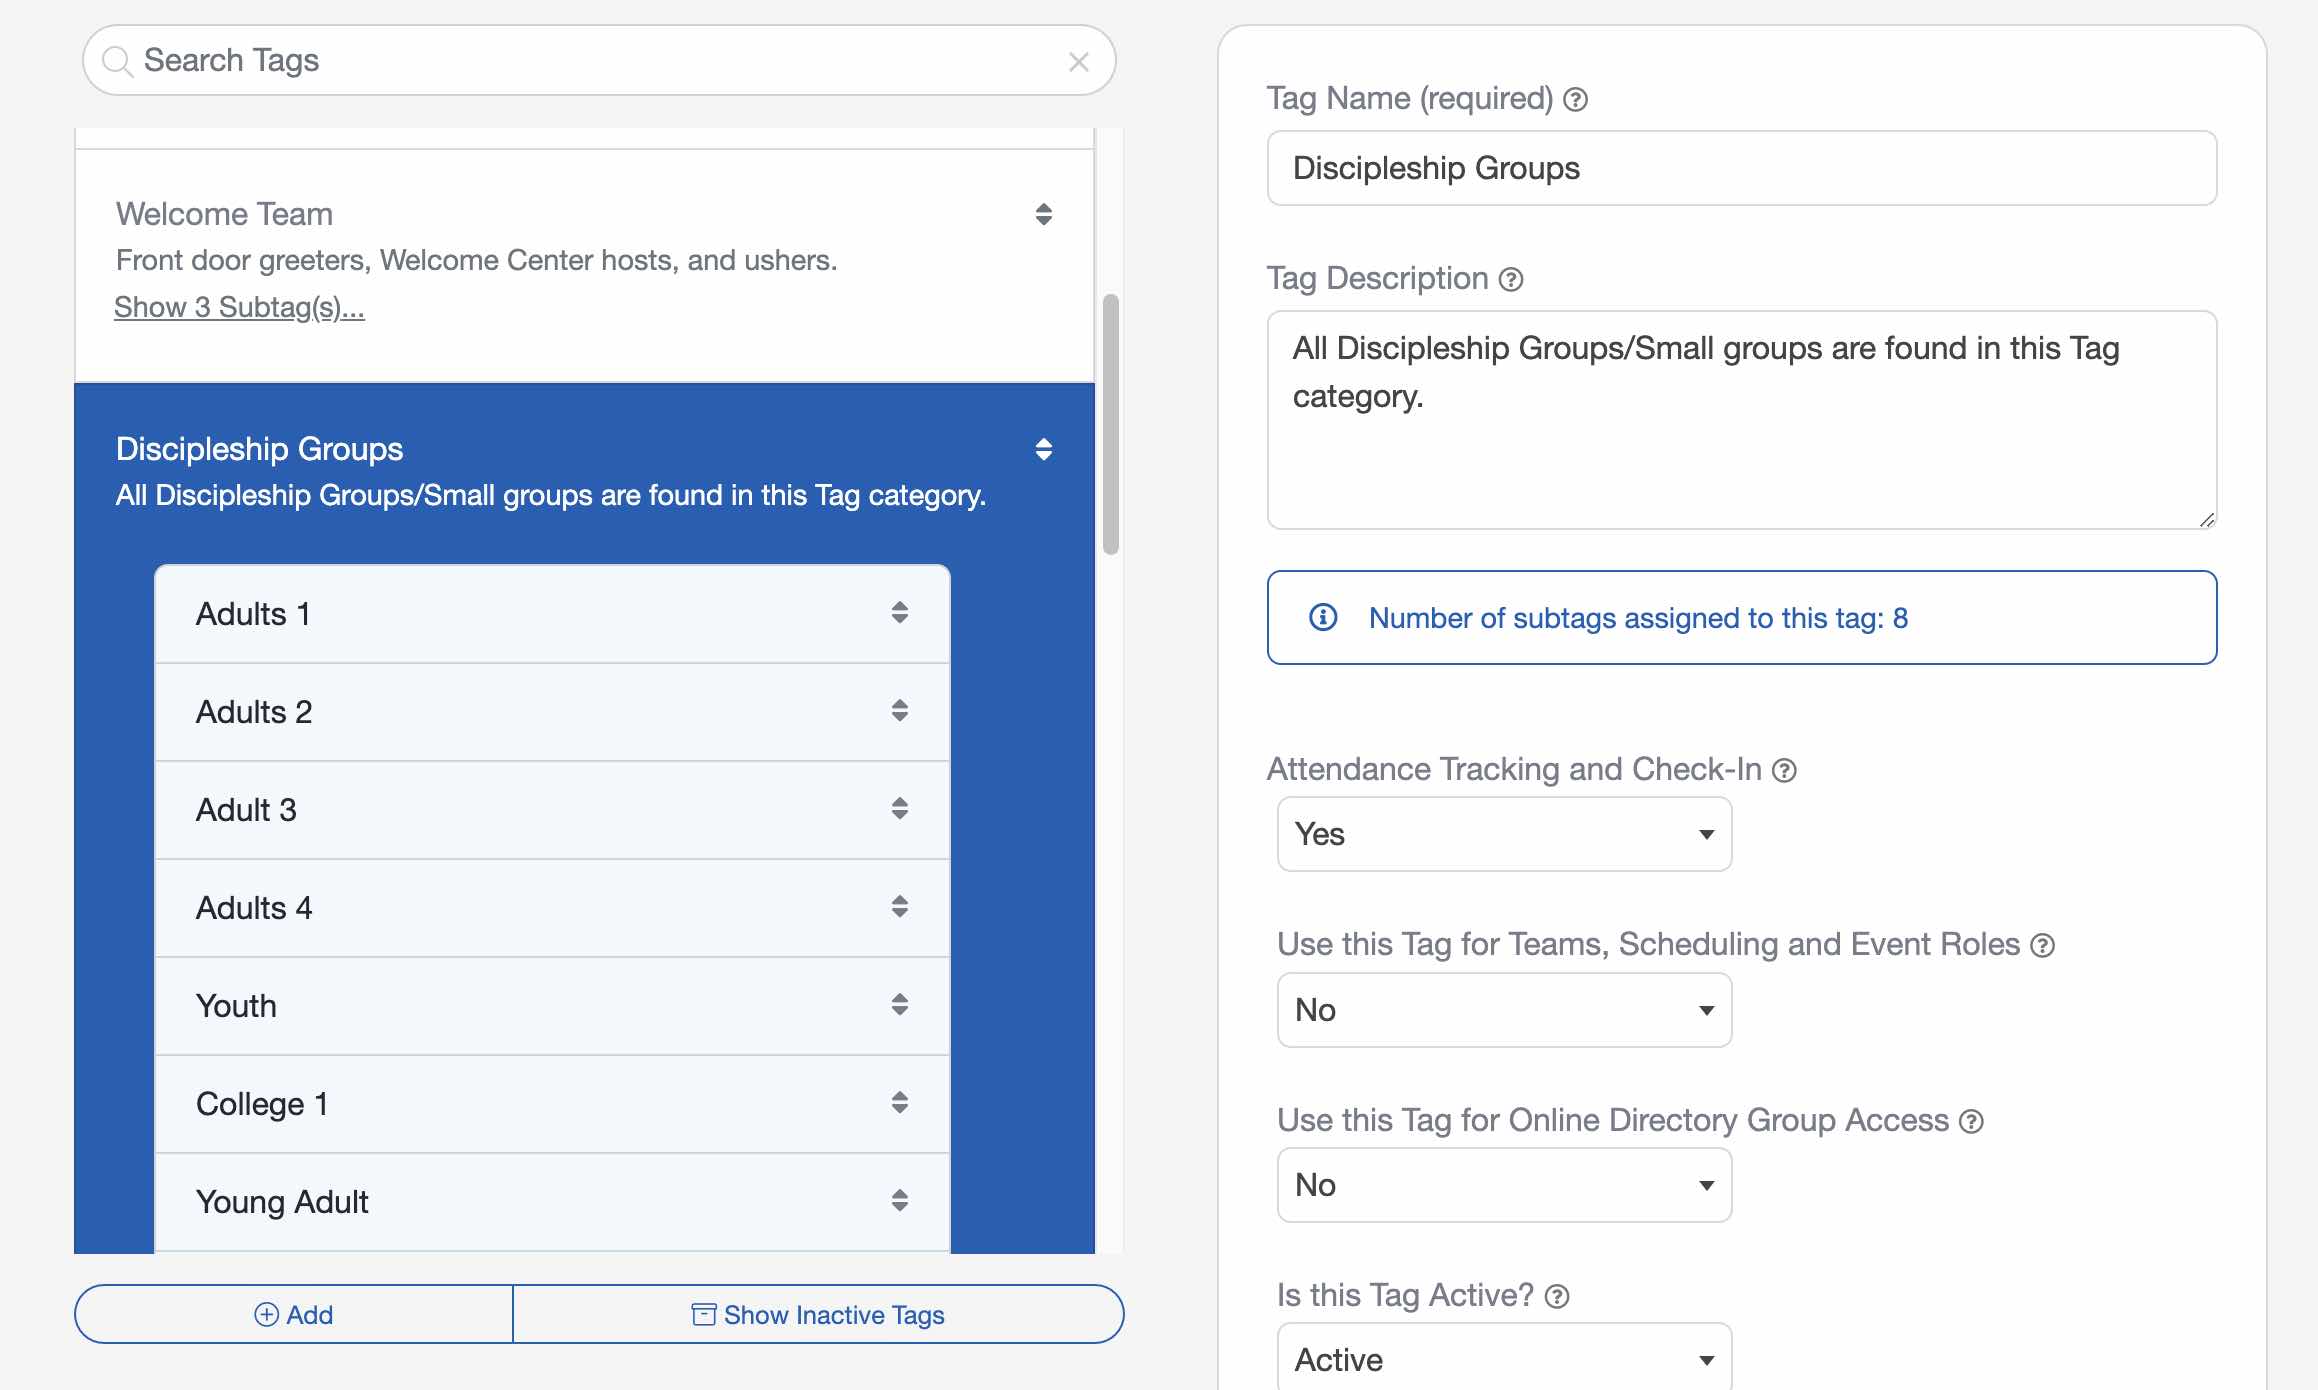
To assign a tag as a subtag under another tag, simply click on the tag that you want to be a subtag, then find the list labeled "This tag is a subtag of" and select the parent tag from the list.
Church Attendance Tracking with Tags
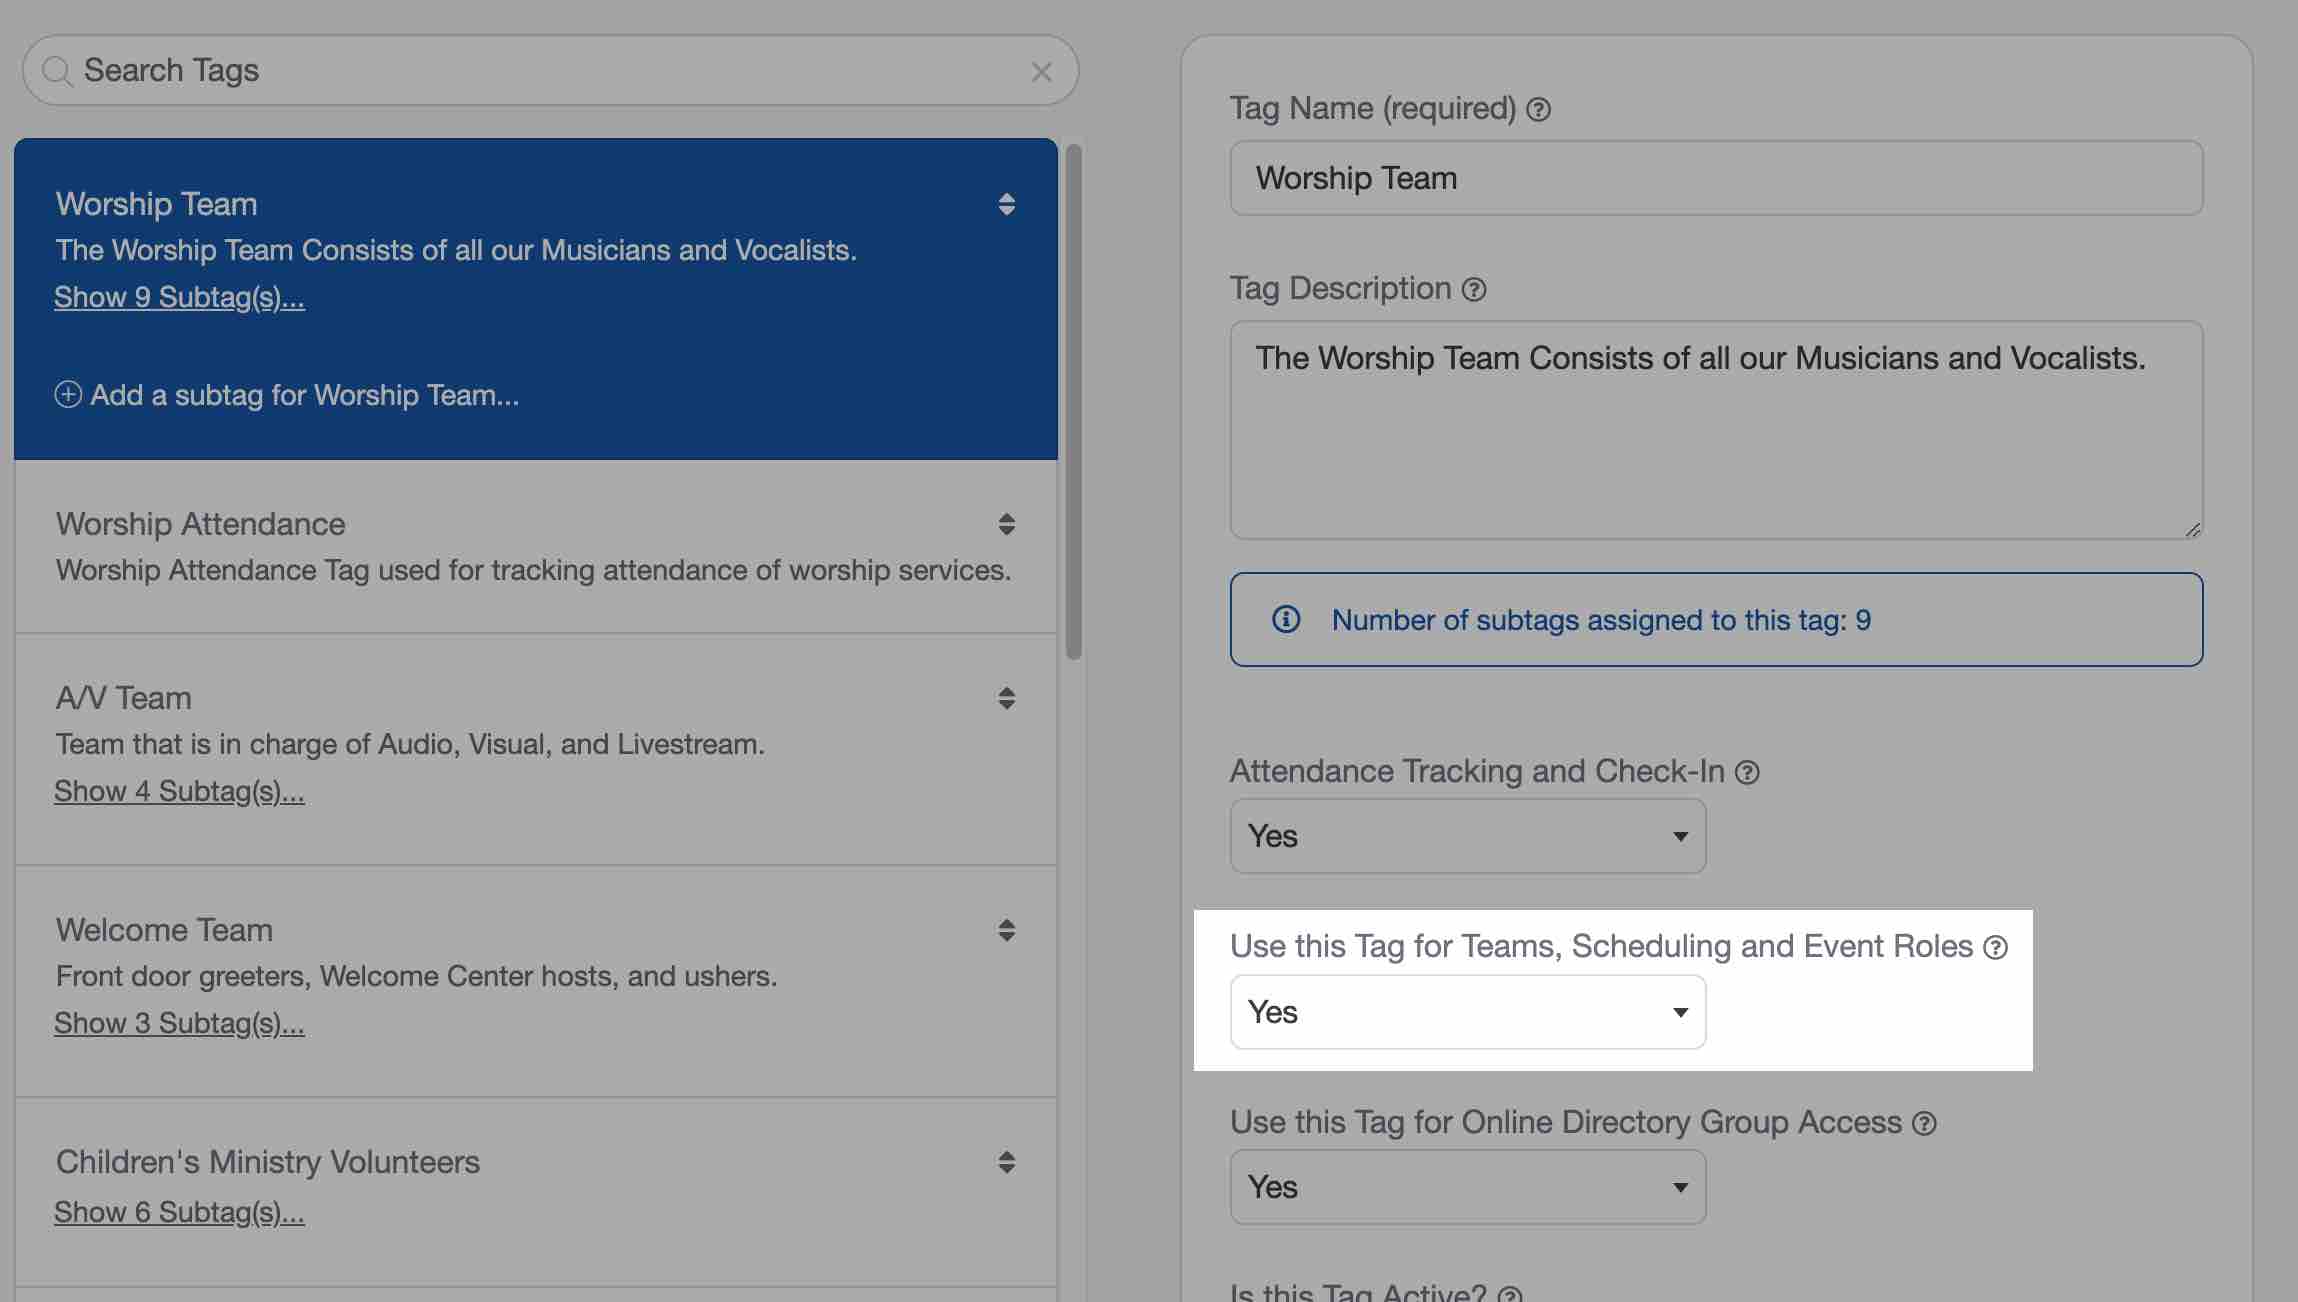
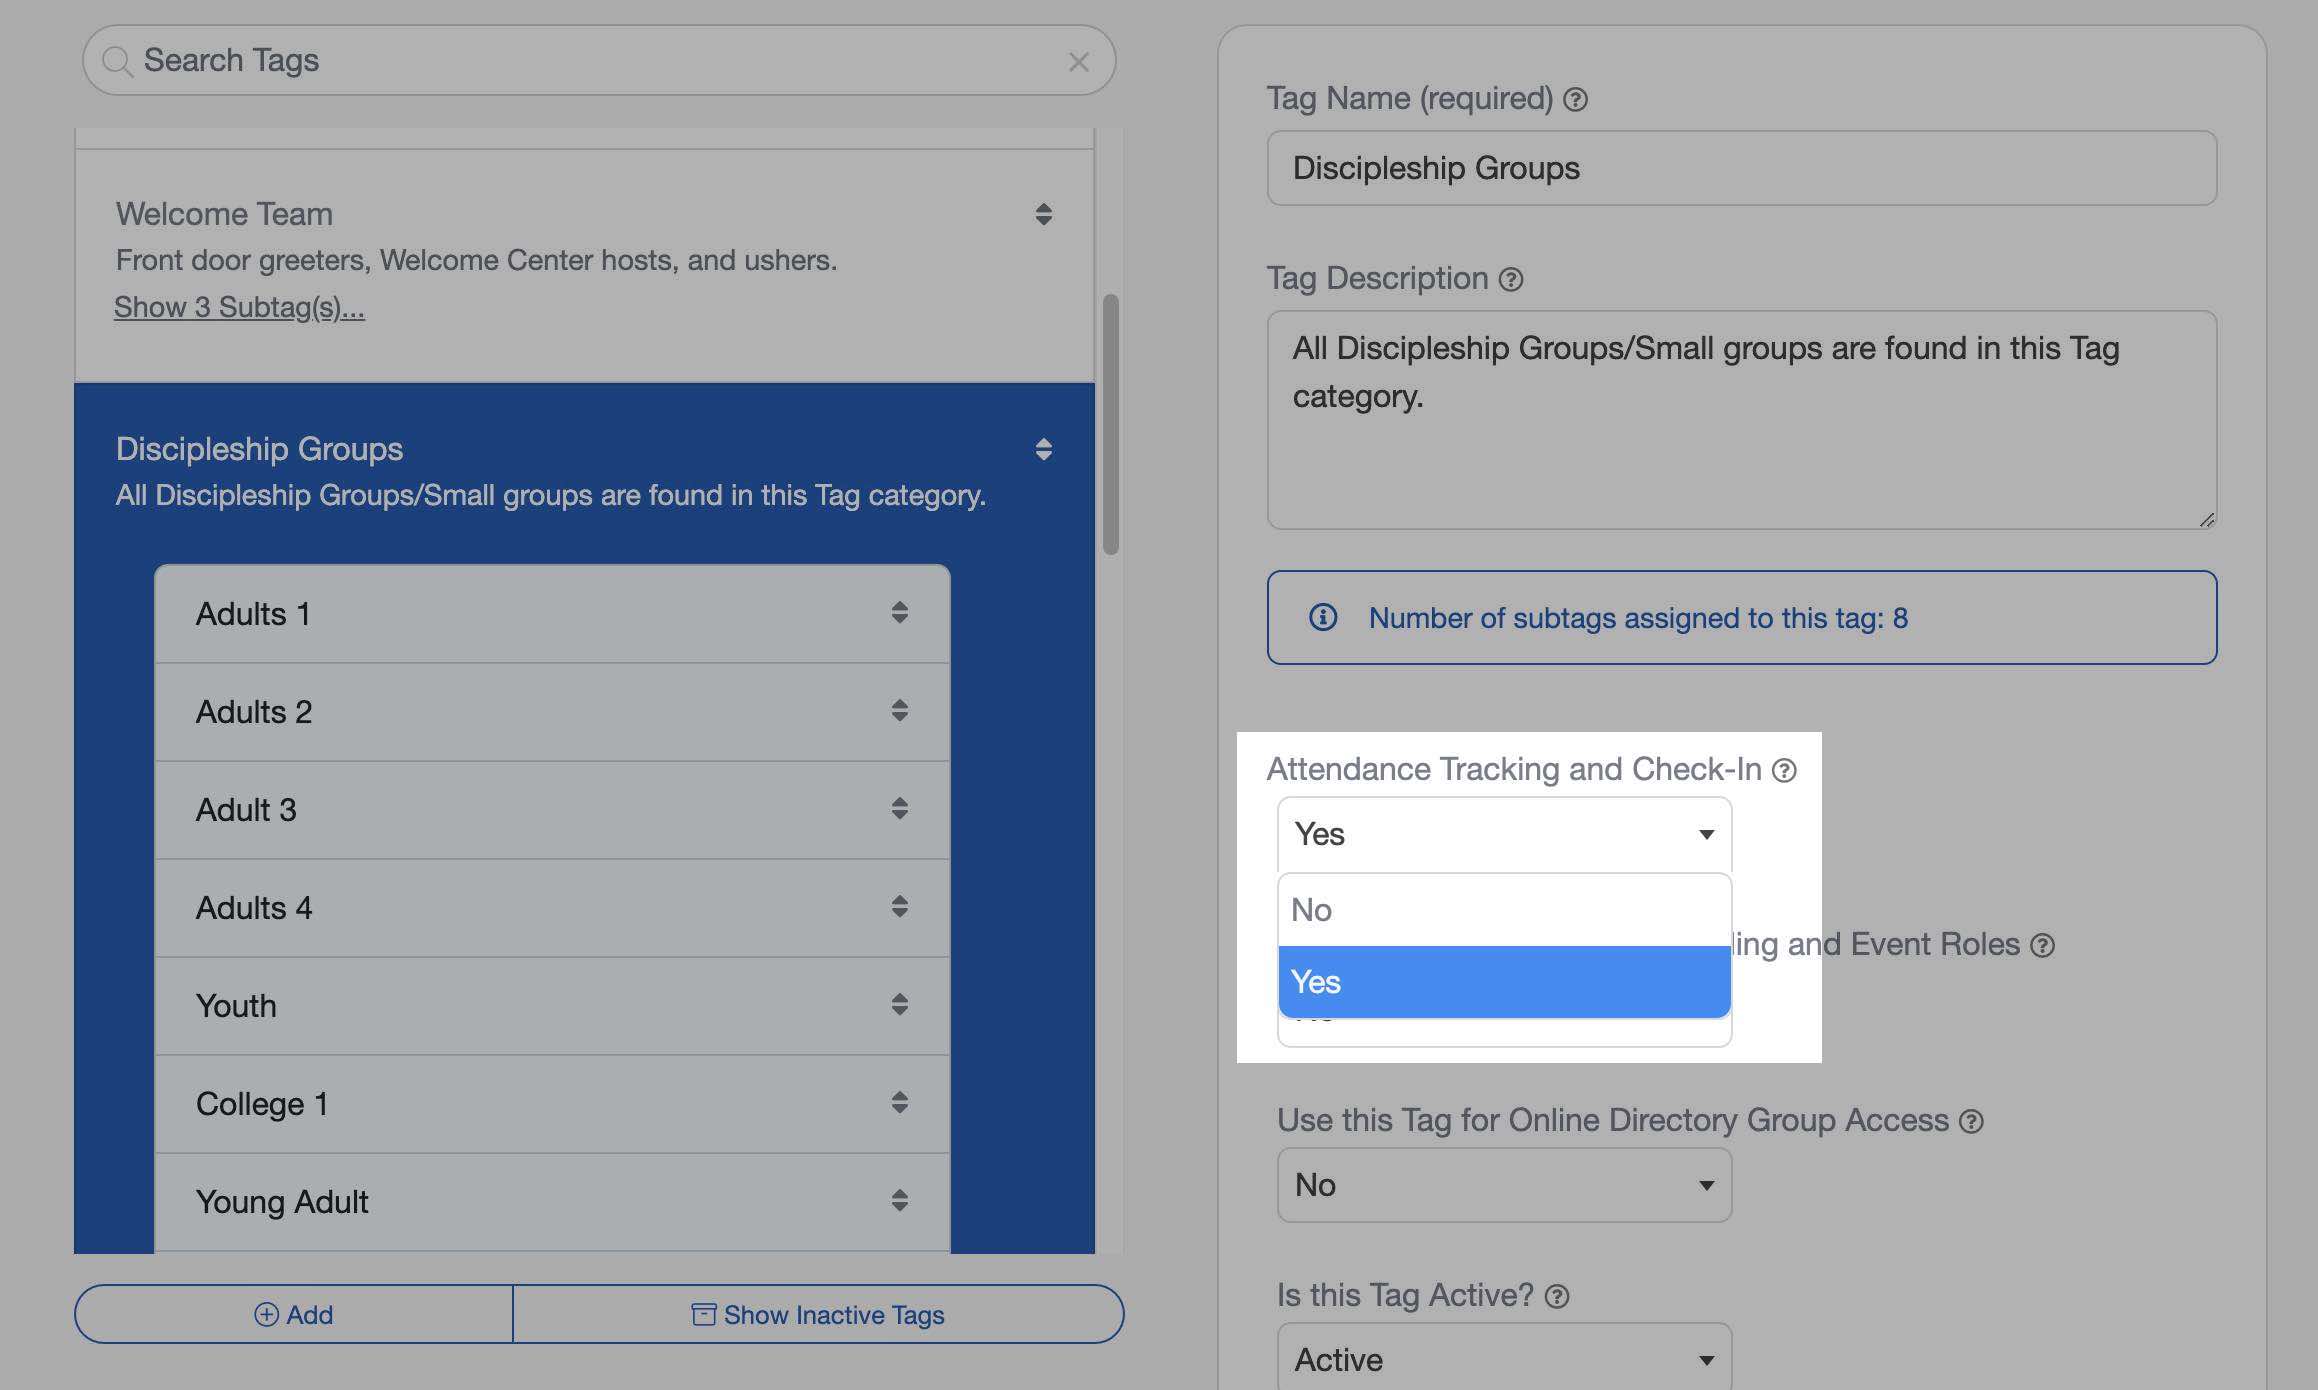
Tags can be configured to be used for attendance tracking and Check-In. To enable, mark Yes for Attendance Tracking and Check-In under the Tag Details.
Church Volunteer Scheduling with Tags
Tags can be configured to be used for Volunteer Scheduling in the Worship & Scheduling Screen. To enable, mark Yes for Volunteer Scheduling and Event Roles.