Page Setup
Your website template gave you a professionally designed starting point. Page Setup is where you make it your own.
Here you'll customize the main sections of your website, including the Navigation Bar, Header (Hero), Body Sections, Cards, and Footer.
If you haven't created your website yet, start with the How to Build a Church Website guide first to create your website with a template. Once your website has been created, come back here to learn how to customize each section of your site.
Before You Begin
Every page in your website is built from the same basic sections: Navigation Bar, Header (Hero), Body Sections, Cards, and Footer.
As you work through this guide, you'll learn how to customize each one.
Navigation Bar
The Navigation Bar appears at the top of every page on your website. It helps visitors move around your site and provides quick access to your most important pages.
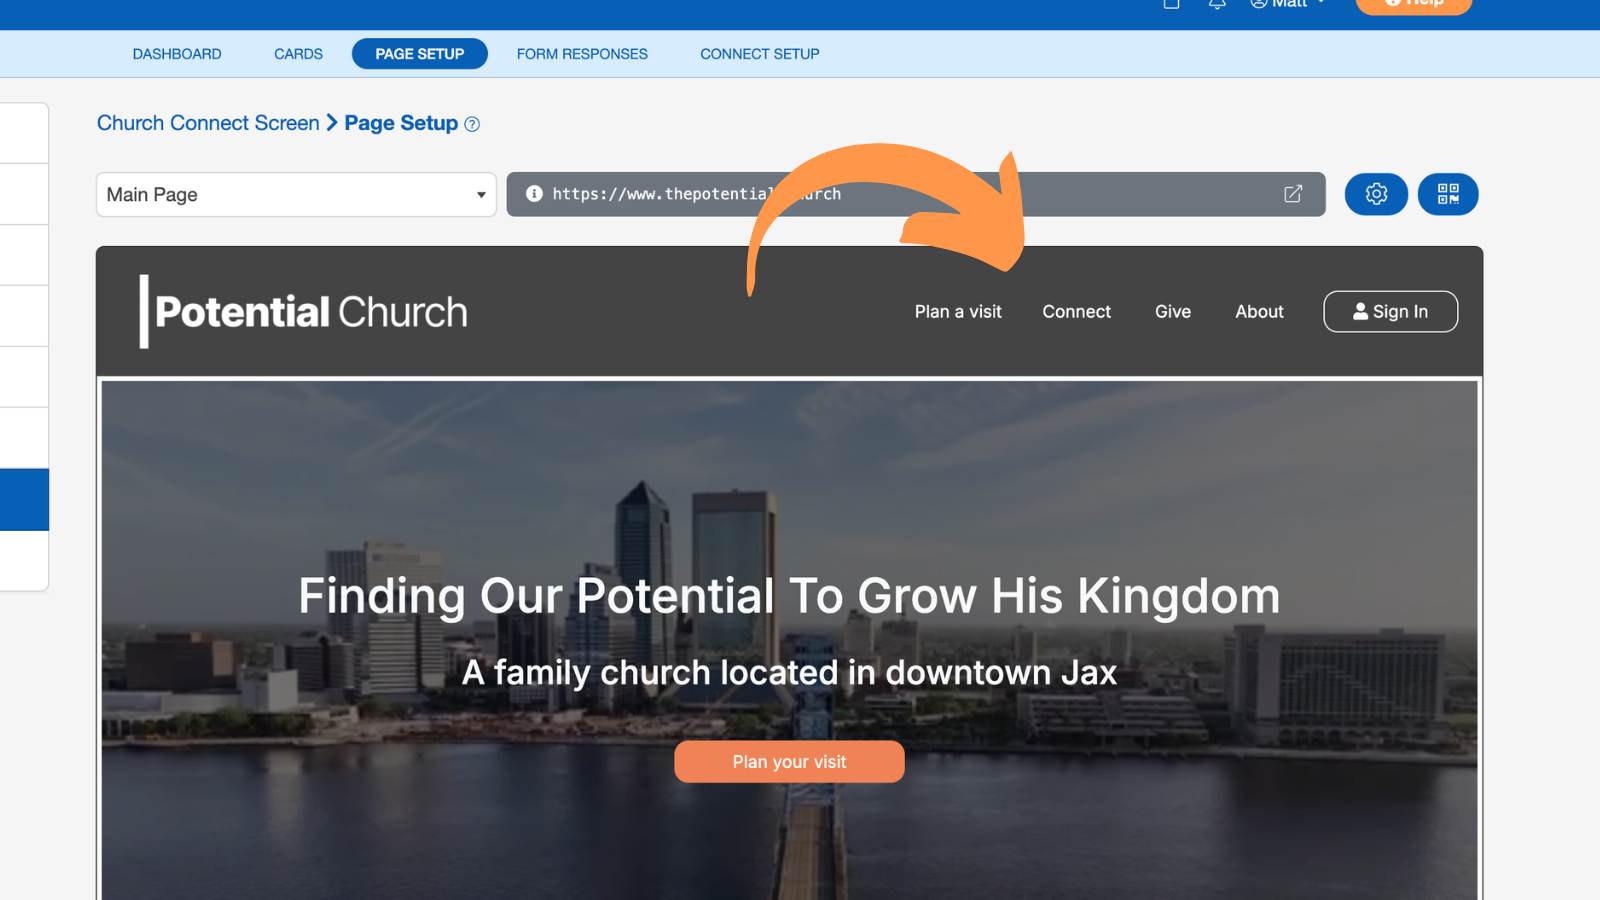
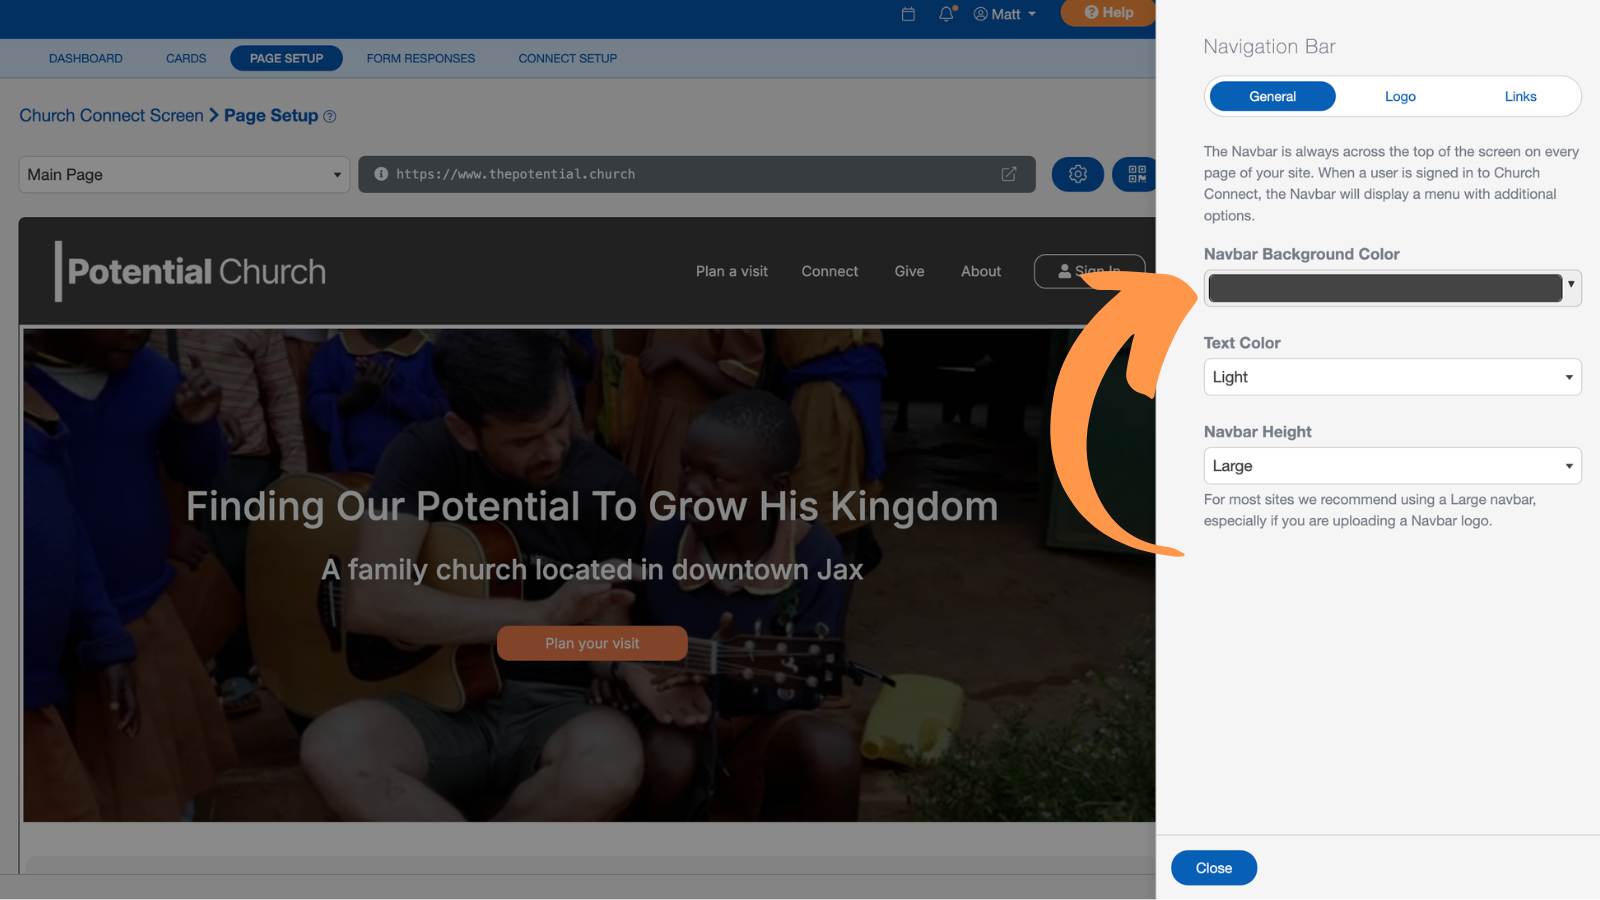
From the Navigation Bar settings, you can
- Customize the background and text colors
- Adjust the height of the Navigation Bar
- Upload your church logo
- Add up to four navigation links that appear on every page
If no logo is uploaded, your church or ministry name will be displayed instead.
Pro Tip: For the best results, upload an 8 MB max, JPG or PNG logo with a transparent background.
Our Perfect Church Website Navbar Pro Tip video covers our recommendations for what to put in the Navbar of your site.
Header (or Hero)
The Header, often called the Hero section, is usually the first thing visitors see when they arrive on your website. This is the perfect place to introduce your church and encourage first-time guests to take the next step.
Many churches use this section to:
- Welcome first-time visitors
- Share a mission statement
- Encourage visitors to Plan A Visit
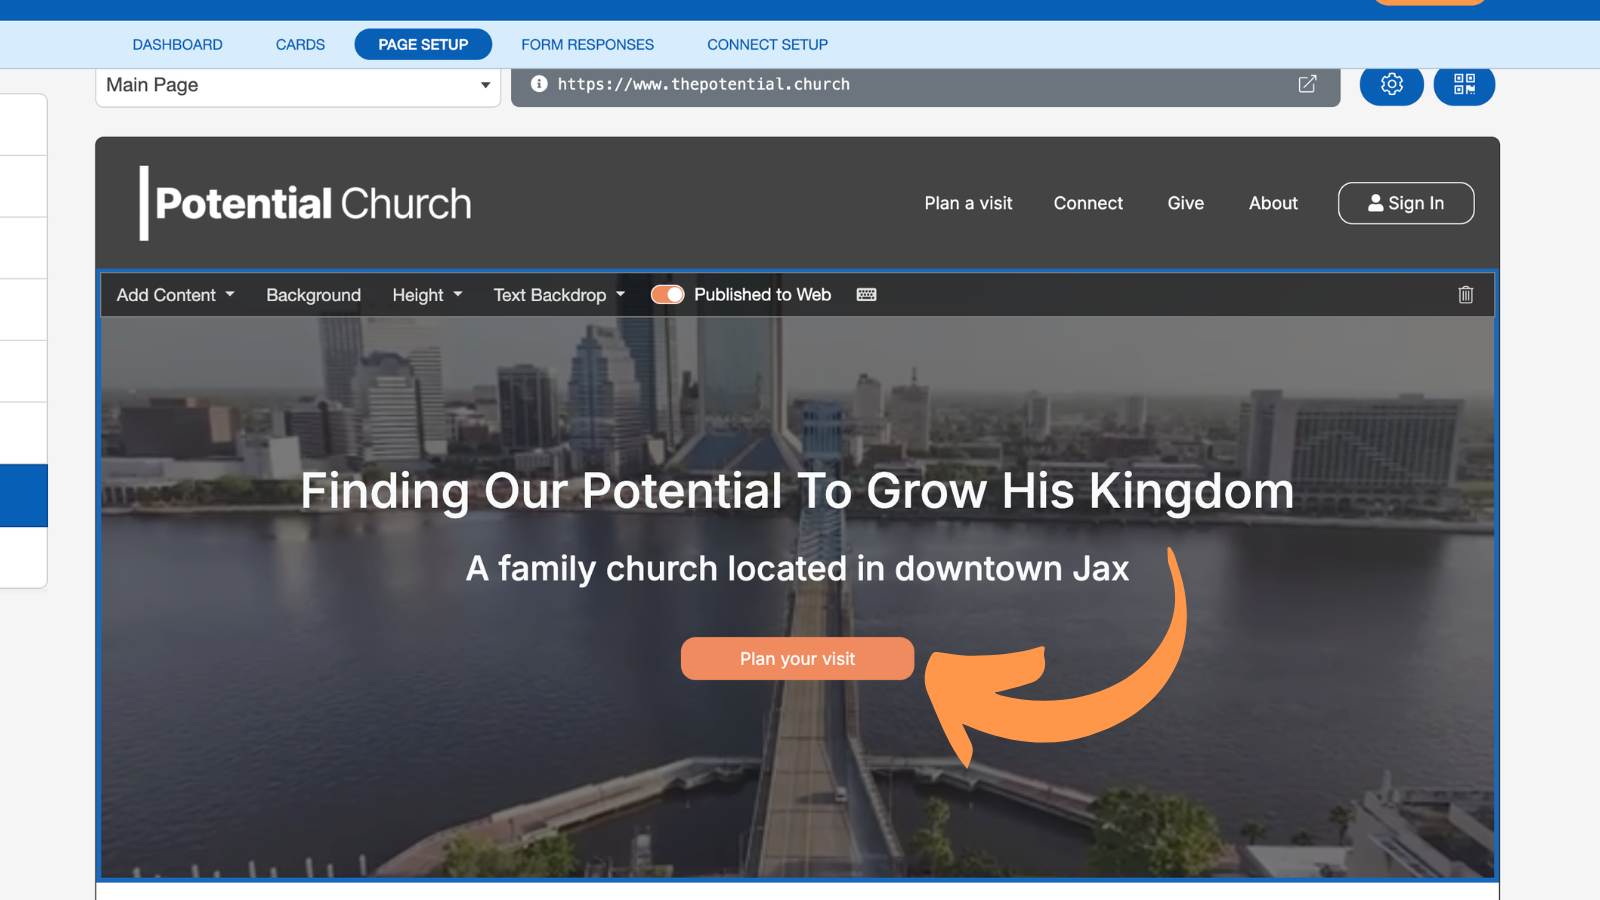
You can choose from one of the built-in templates...
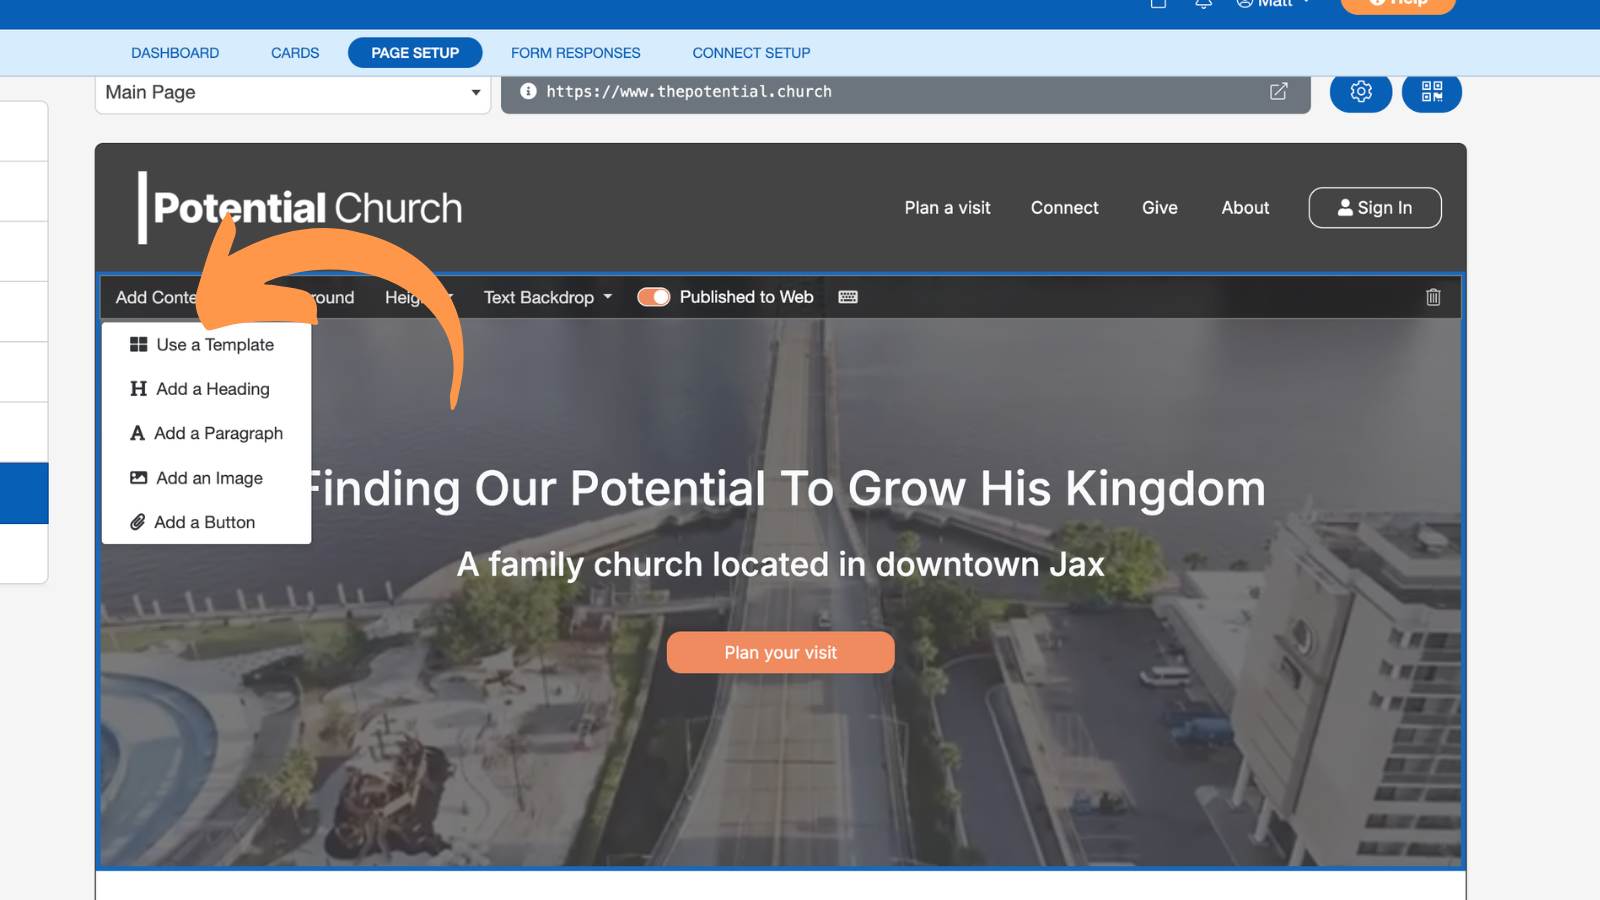
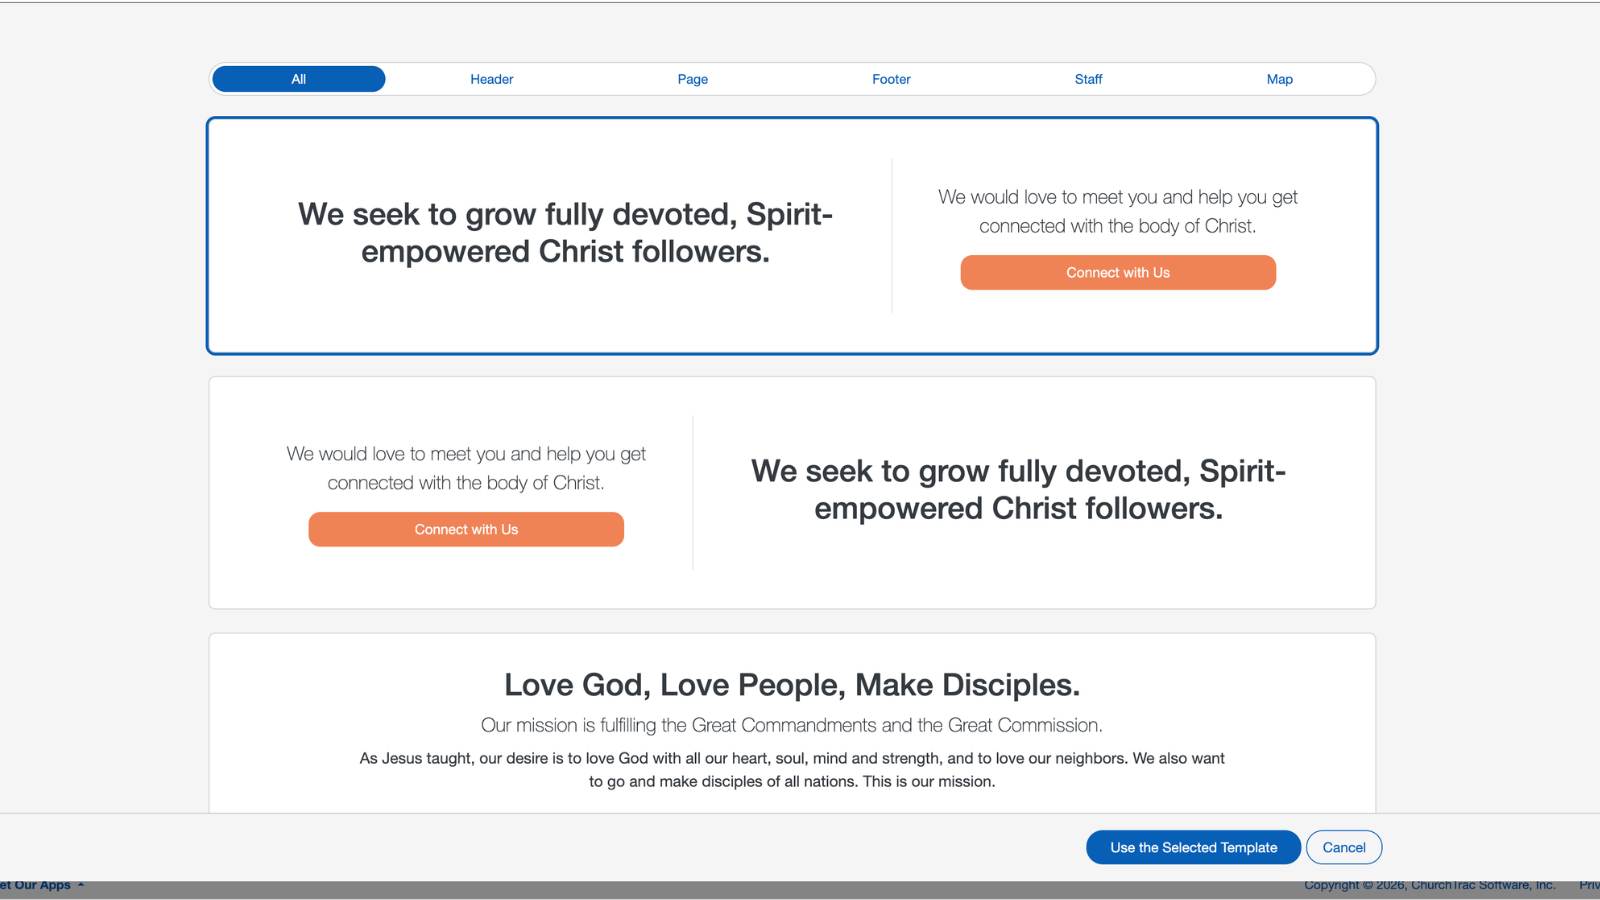
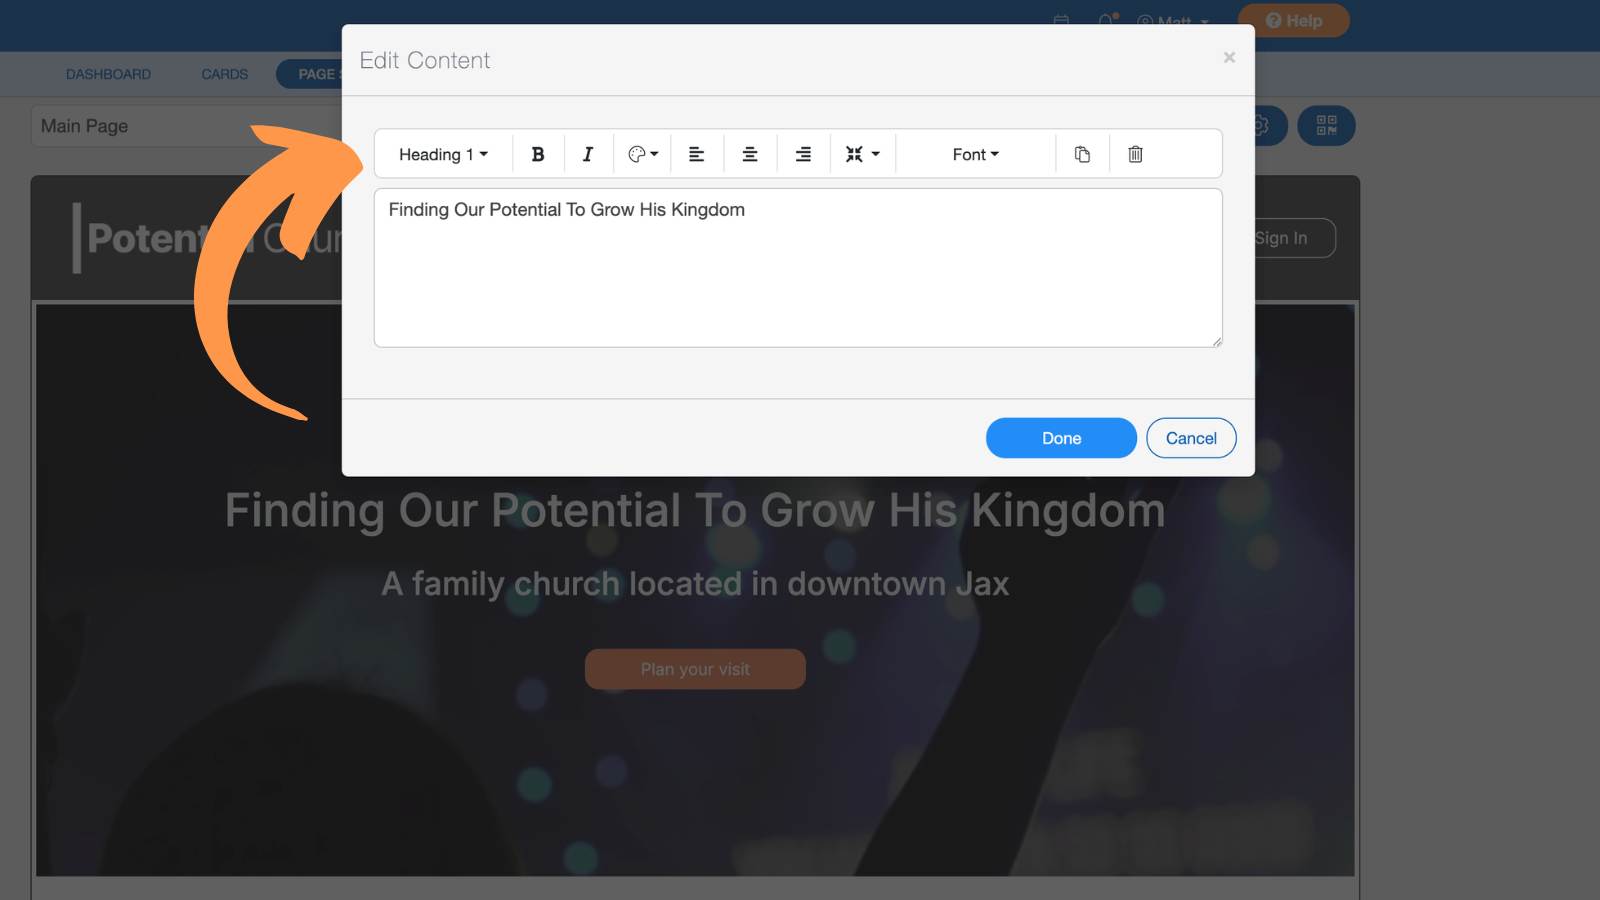
Or create your own Header design by customizing:
• Fonts
• Text size
• Text alignment
• Text color
• Background color
• Background image or video
• Overlay color and opacity
Background Images & Videos
For the best results:
- Background images and videos must be 20 MB max, JPG or video (MP4/WEBM/MOV).
- All images: must be under 5000px on both width and height.
- We recommend keeping background videos 20–24 seconds long.
- If your video file is too large, you can use Canva to reduce the resolution (we recommend 480p) before uploading.
- Add an overlay color and adjust its opacity to improve text readability over your image or video.
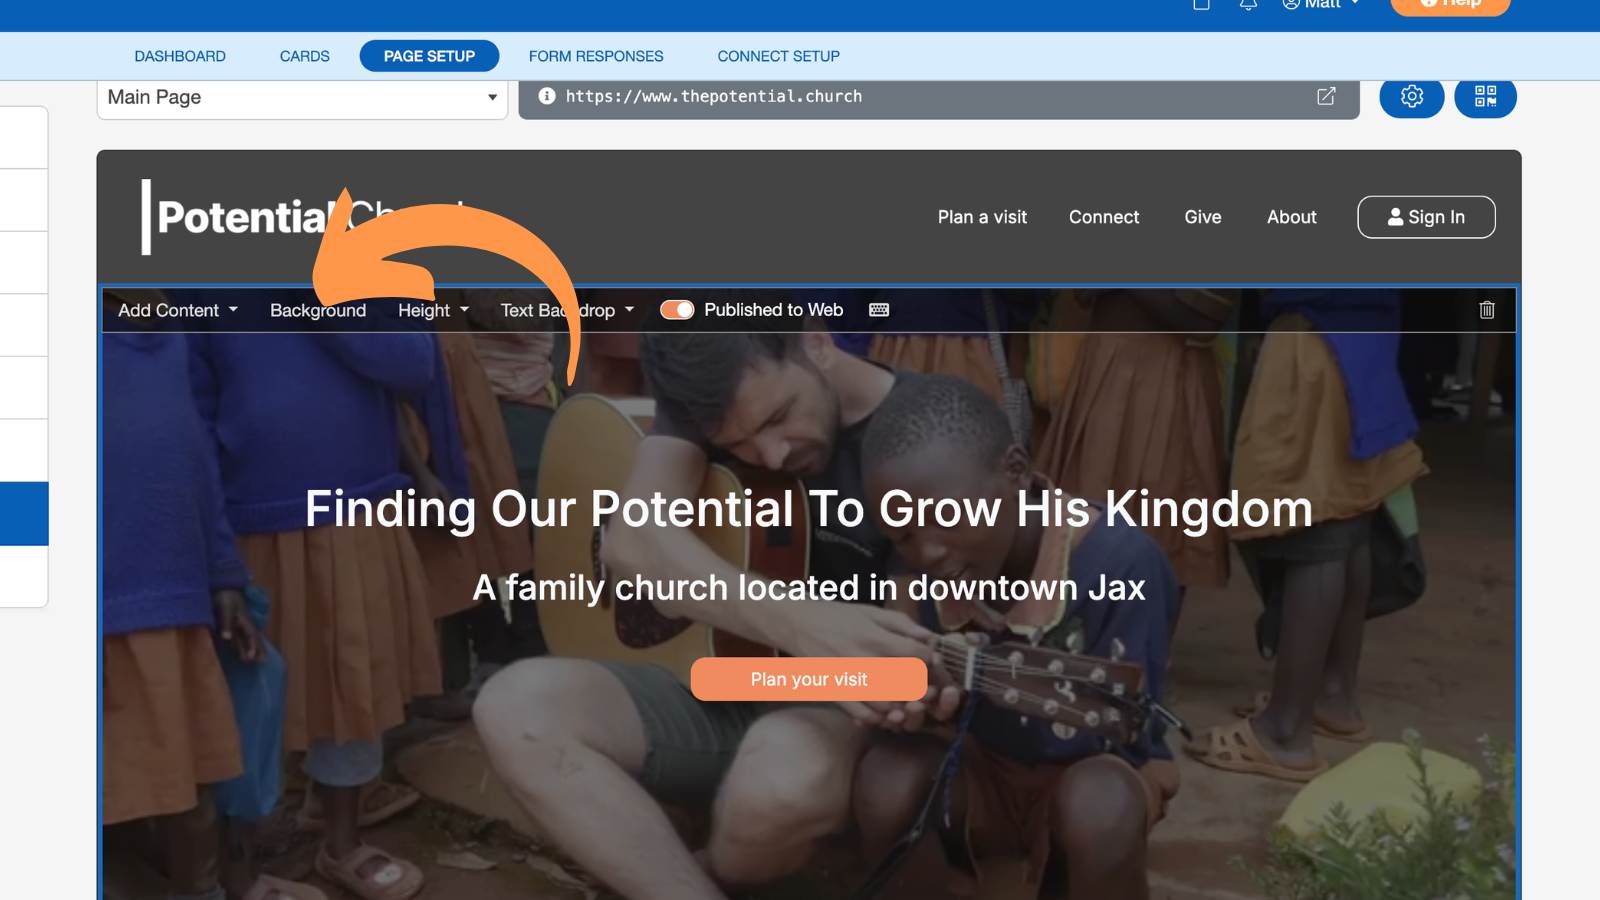
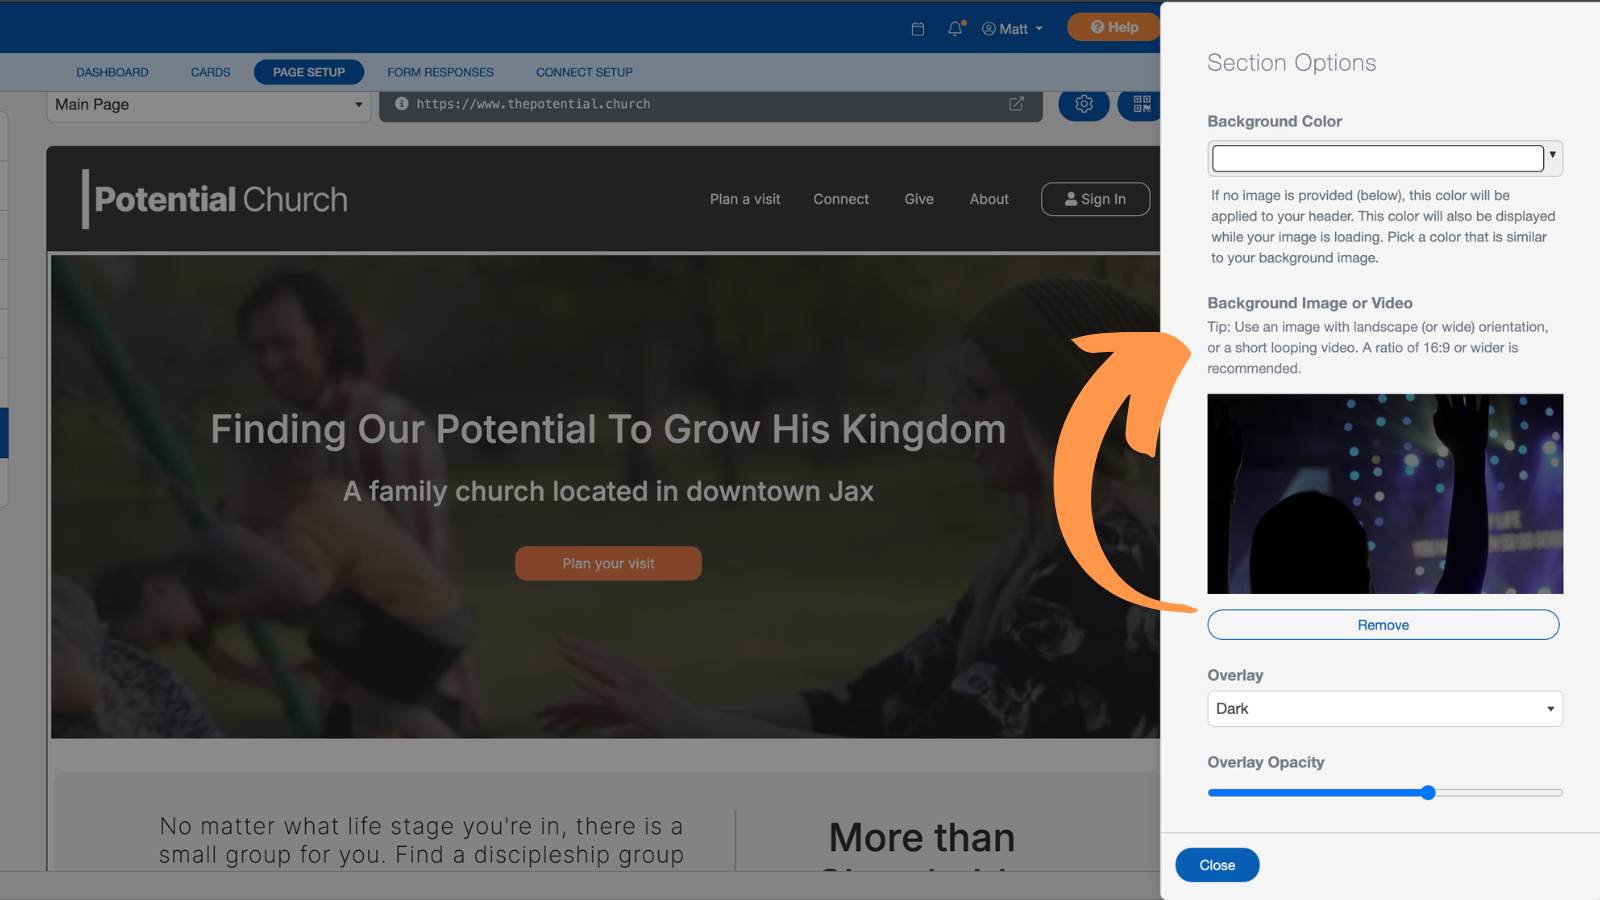
If you upload a background image or video, your selected background color will be displayed while it loads. For the smoothest transition, choose a background color that closely matches your image or video's dominant colors.
Note: You can upload your own images and videos (recommended!) or take advantage of our built-in Igniter Media integration to browse and add high-quality stock backgrounds directly from the editor. Learn more about Igniter Media Integration ›
Body Section(s)
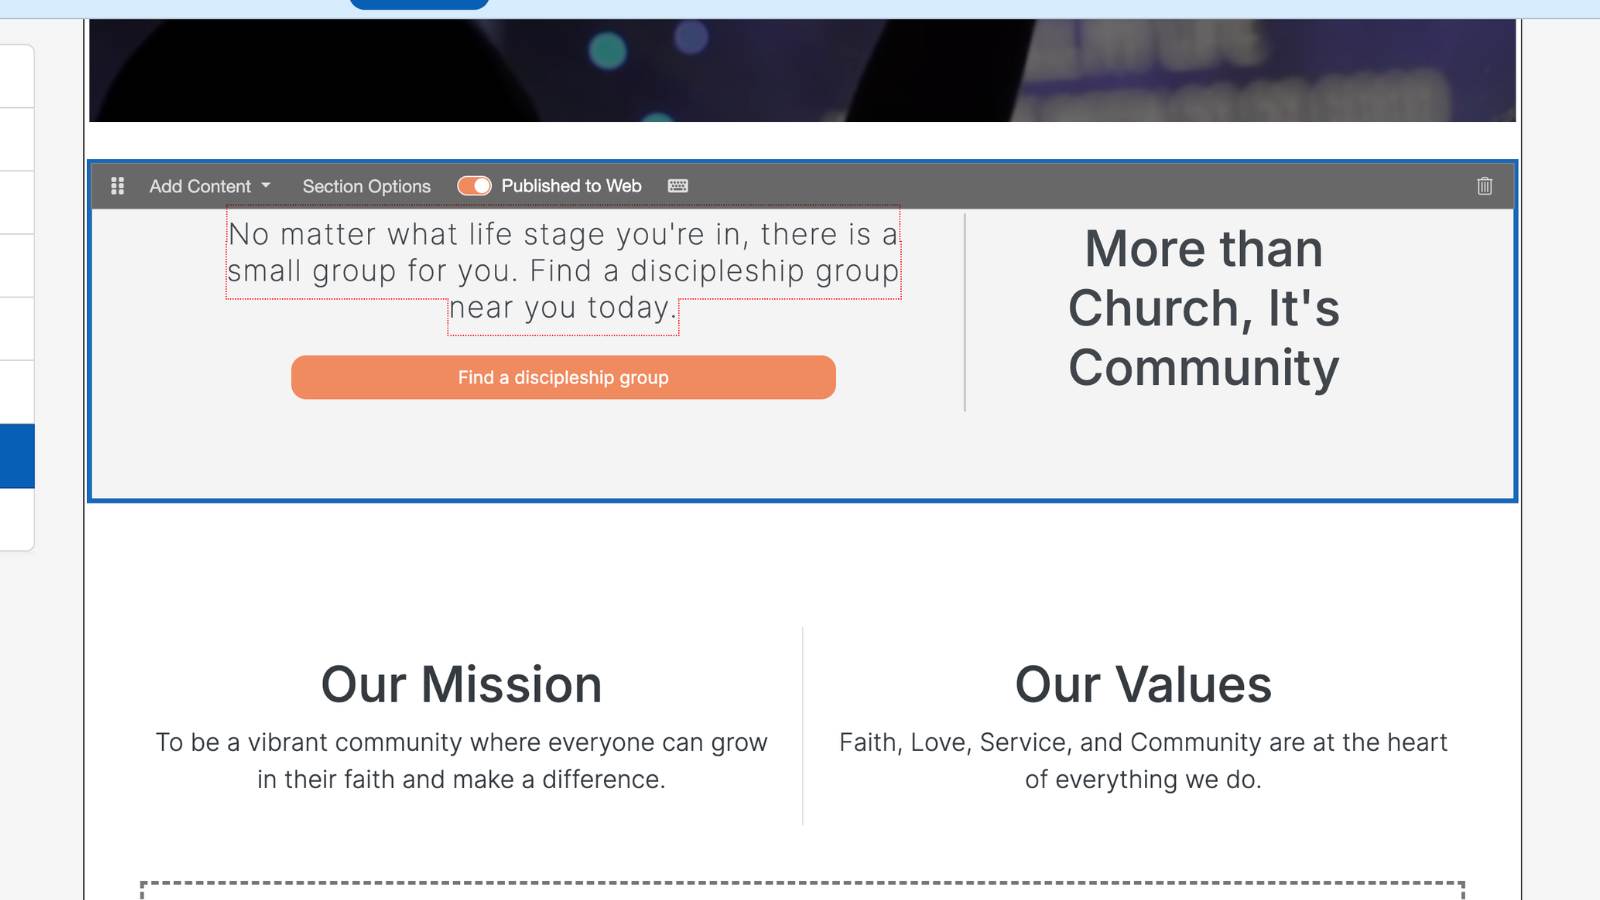
Body Sections let you add additional content between your Header and Footer.
They're perfect for highlighting information such as:
- About Your Church
- Ministries
- Core Beliefs
- Testimonials
- Next Steps
- Staff
- Service Times
Like the Header, you can start with a custom template or build your own using custom fonts, font size, text color, backgrounds, and text alignment.
Pro Tip: For the best image results, upload an 8 MB max JPG or PNG.
Cards
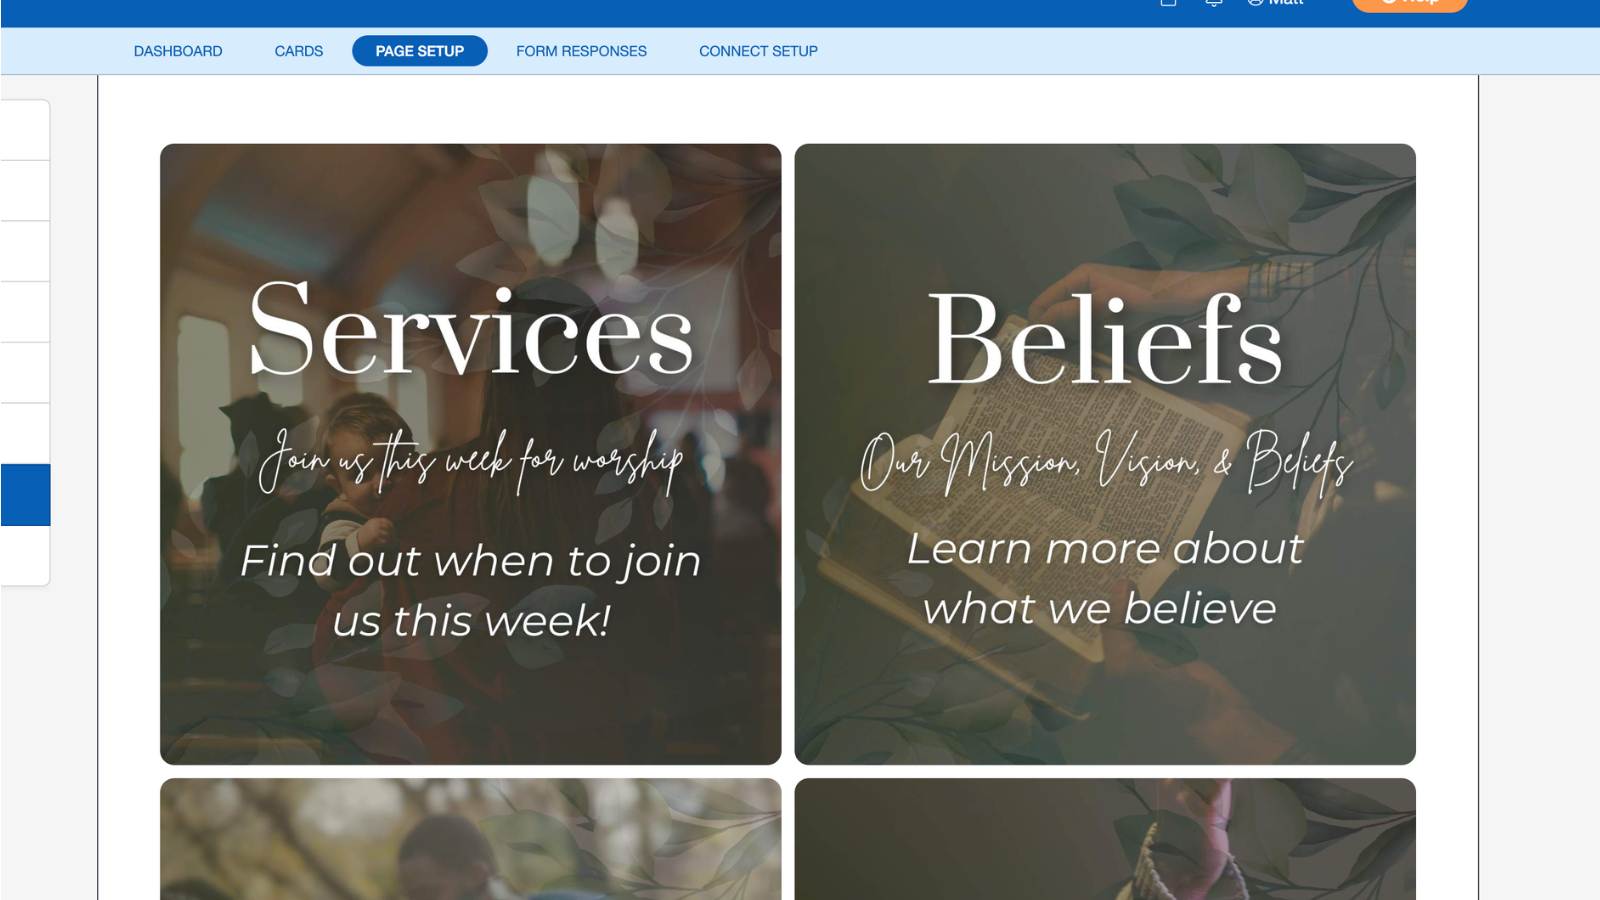
Cards are the primary way visitors interact with your website. They can open forms, display events, launch online giving, link to other pages, play videos, and much more.
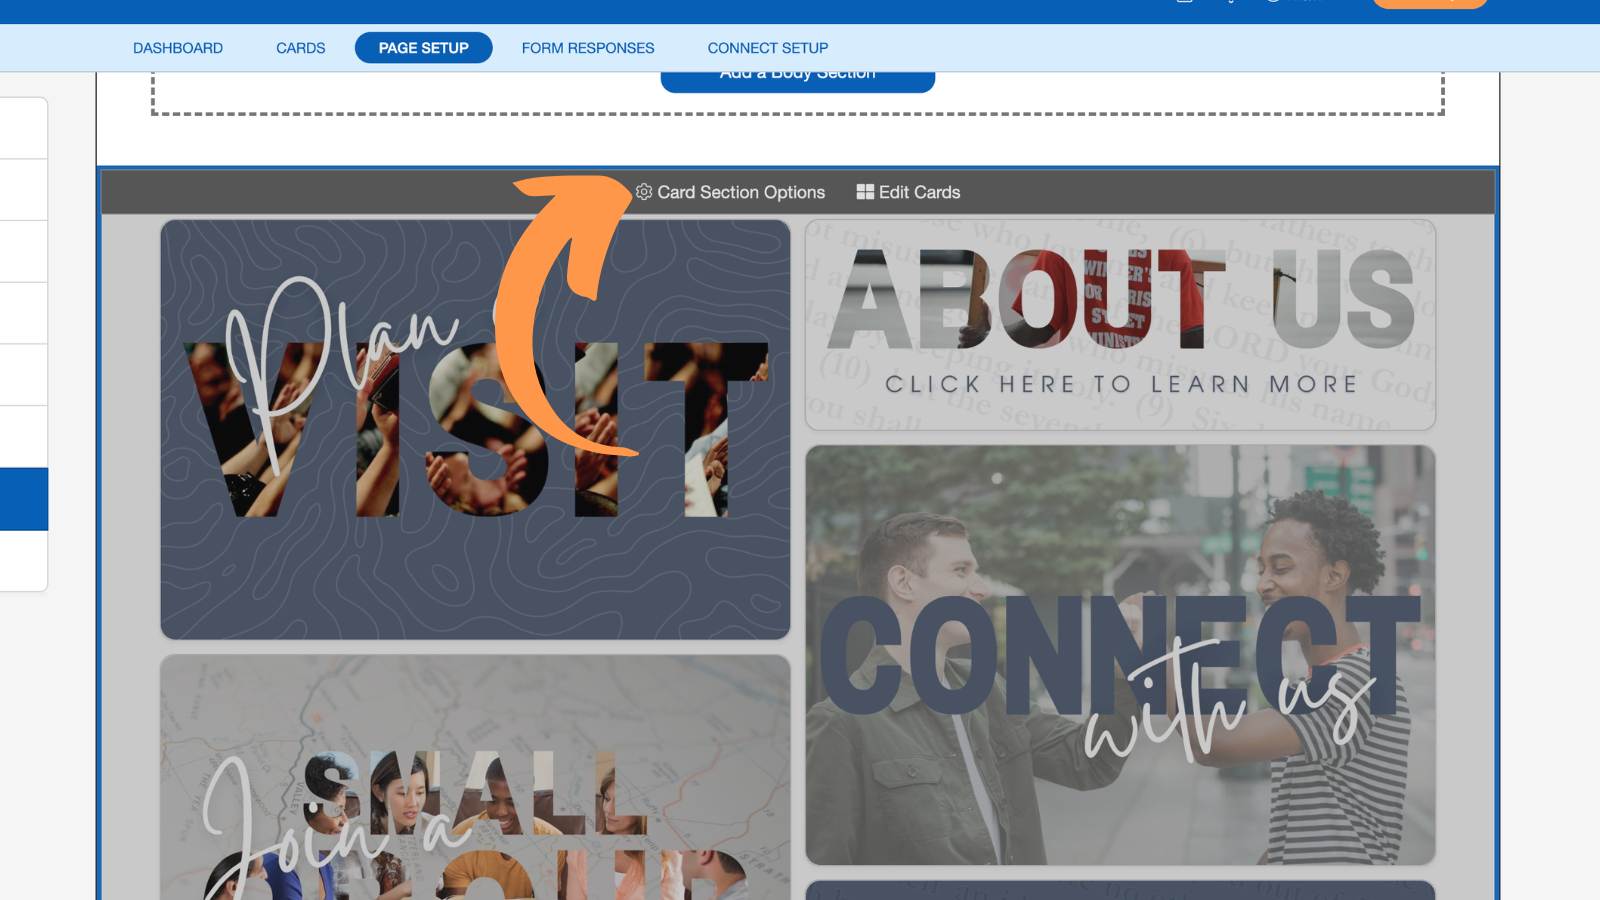
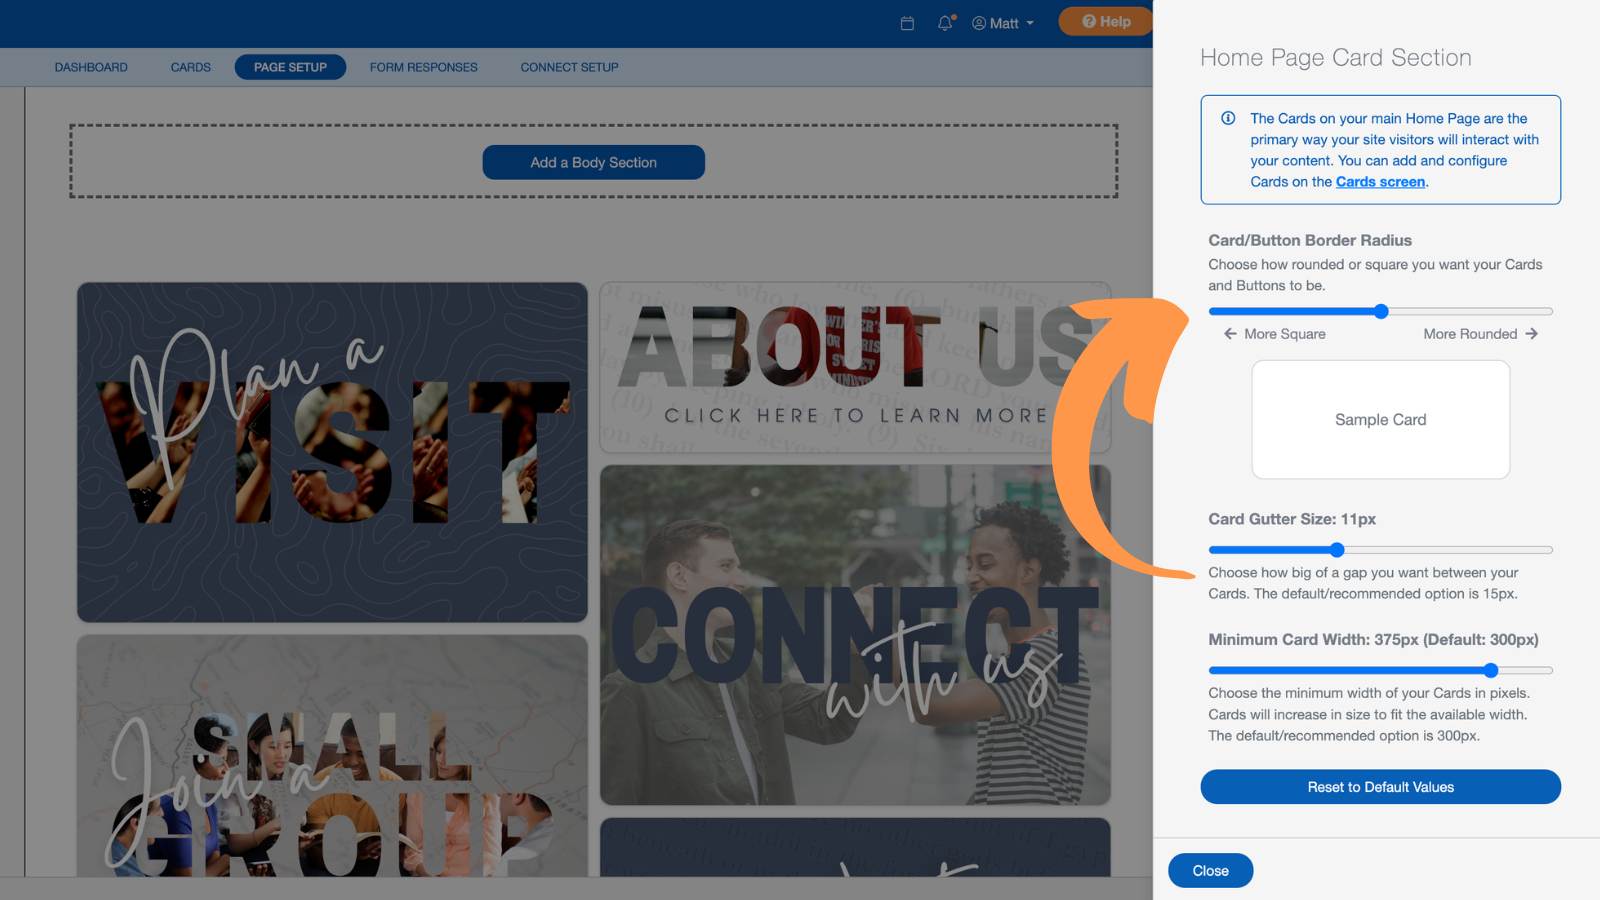
From the Card Section Options, you can customize how your Cards appear by adjusting:
- Border radius
- Button radius
- Card spacing (gutters)
- Minimum card width
- Maximum content width
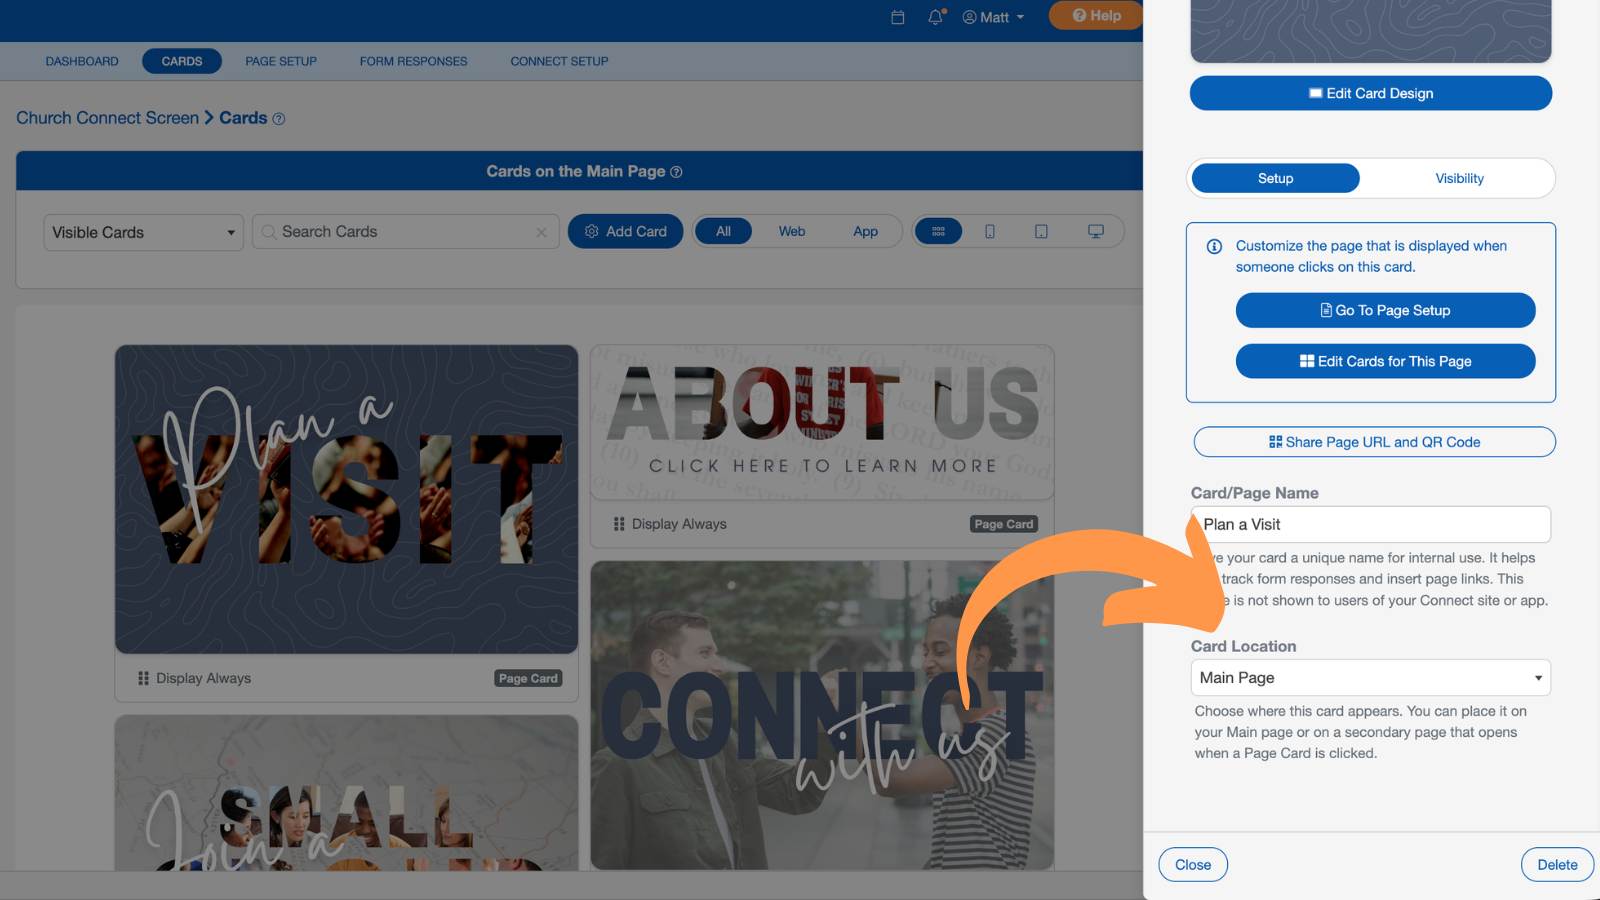
Cards on Secondary Pages
Cards aren't limited to your homepage. You can also add Cards to any secondary page. To move a Card between pages, edit the Card and change its Card Location.
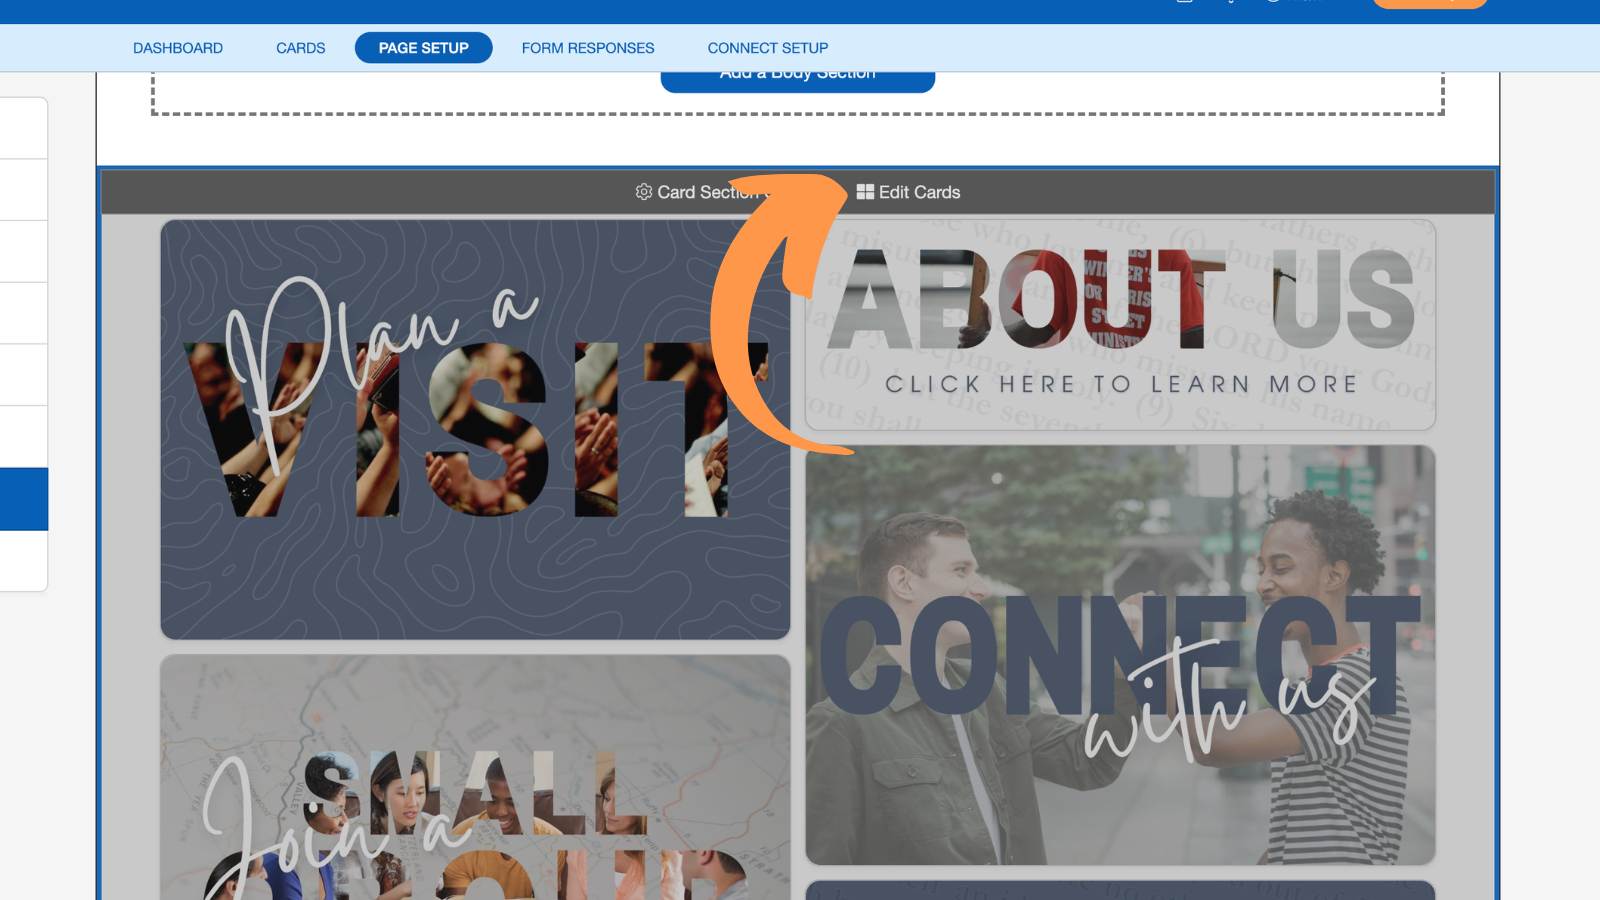
To edit the Cards on the page you're viewing, click Edit Cards for This Page.
Footer
The Footer appears on every page of your website, making it a great place to include important contact information and links that visitors may need from anywhere on your site.
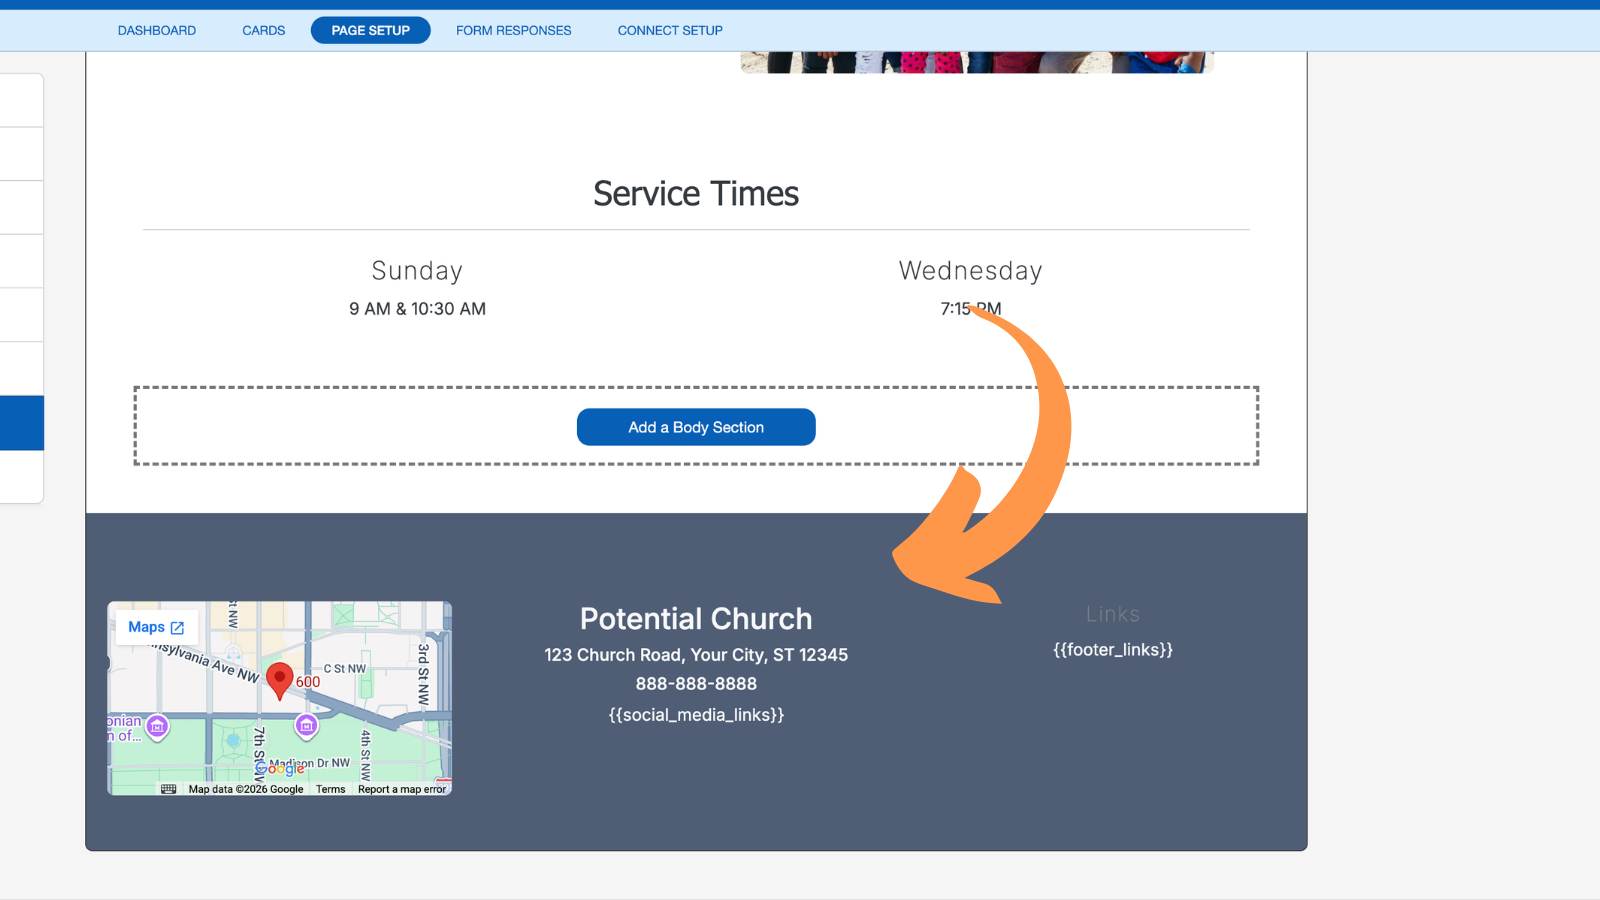
Most churches use the Footer to include:
- Church address
- Contact information
- Service times
- Social media links
- Important navigation links
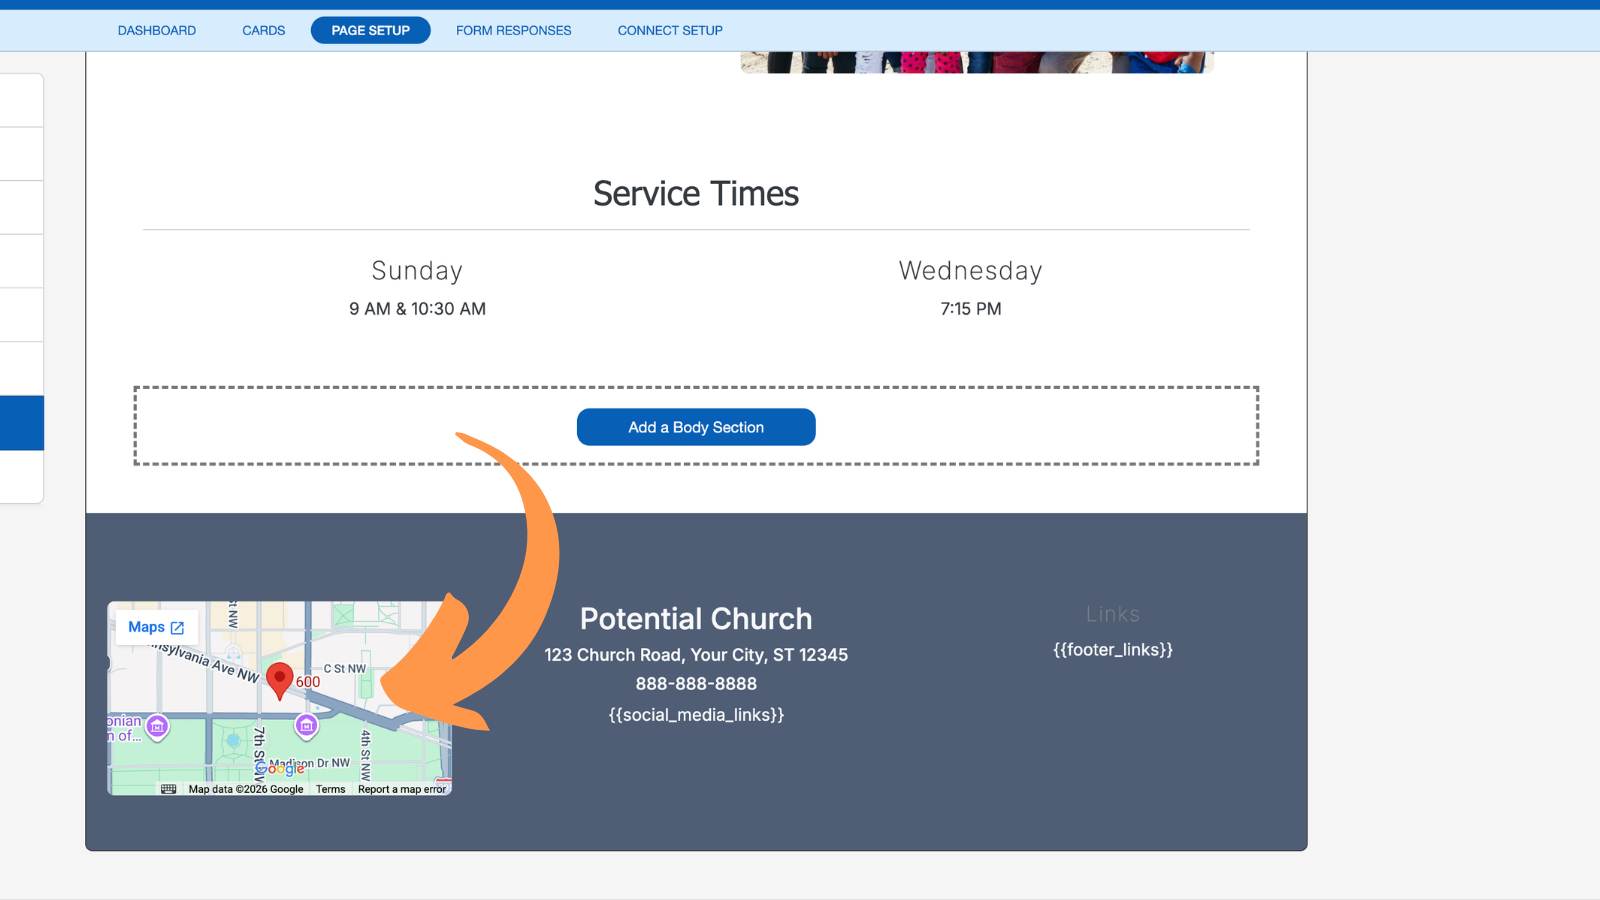
Google Maps
We also recommend enabling Google Maps so visitors can easily find your church.
App Store Buttons
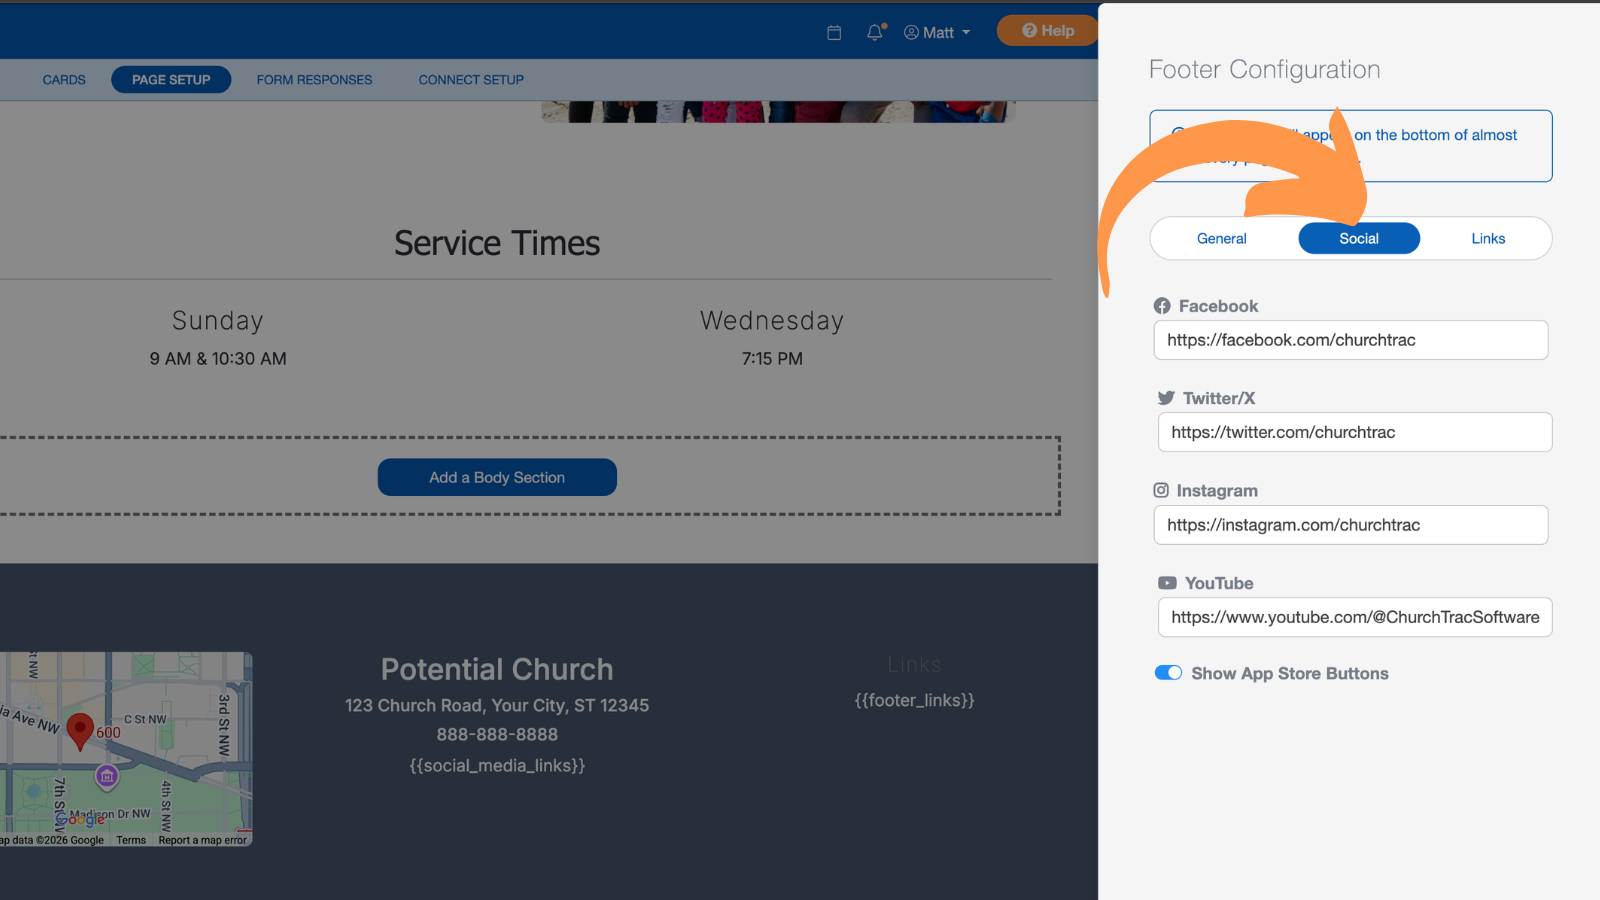
If you've created a Church Connect mobile app, you can also display App Store buttons from the Social tab of the Footer settings.
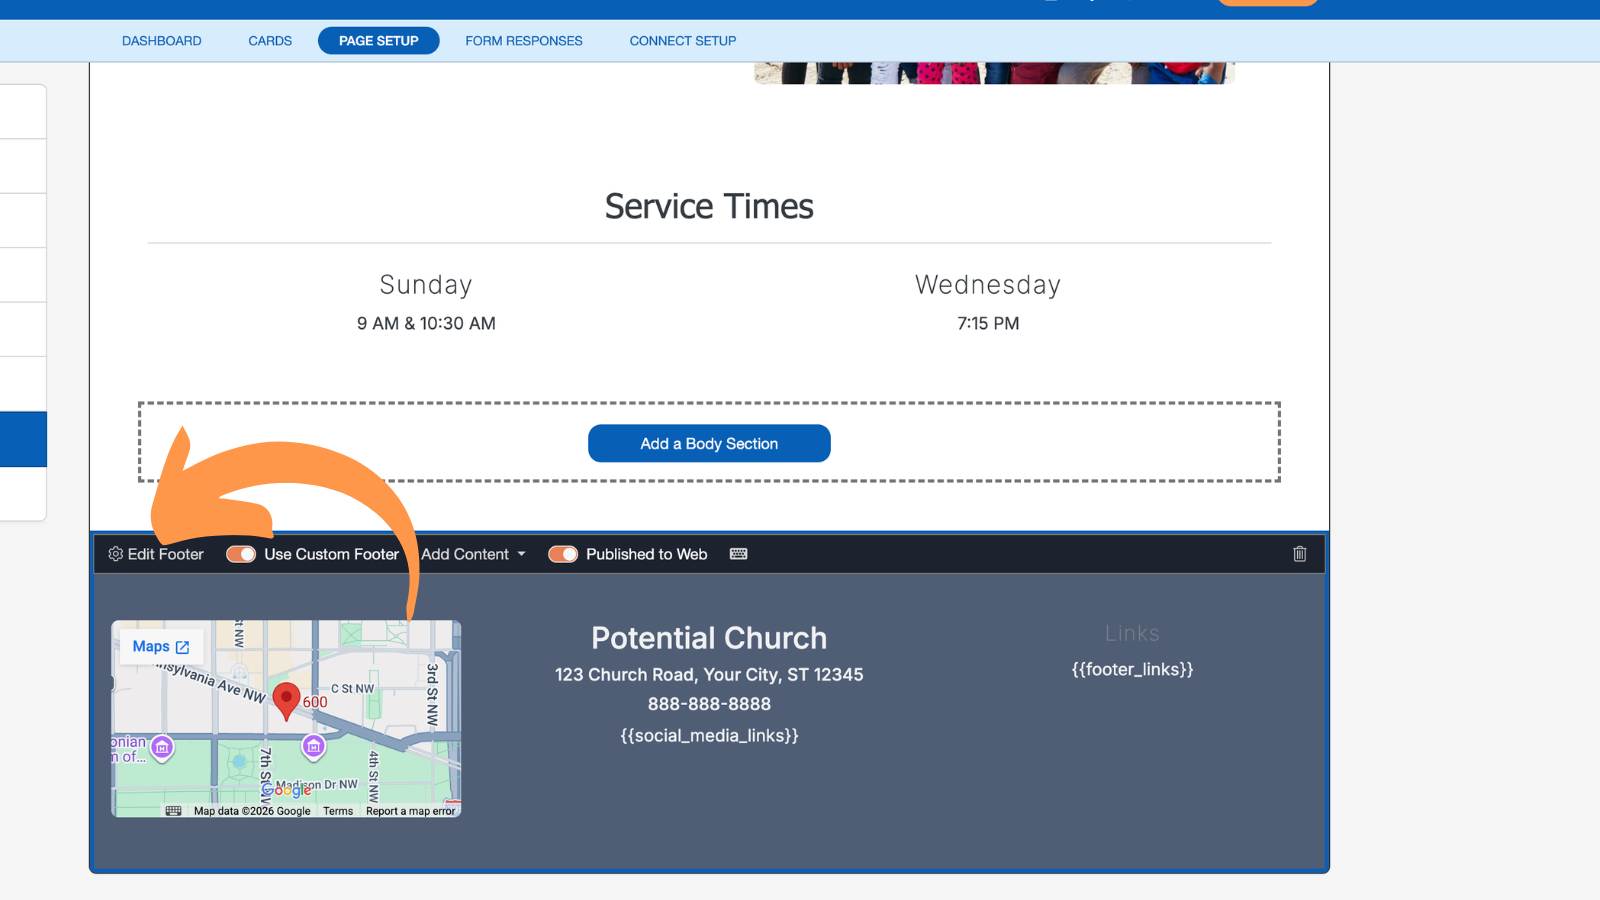
First, select the "Edit Footer" button.
Then, choose the "Social" tab and enable the "Show App Store Buttons" option.
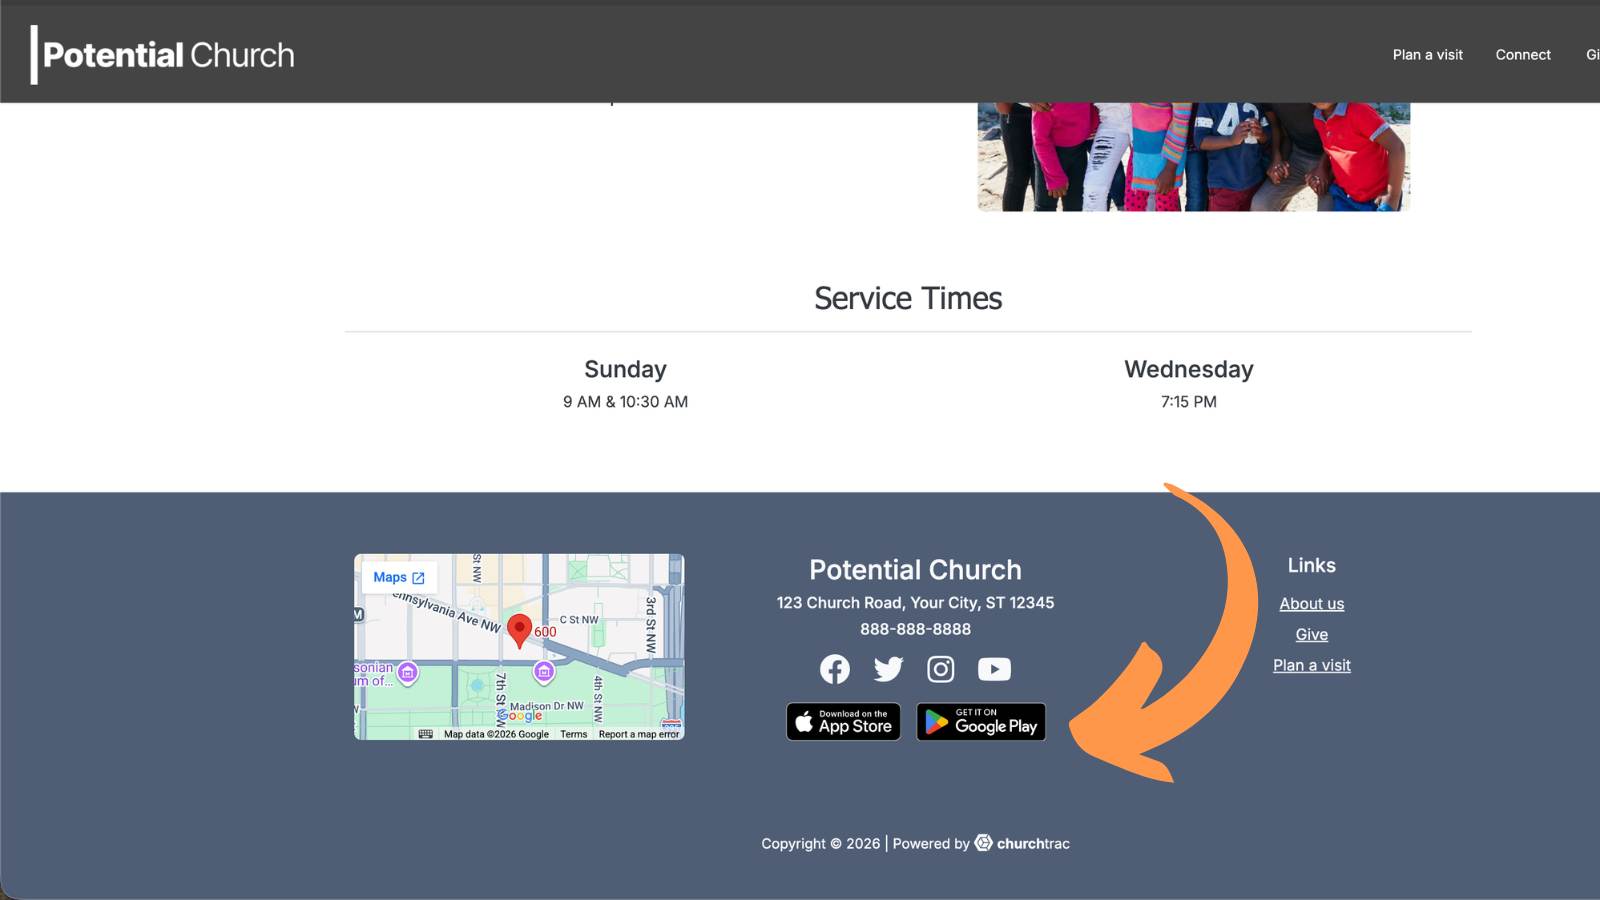
Your app store icons will appear in your header just below your church information.
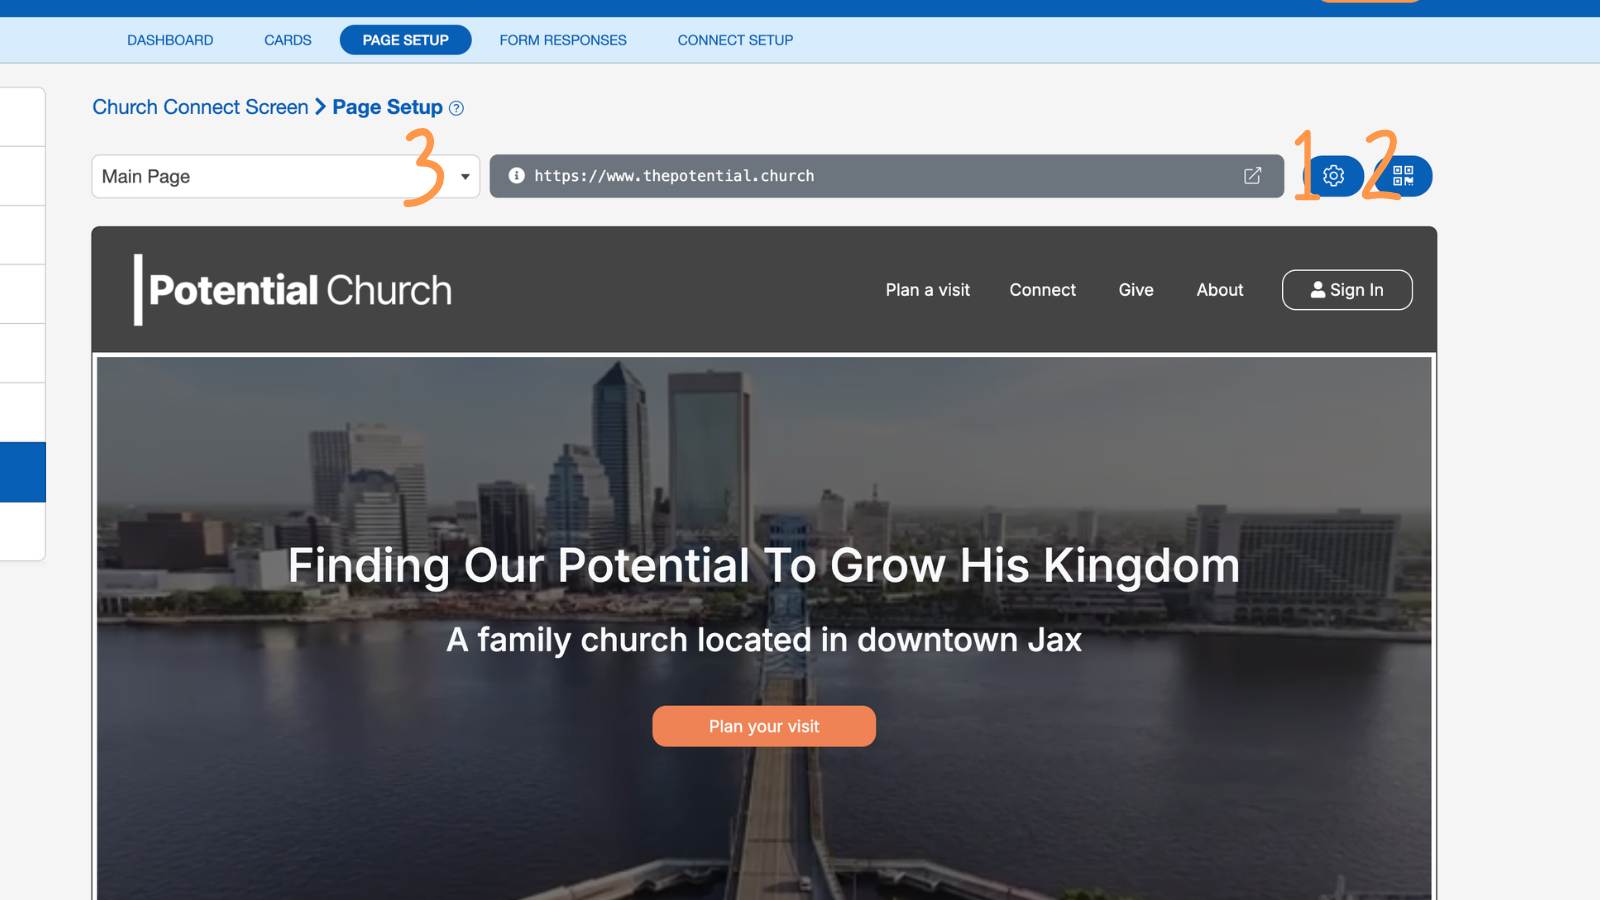
Additional Page Tools
While customizing your website, you'll also see a few tools across the top of the Page Setup editor.
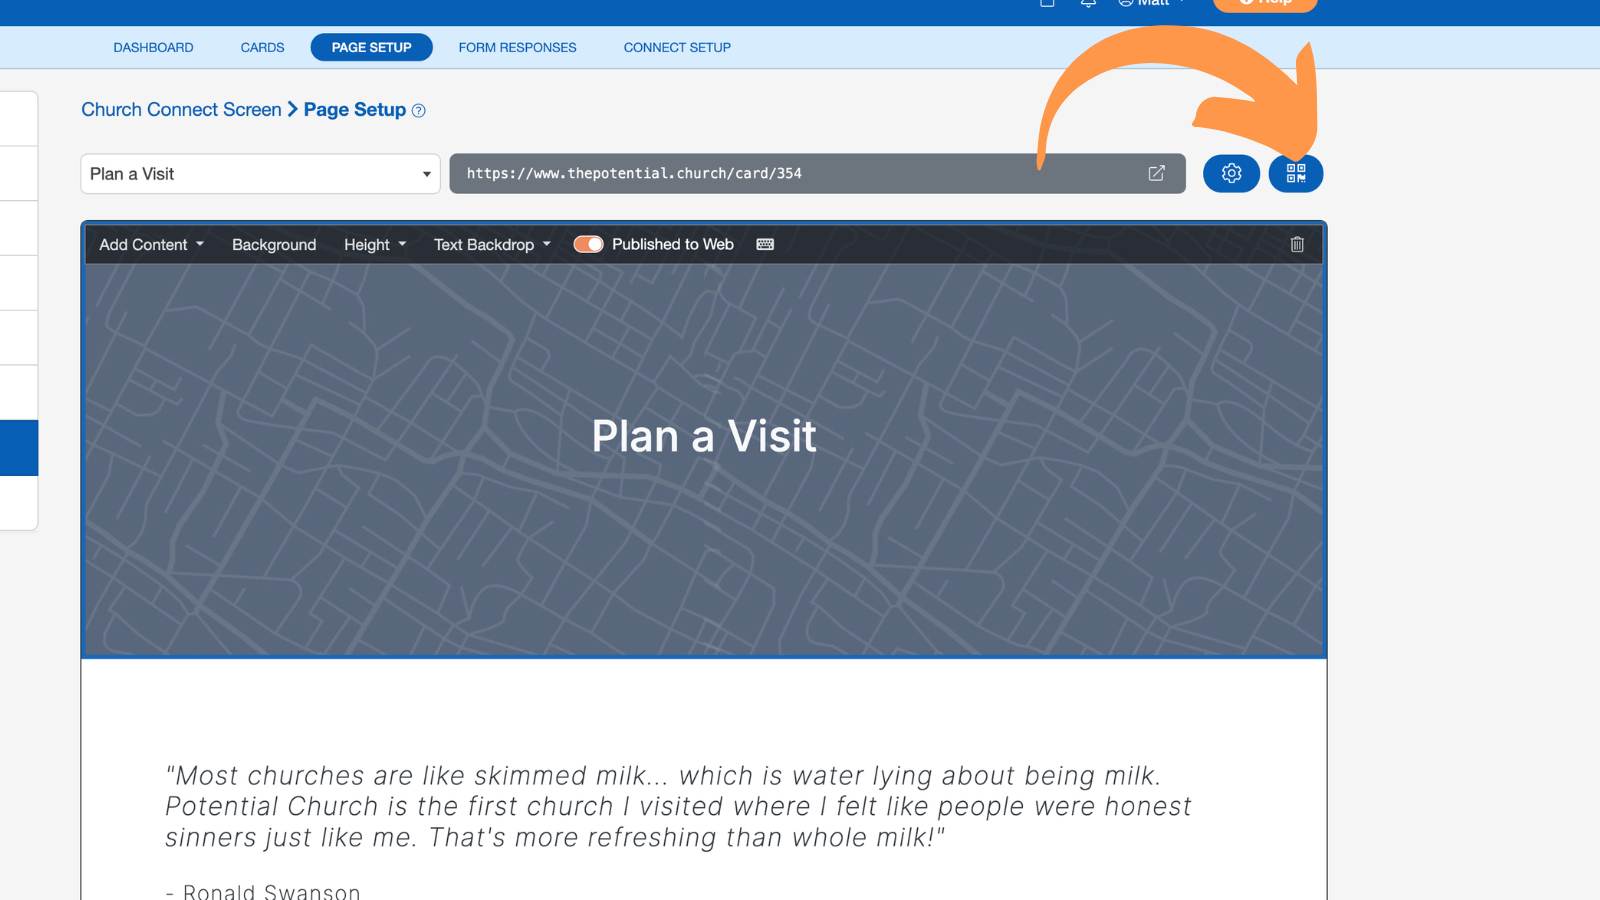
Page Options (#1) (cogwheel icon), QR Code/URL (#2), and the Connect Page menu (#3).
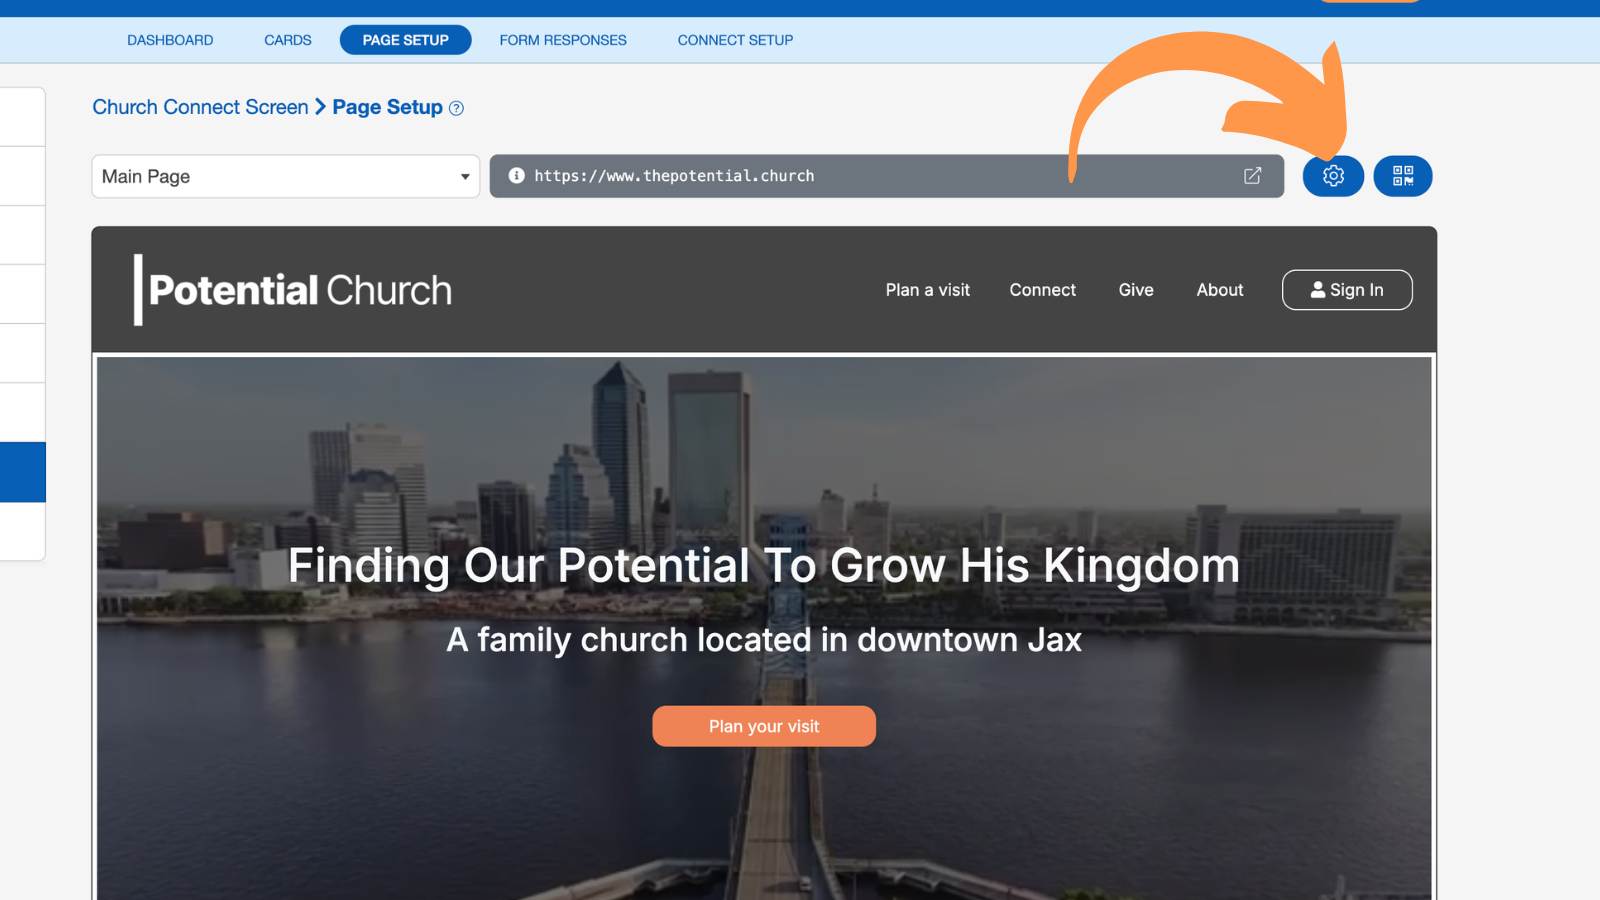
Page Options
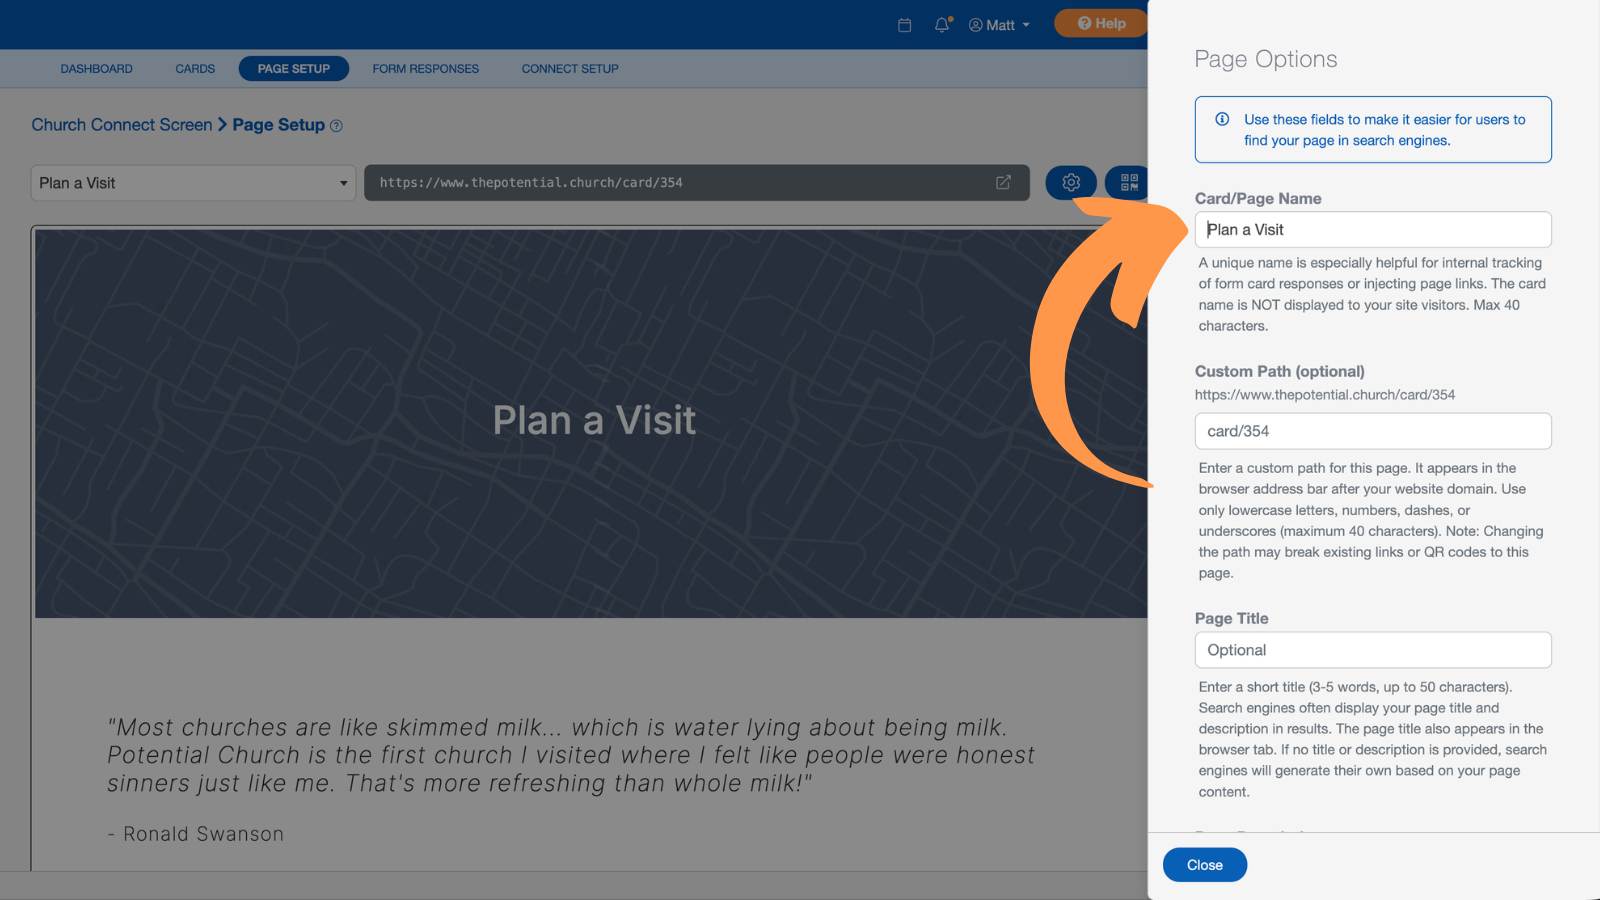
Select the Page Options (cogwheel) icon to edit how your page appears in browsers and search engines.
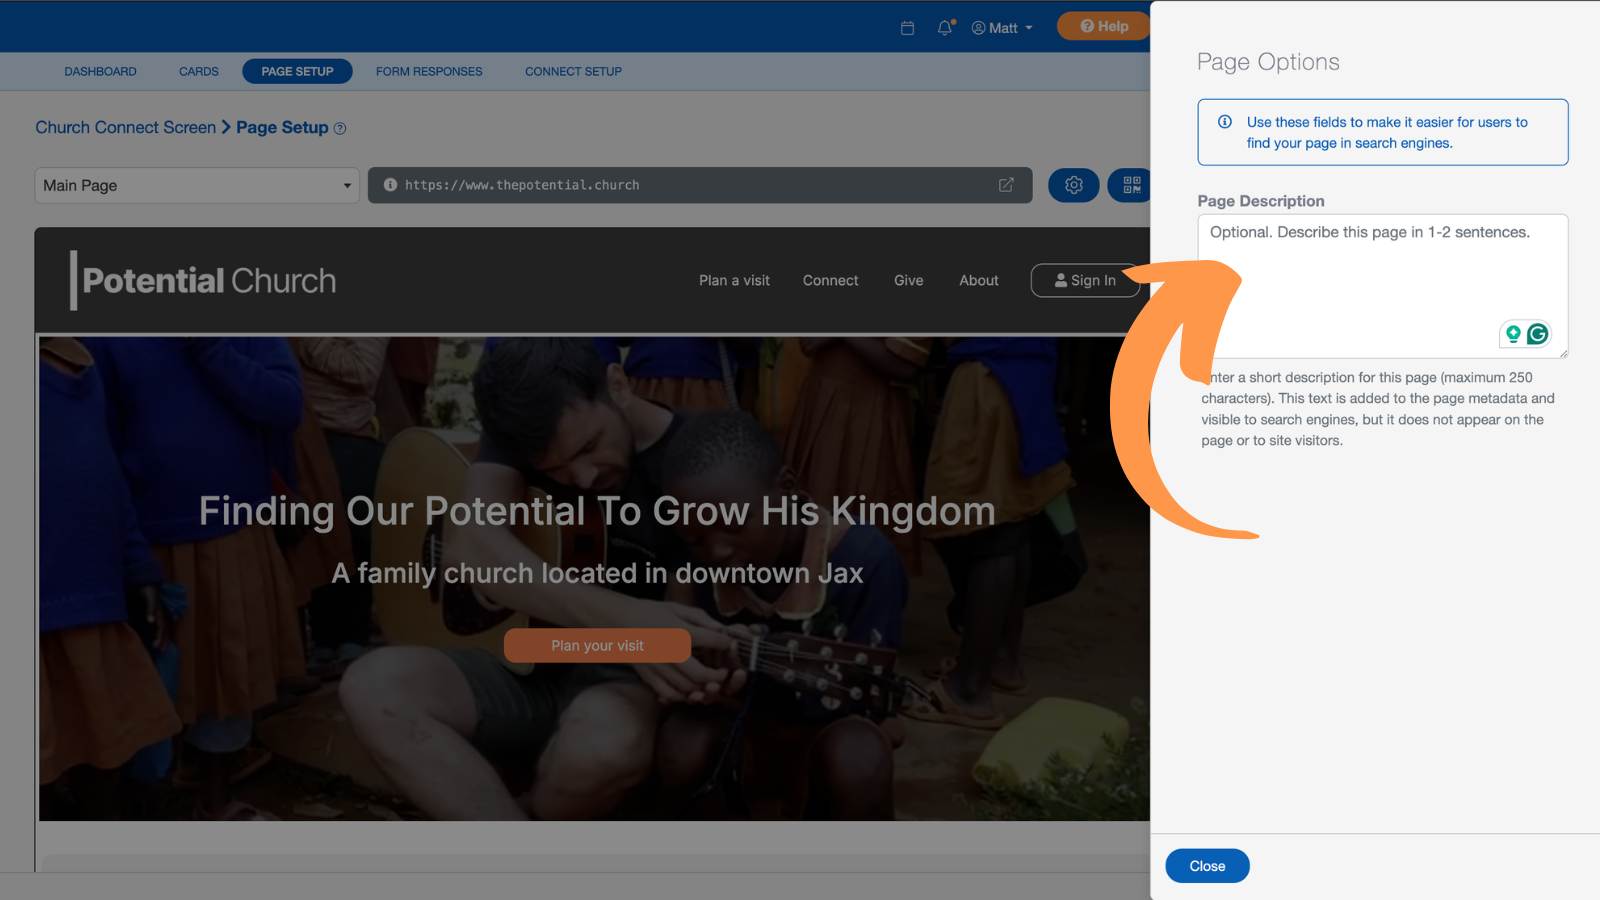
Adding a clear page title and description helps search engines understand your content.
You can add a Page Description—up to 250 characters—that summarizes the content of your page. This description isn’t visible to visitors but helps search engines better understand your page.
QR Code/URL
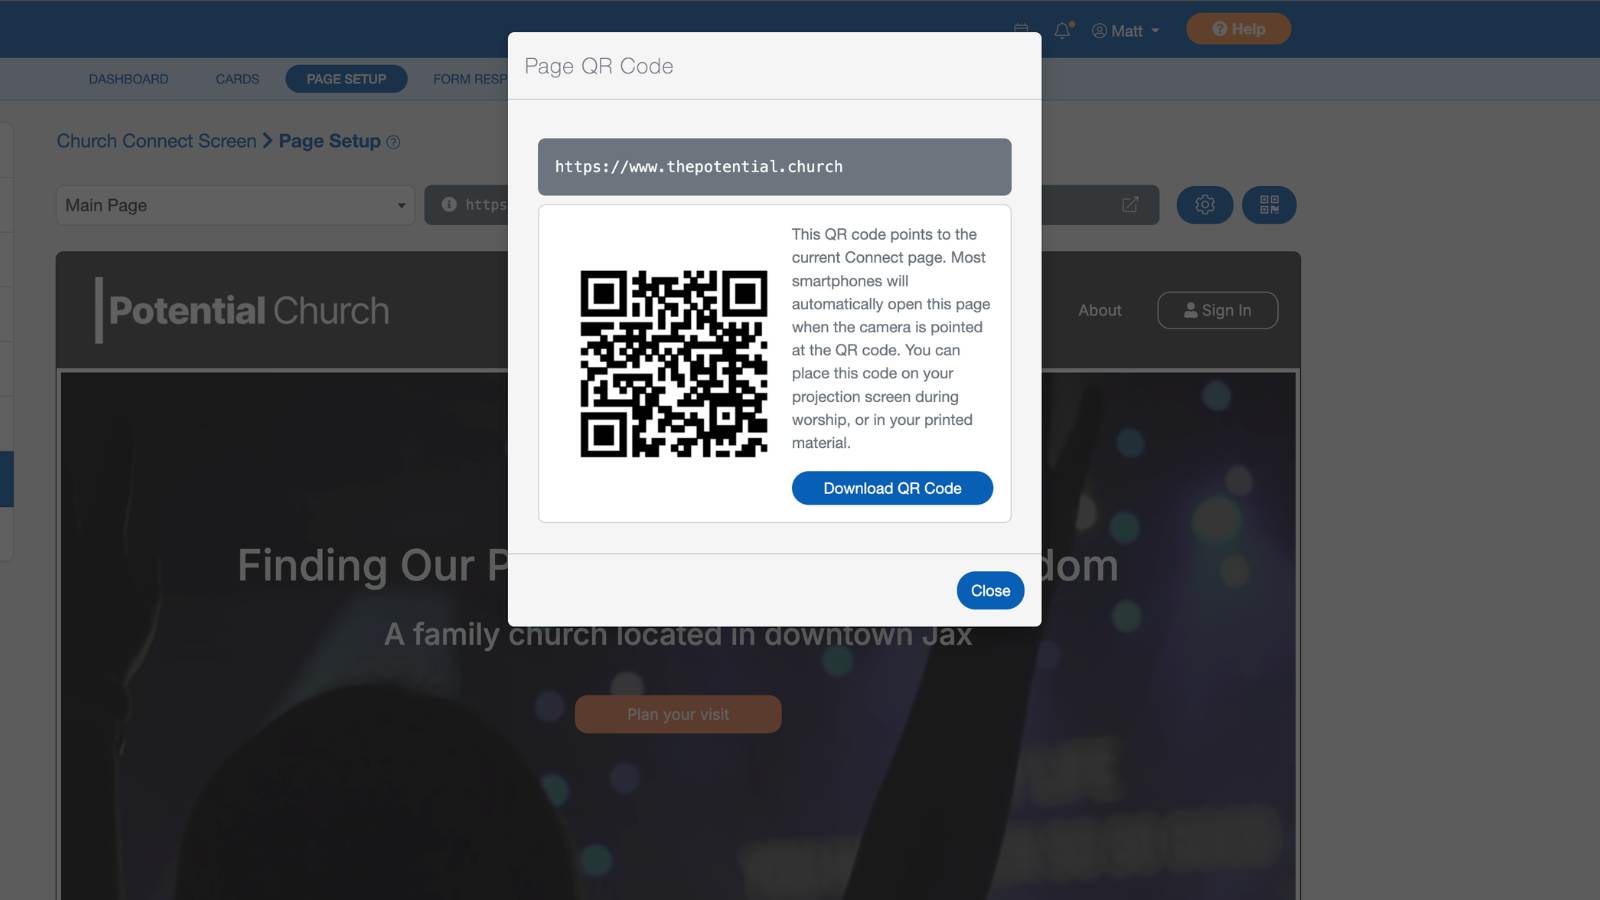
Select the QR Code icon to quickly copy a page's direct URL or generate a QR code. Most smartphones will automatically open the page when the camera is pointed at the code.
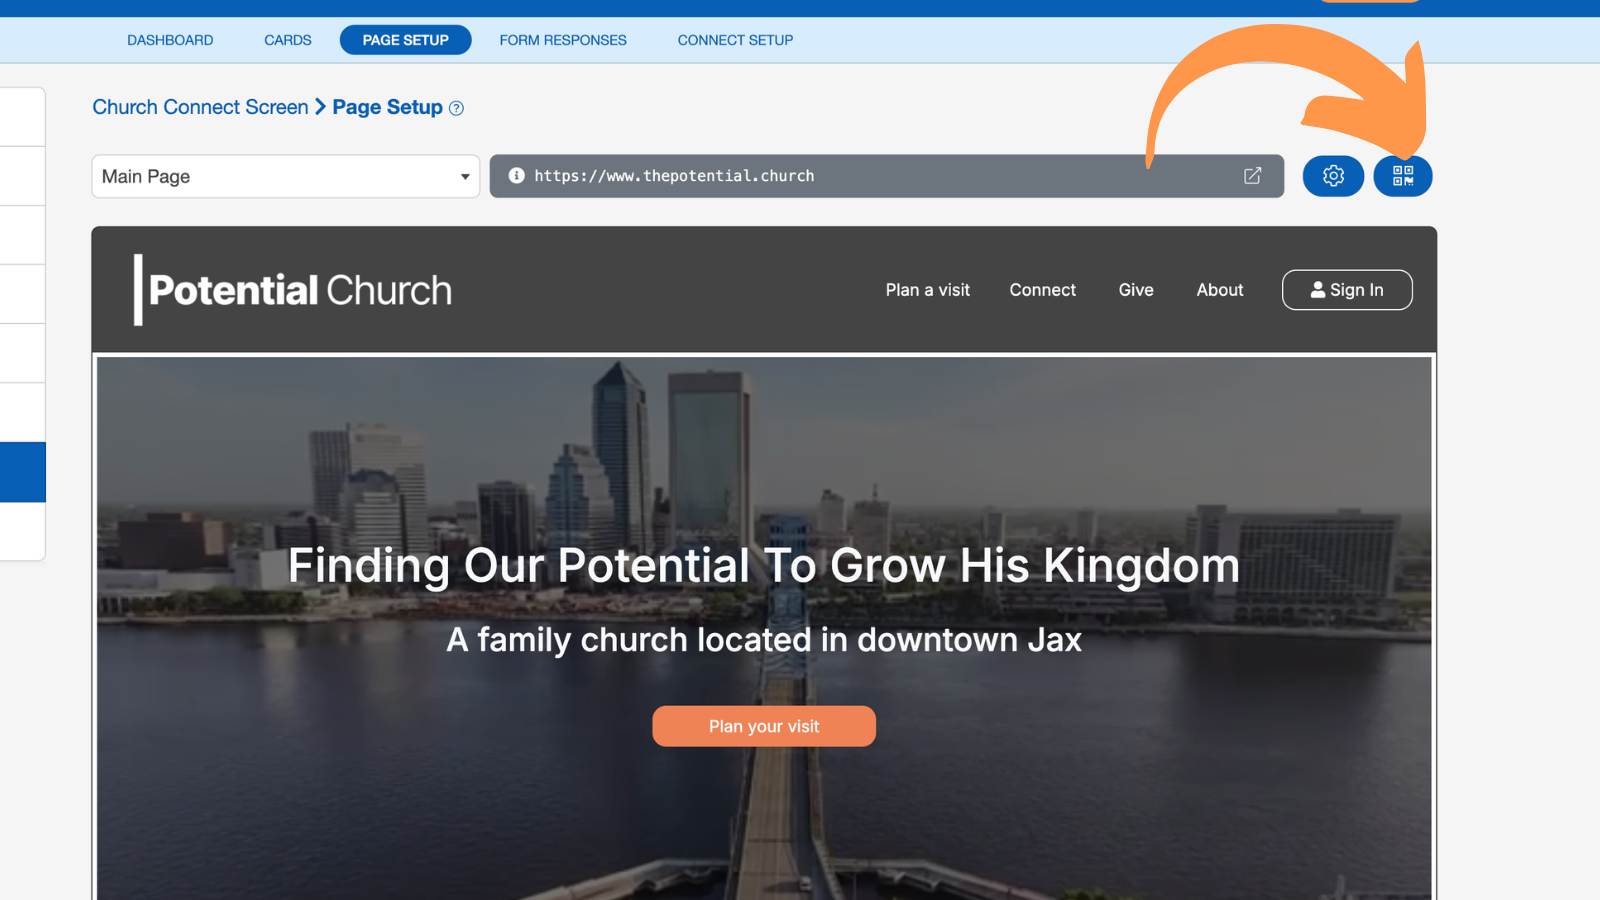
This is perfect for displaying on screens during services or adding to printed materials like bulletins, flyers, or signs.
Connect Page Menu
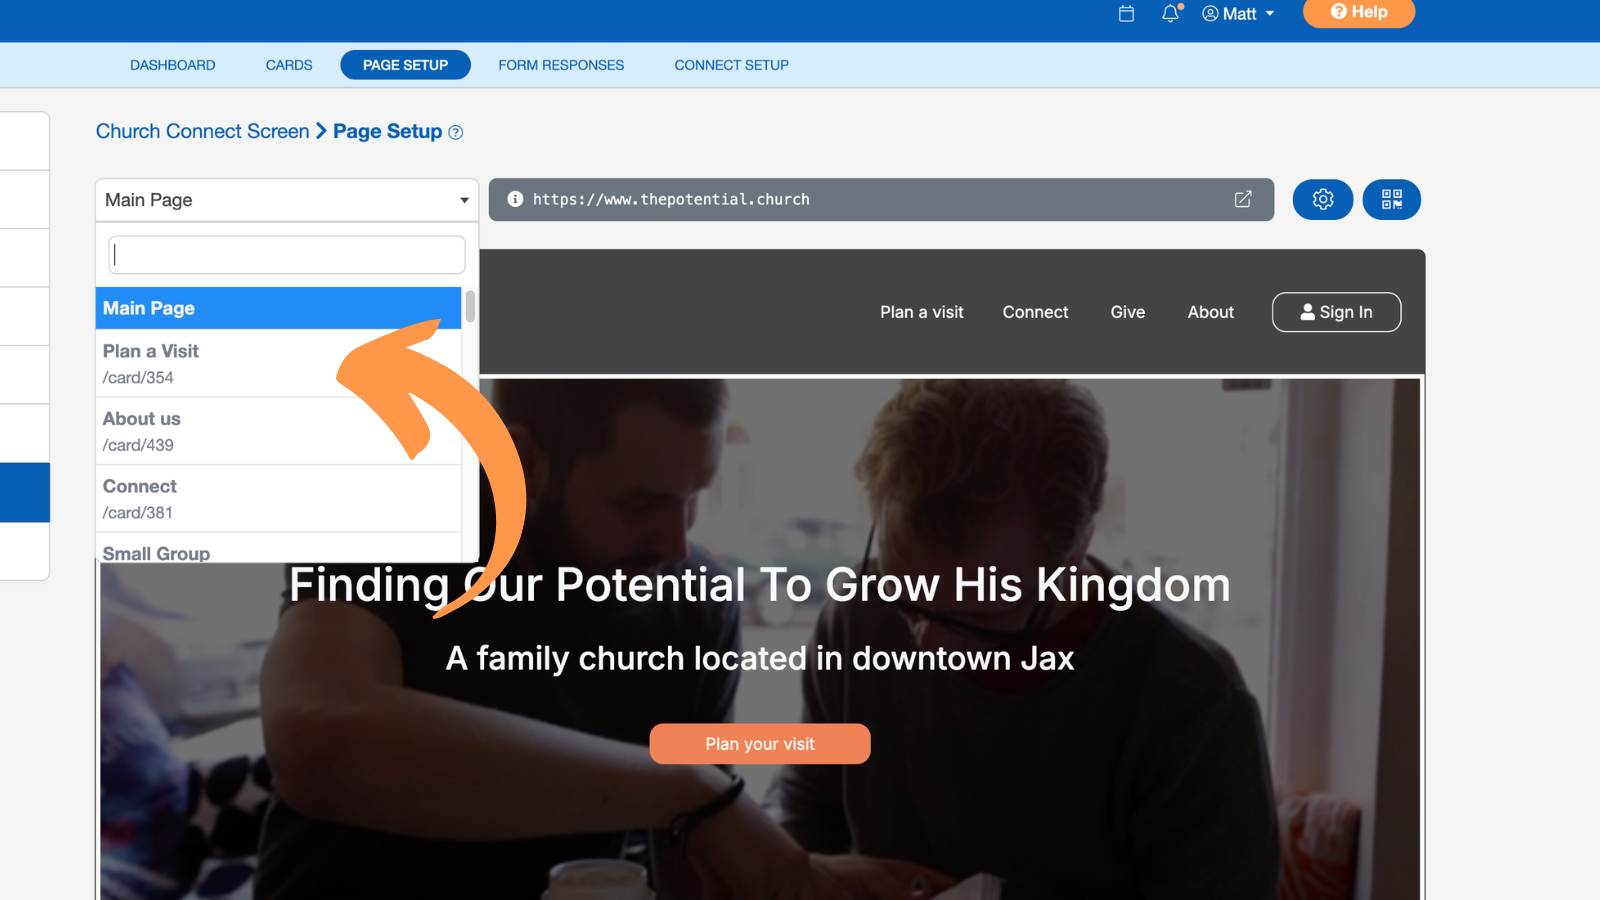
Use the Connect Page Menu to switch between pages on your website.
From here, you can:
- Rename pages
- Create custom page paths
- Edit page titles
- Add page descriptions
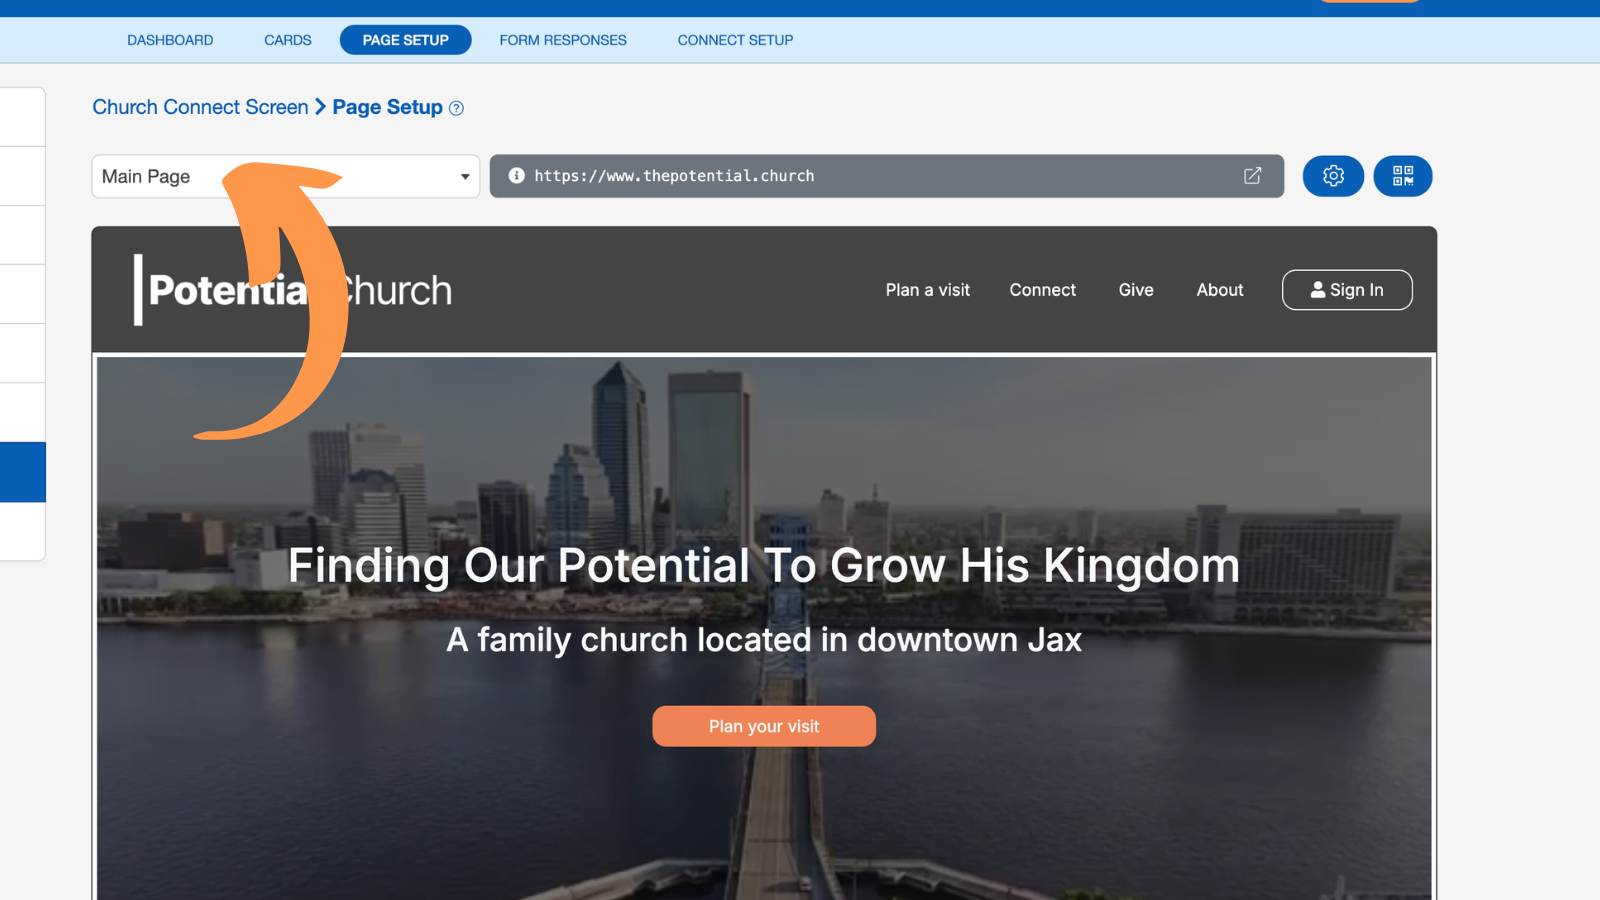
First, select the Connect Page menu and choose the page you want to view.
The Page Options allows you to name your card/page, create a custom path for that page, and create a page title.
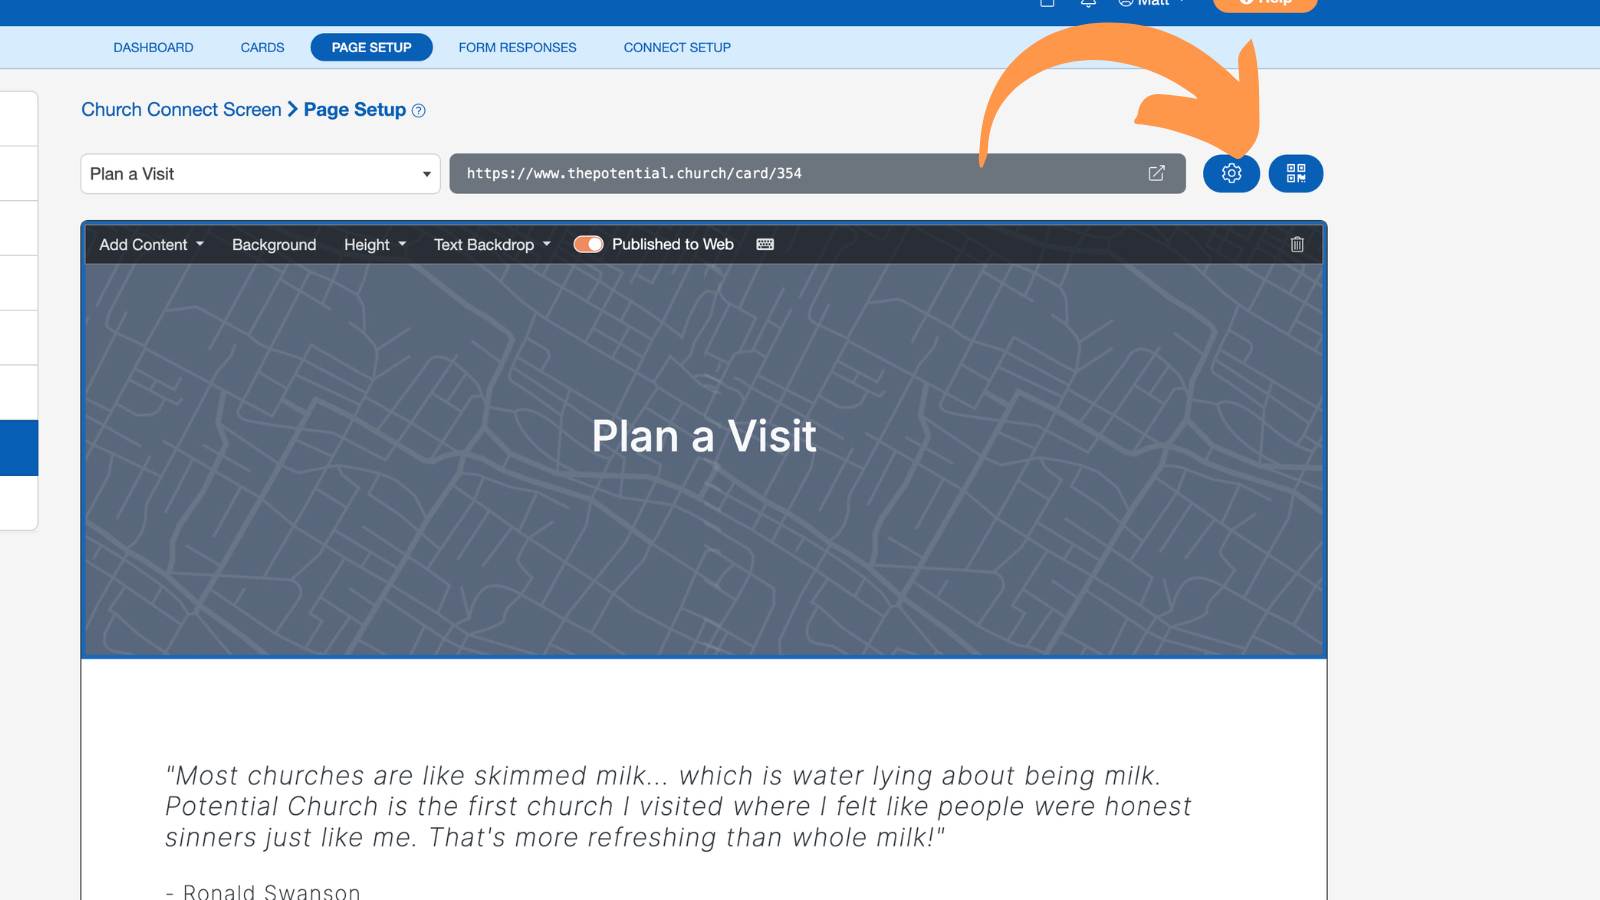
You can create a custom path for each page you create. On many browsers, this will be displayed in the address bar after your website domain. This is especially important for local SEO and sharing information with your members.
Quickly share your URL or generate your page’s QR code to make it easy for people to access your content.