Check-In Overview [OLD]
ChurchTrac features a complete church check-in system for your children's ministry. You can check in an entire family and generate check-in labels, security (pick-up) labels, and name tags while marking family members present for an event.
Our church check-in software adds an additional layer of security to ministry while simplifying the process of tracking church attendance.
- What Do I Need to Use Check-In?
- Using Groups with Check-In
- Creating a Check-In Attendance Event
- Label Printer Setup
What Do I Need to Use Check-In?
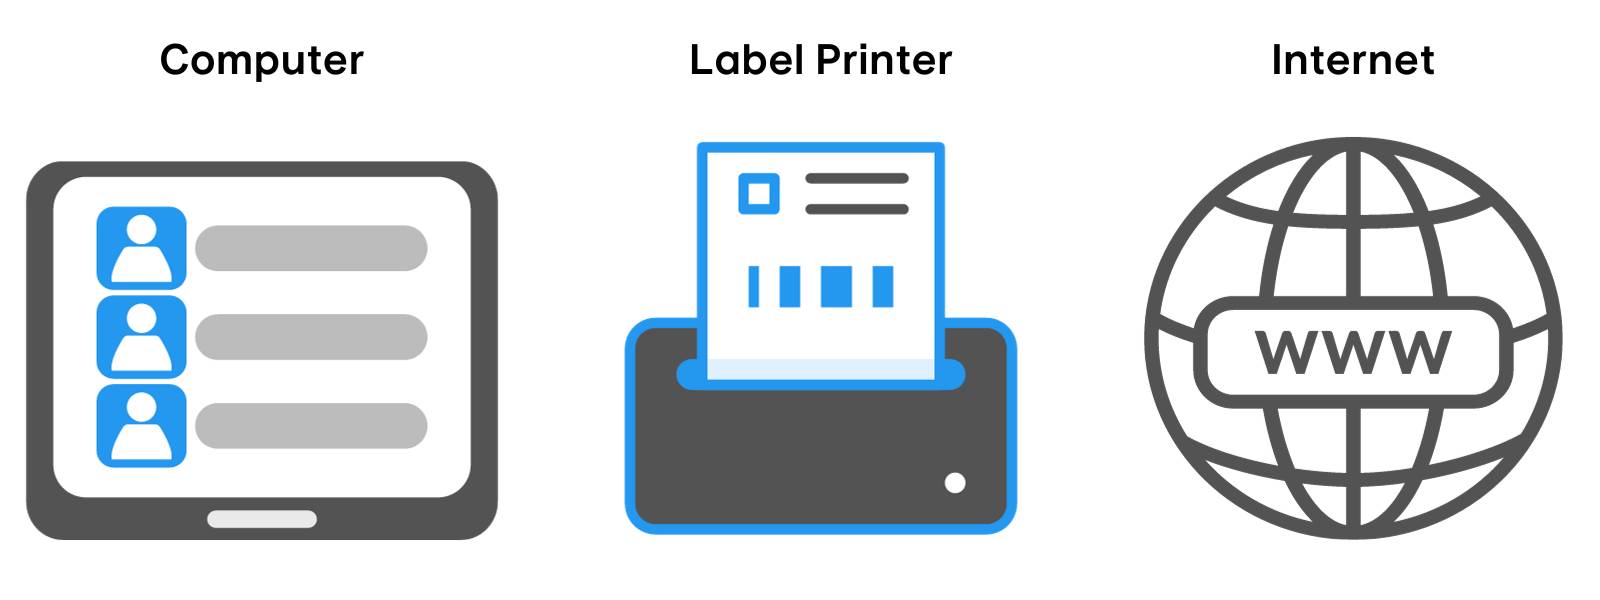
To use Check-In you will need a compatible label printer, a computer/ iPad, and a stable internet connection.
 See our Recommended Check-In Setup article to learn more about the ideal hardware configuration to use with ChurchTrac's Child Check In System.
Compatible Computers
PCs running Windows 10 or higher or Macs running macOS 11 to 13.5 (macOS 14 not compatible with label printers)
Compatible Ipads
Ipads running IOS15 or higher. Learn more about using an iPad with Check-In HERE.
Compatible Label Printers
Check-In works with most Brother Label Printers. To learn more, check out our label printer setup article.
Compatible Web Browsers
- For PC's, use Google Chrome Browser.
- For Macs, use Mozilla Firefox.
- For iPads, use the default Safari web browser.
Using Groups with Check-In
In order to use Check-In, you'll need to create and assign Group Tags to each child/individual that you plan on checking into an event. It is recommended to do this ahead of time in the People Screen (your church database) to save time.
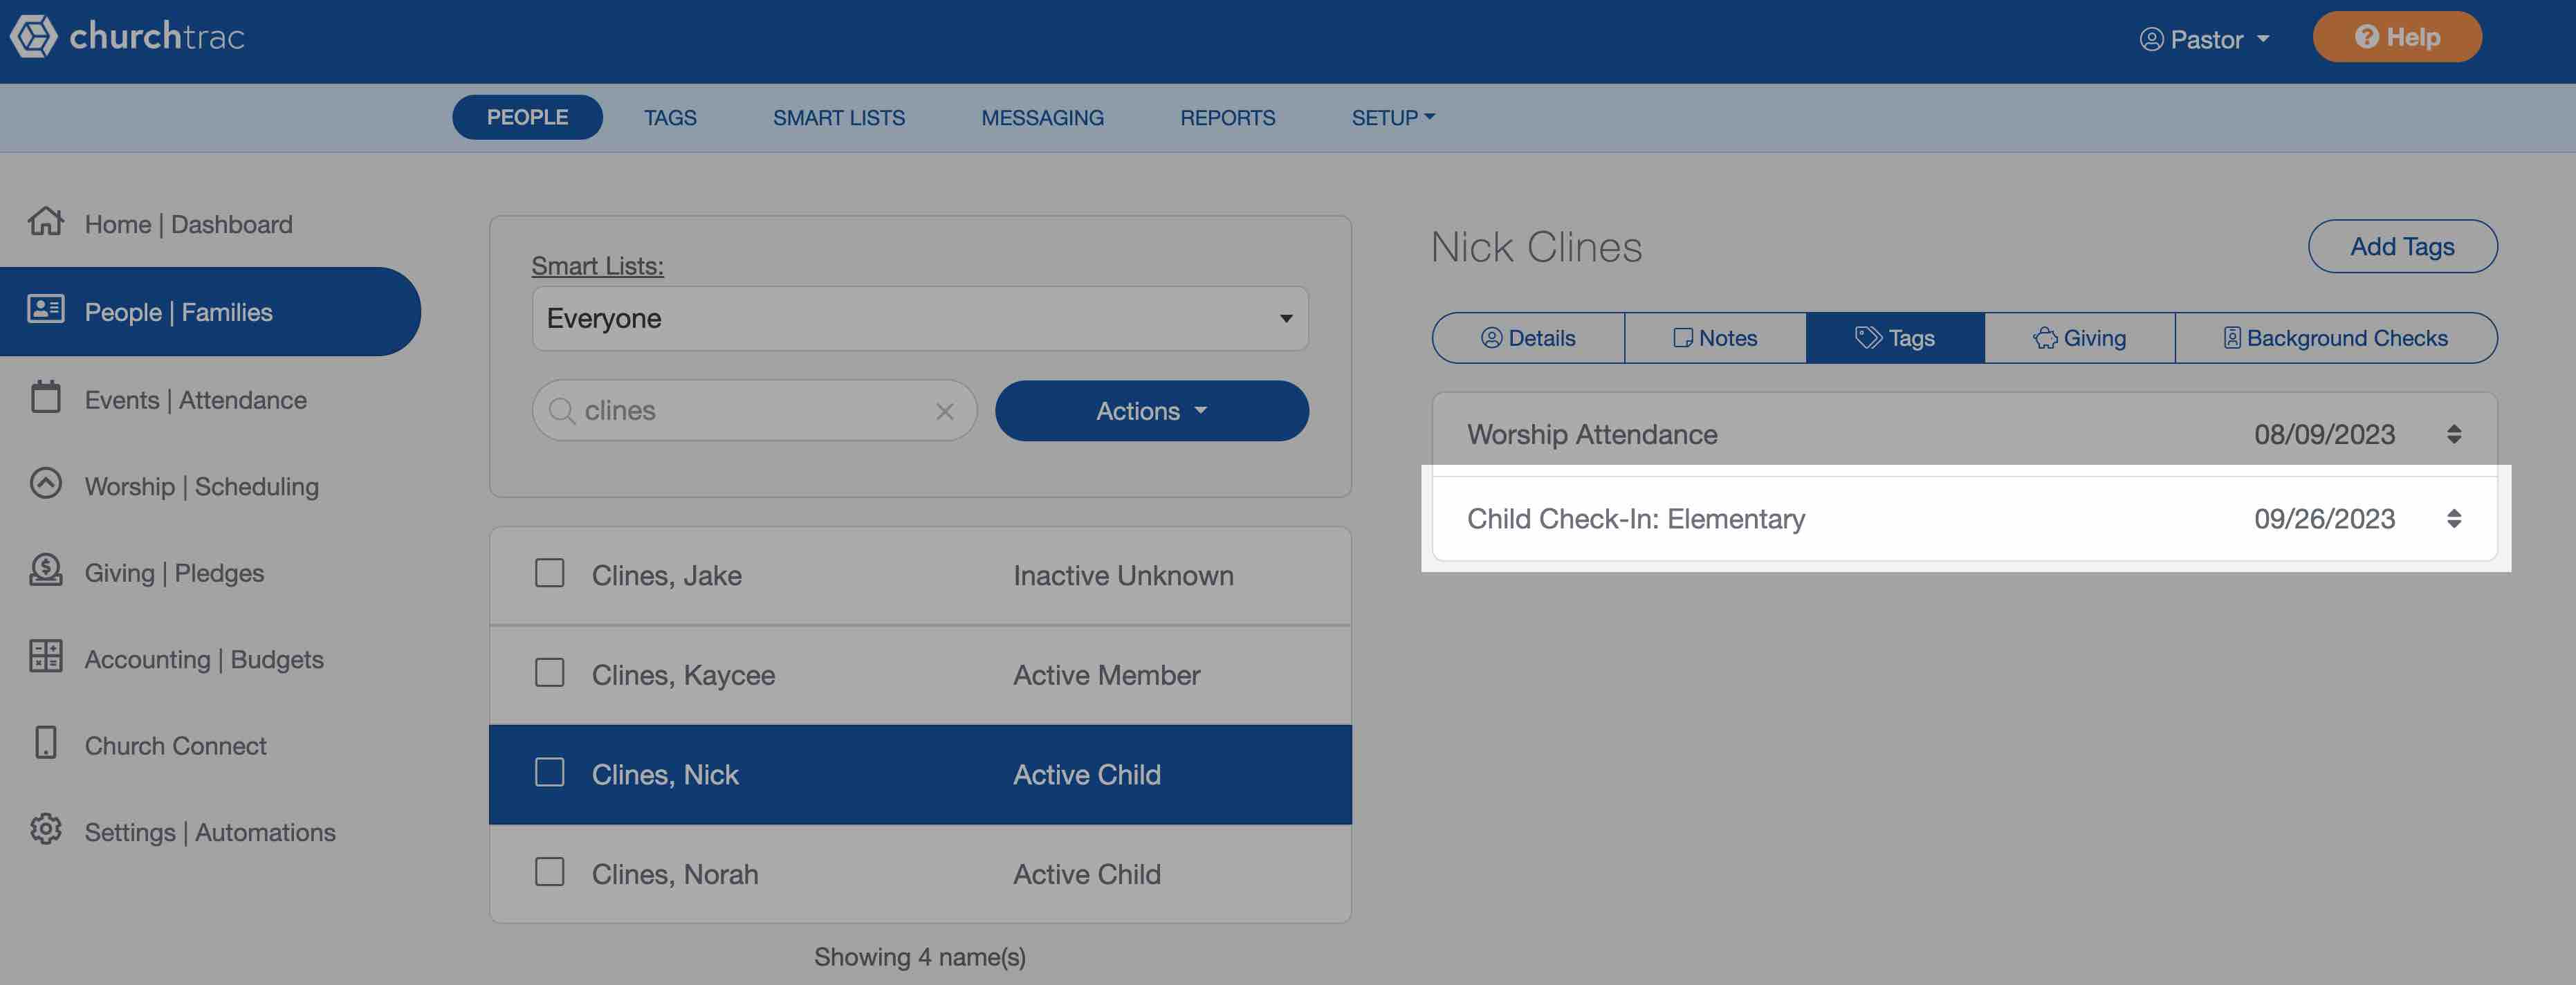
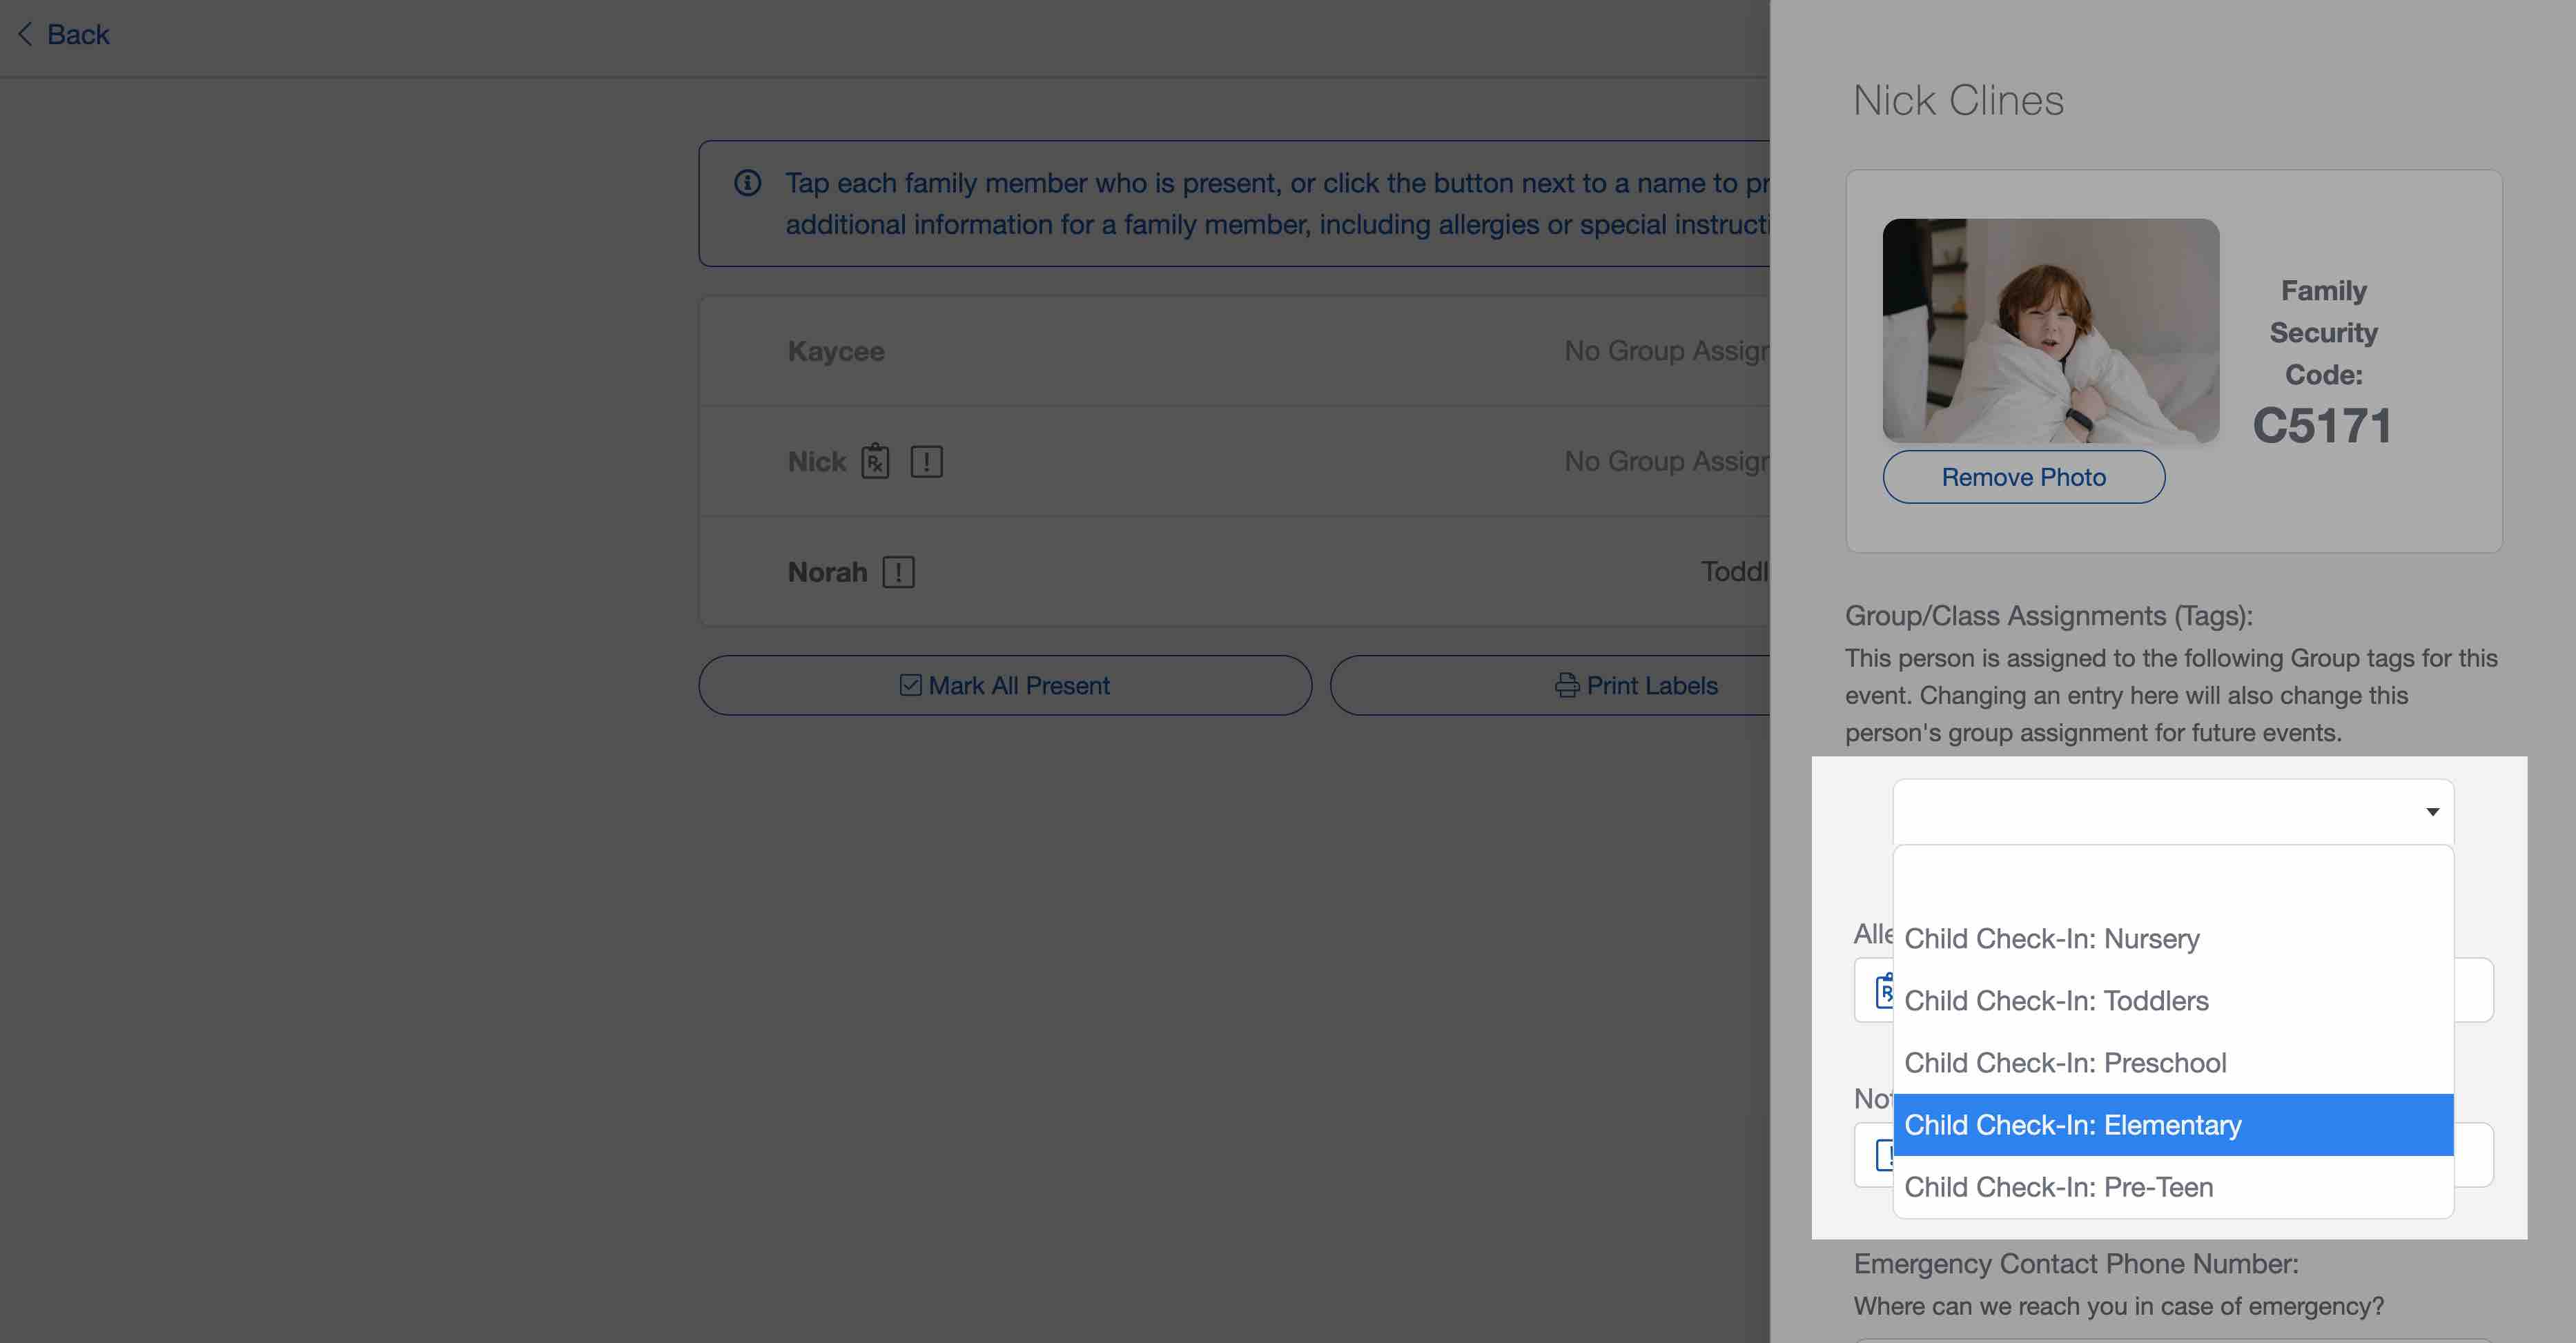
You can also assign a Group Tag to an individual from the Check-In Screen.
Creating a Check-In Attendance Event
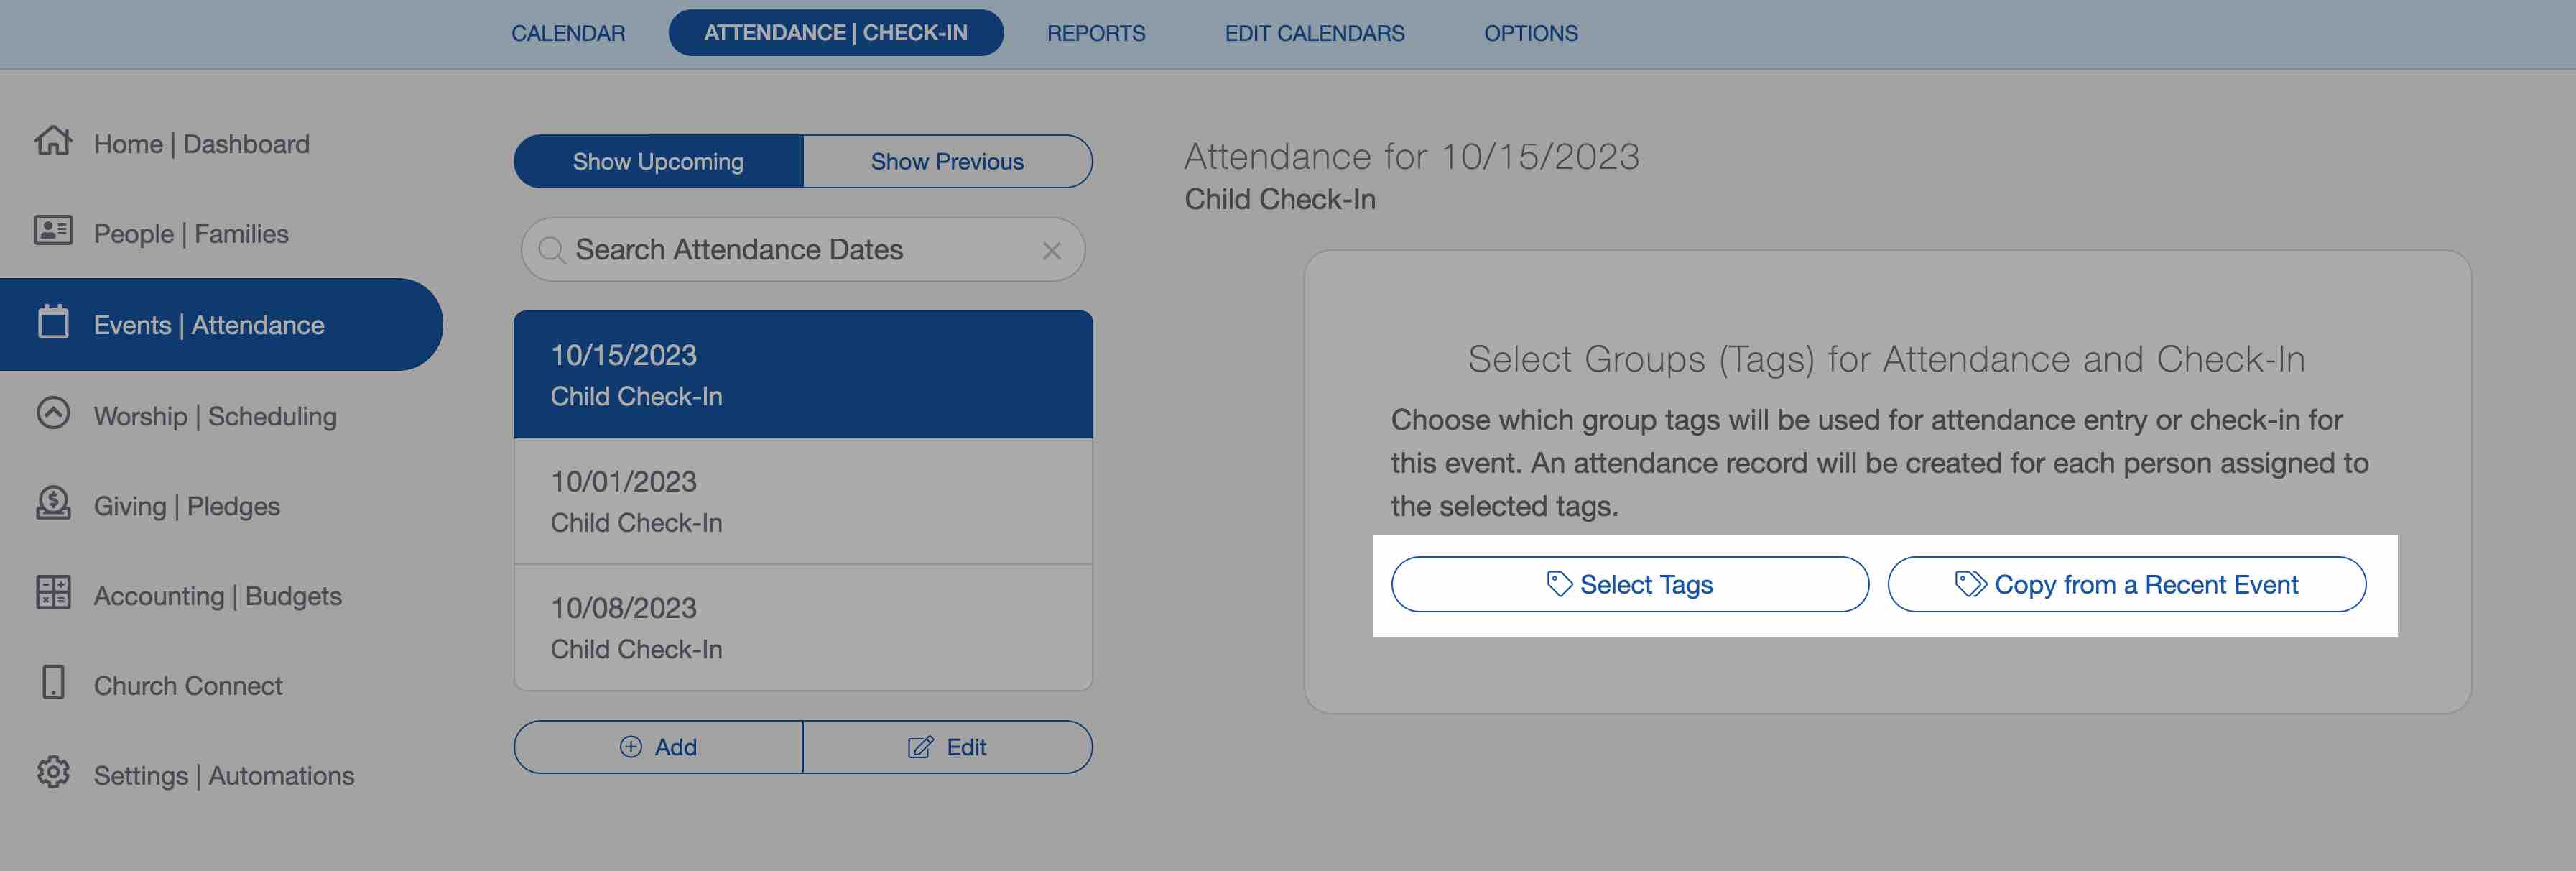
On the Events/Attendance screen, you will select the "Add" button to create a Check-In Event.

After you've named your event and selected the date and calendar for it to be on, you will proceed to assign your Group Tag(s) to the event. You can either select from a list of all your Groups or copy Groups from a recent attendance event.
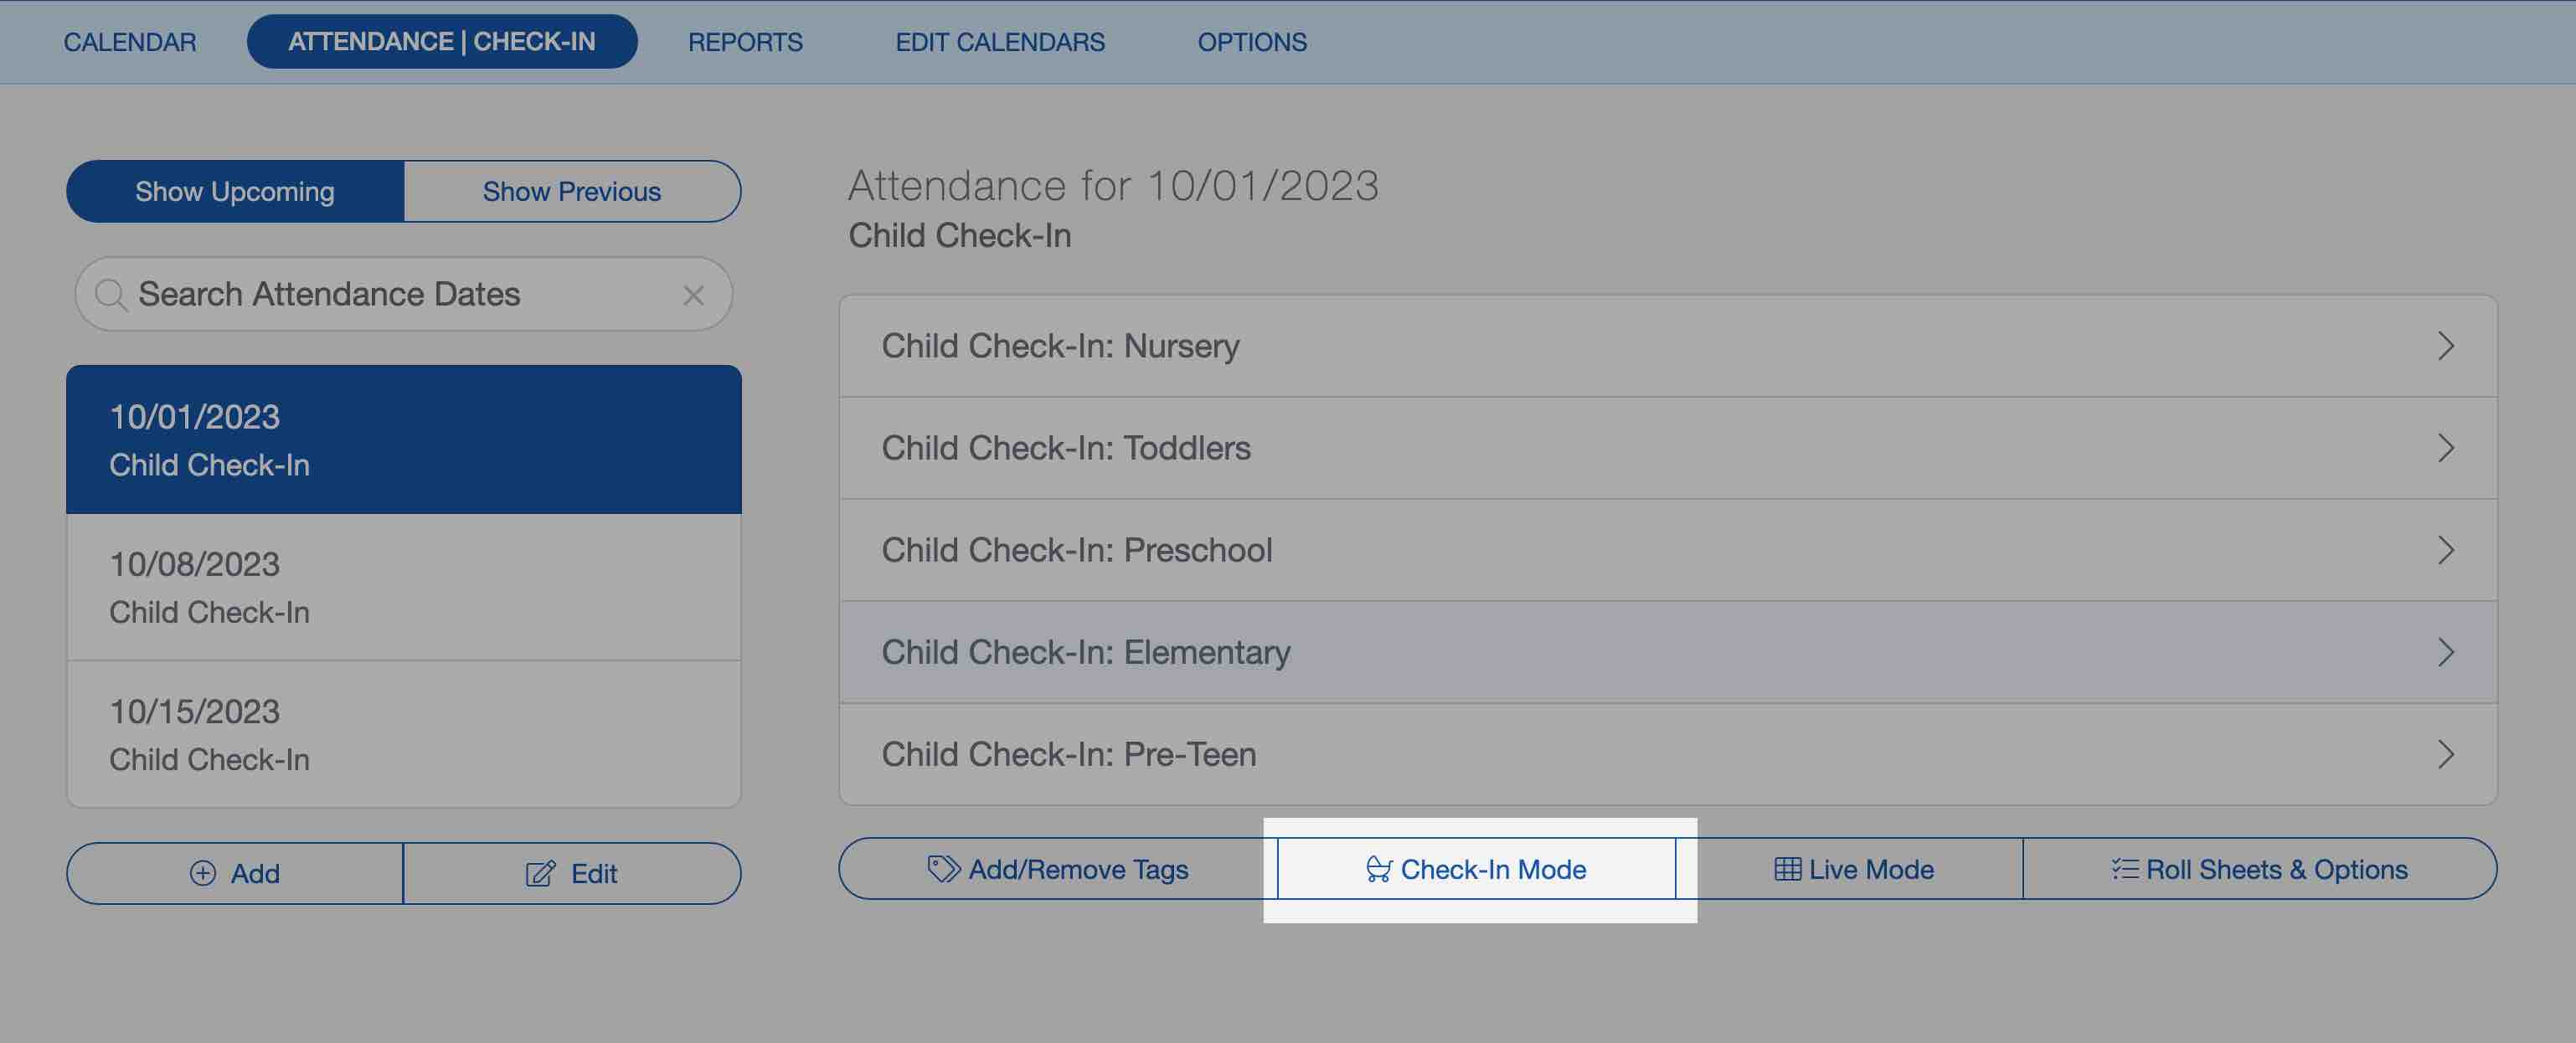
Once you select the attendance event you would like to start Check-In for, select the Check-In Mode button to start.
Label Printer Setup
If you plan on using a label printer with Check-In (recommended), you will need to configure your label printer. Read our label printer setup article to learn more.
Once you have grouped your people and have set up your label printer, you are ready to start using the church check in system. Using Check-In ›