Using the Register
To open the Account Register for an account, select the account's name on the Accounting dashboard.
- Using the Register
- Entering Transactions
- Keyboard Shortcuts
- Creating Giving Deposits
- Printing and Voiding Checks
- Transferring Money Between Funds
- Transferring Money Between Accounts
- Reconciling Transactions
- Recording Payroll Transactions
Using the Register
The register works very much like your checkbook register. It lists all the transactions for a particular account. You enter all your deposits and expenses into the register, and you can also transfer money between funds and accounts.
The register also lets you print checks, reconcile your accounts to your bank statements, and record payroll transactions.
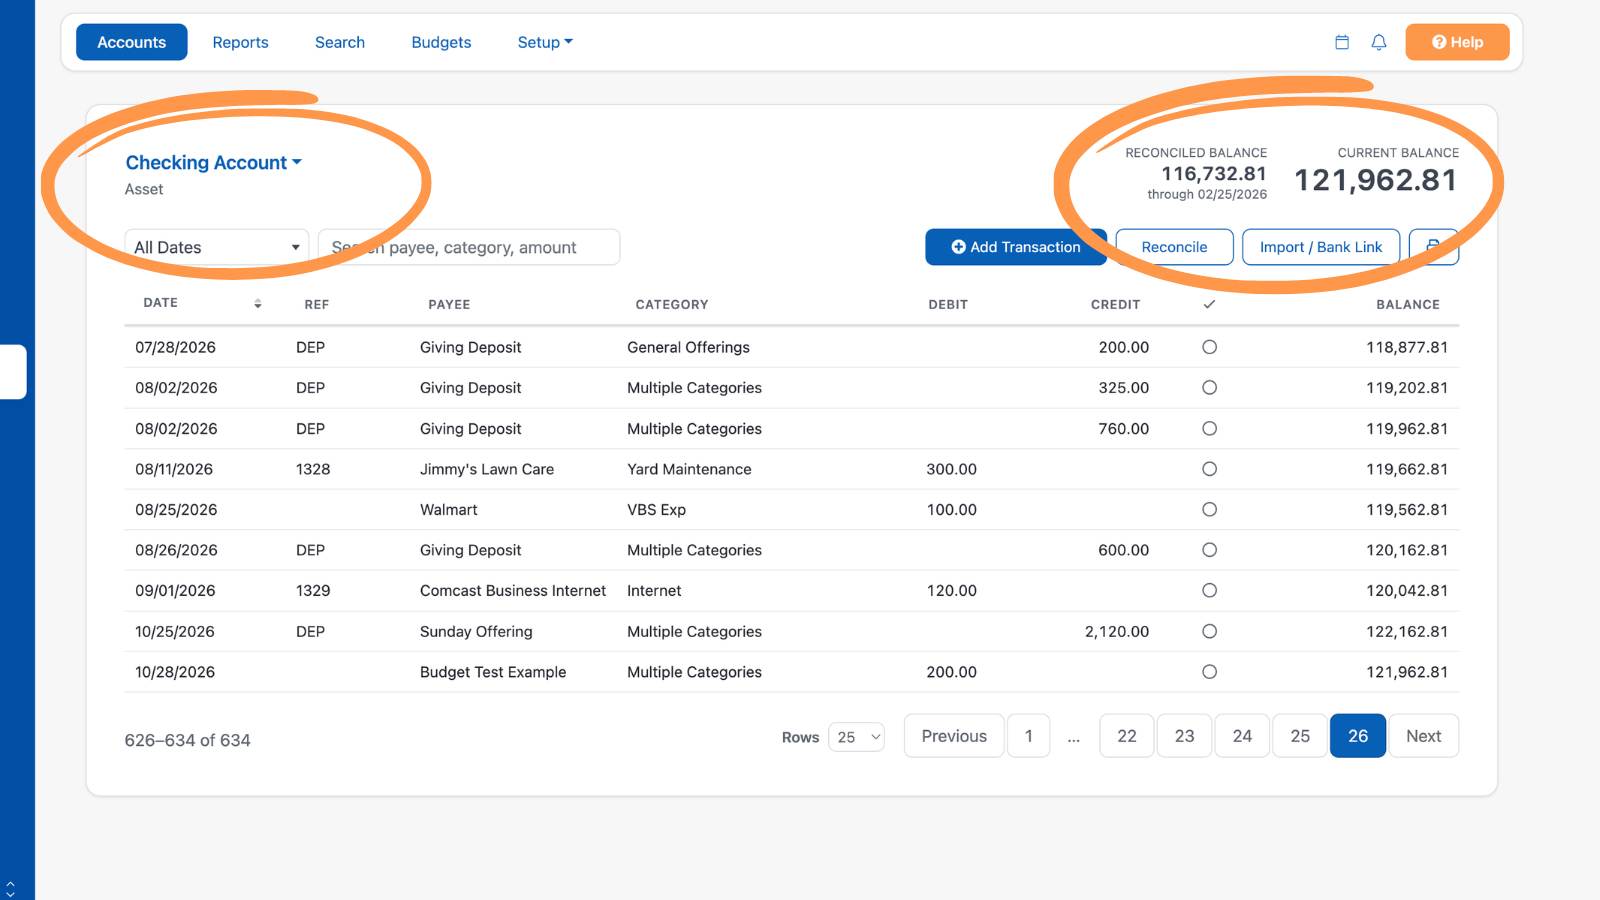
At the top of the register, you'll see:
- Account name: select the arrow next to the account name to switch to another account's register.
- Reconciled Balance: the balance of your reconciled transactions, and the date you last reconciled through.
- Current Balance: your account balance including every transaction you've entered.
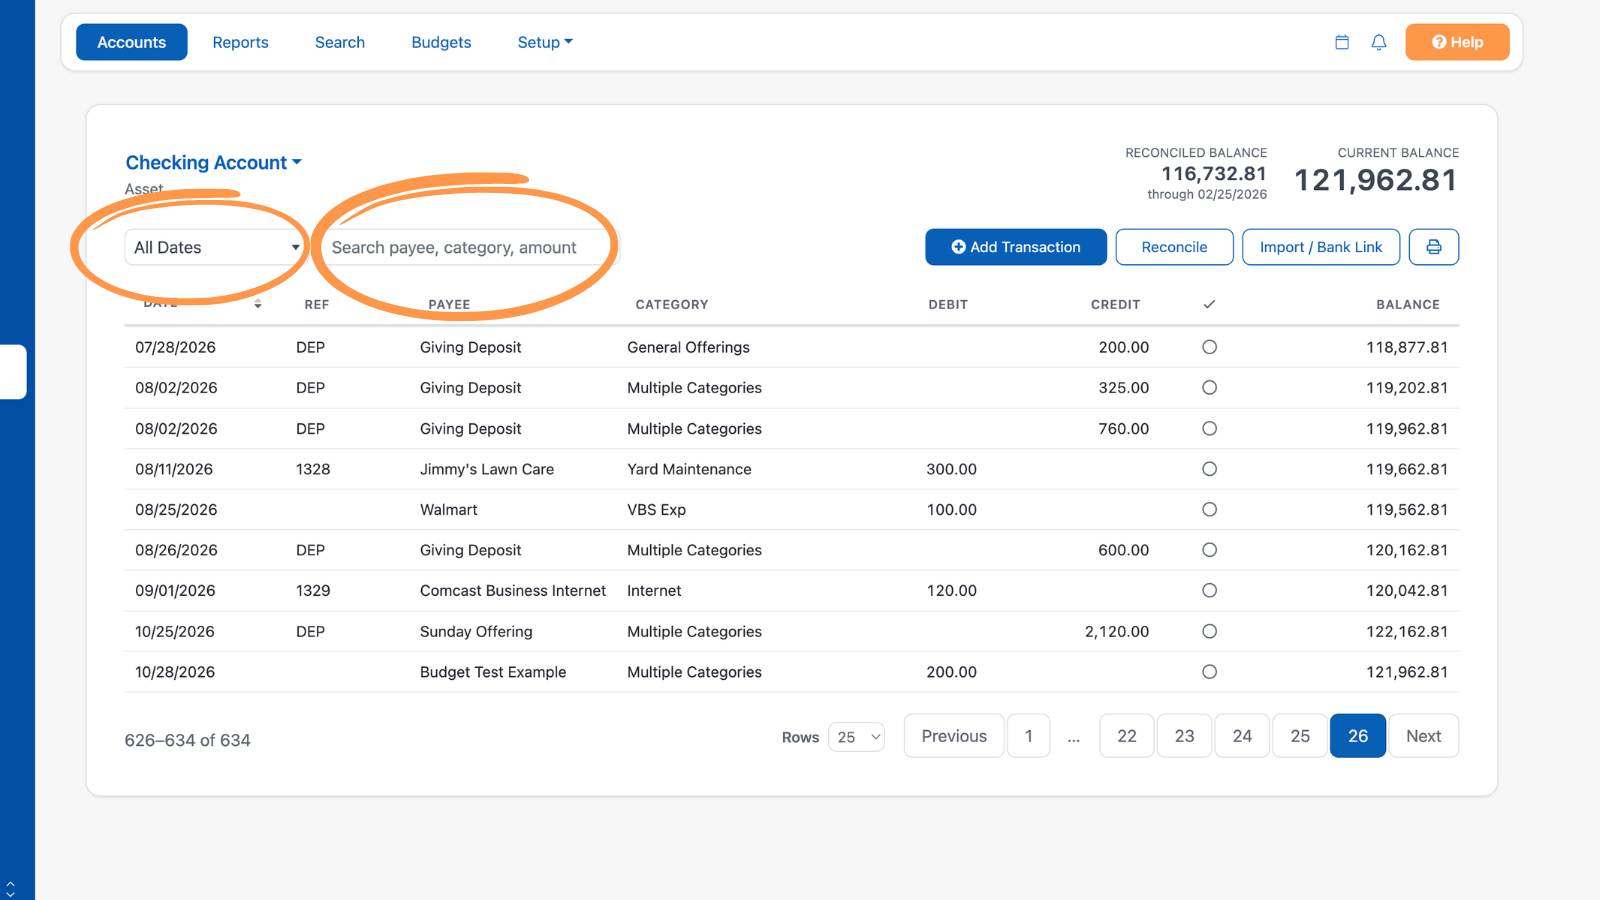
Use the All Dates menu to filter by date range, or the search box to find transactions by payee, category, or amount. Select the Date column heading to change the sort order.
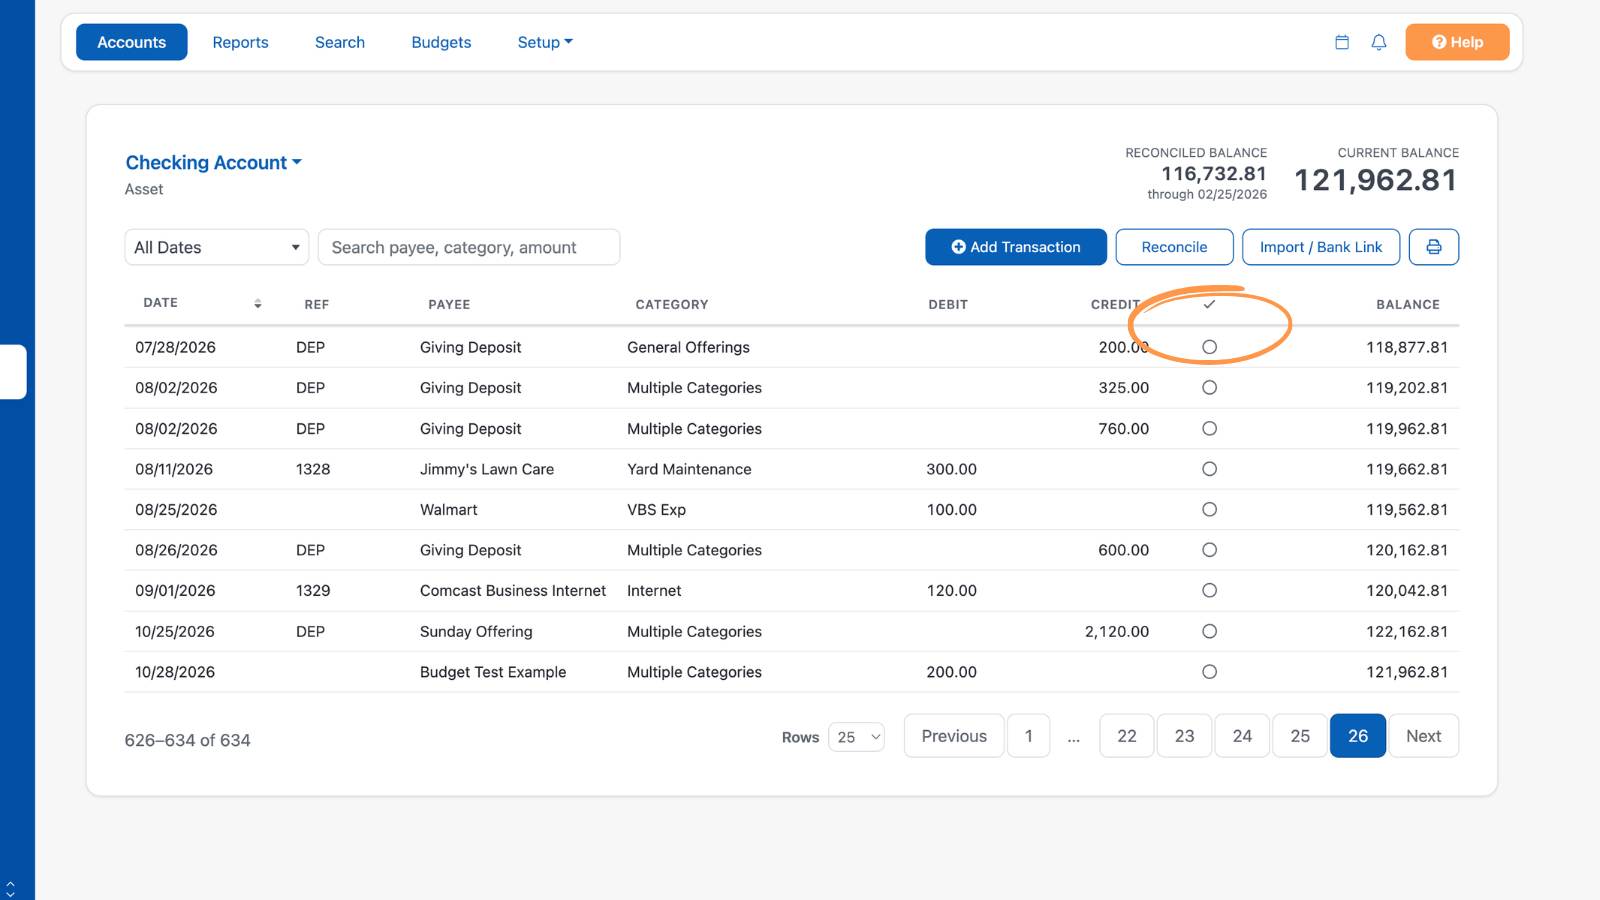
The check mark column shows each transaction's reconciliation status. An empty circle means the transaction hasn't been reconciled yet. A green check mark means it has.
Entering Transactions
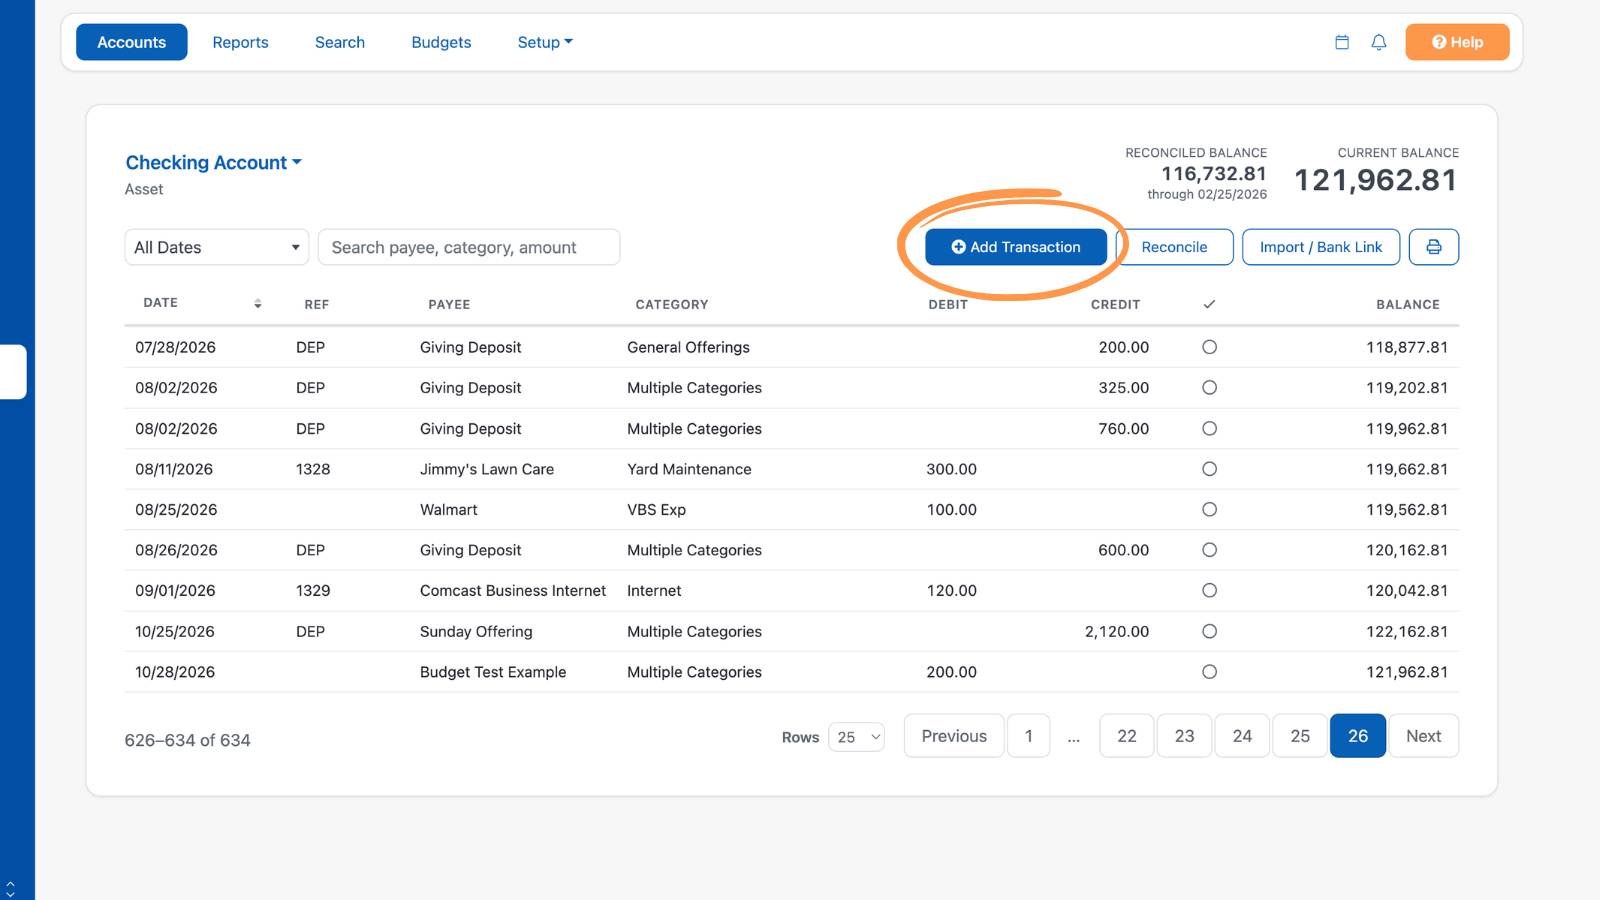
To manually create a new transaction, select Add Transaction above the register.
For each transaction, enter a Date, Transaction Type, Payee/Description, Category, Fund, and Amount. The Reference, Note, Memo, Tags, and Attach files fields are optional.
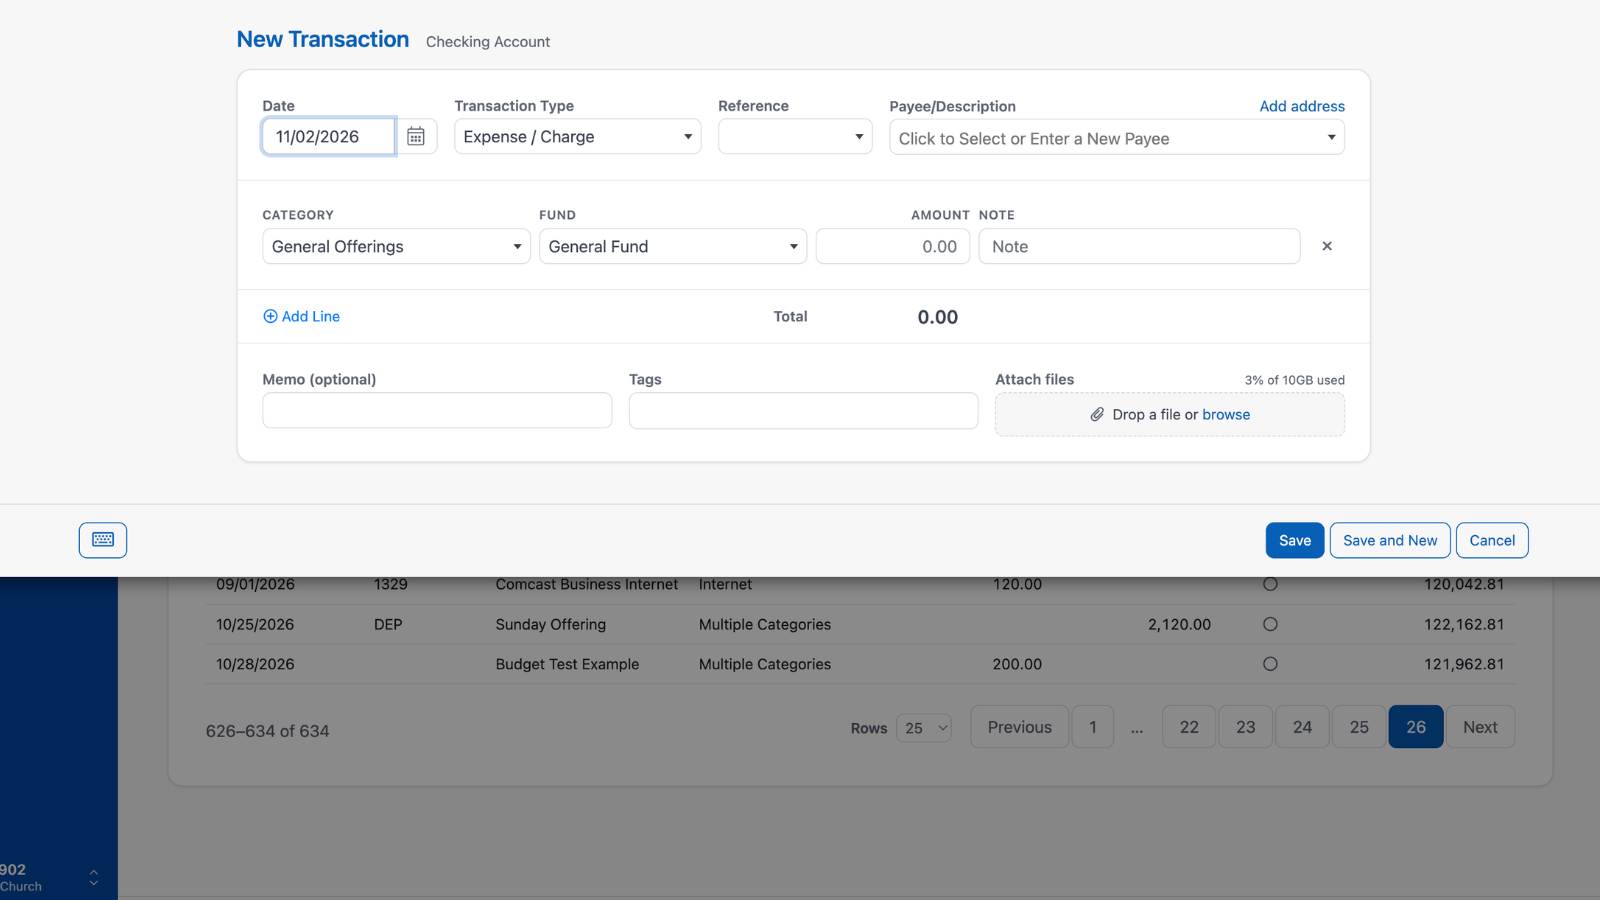
There are four Transaction Types:
- Expense / Charge: recording bills, payments, and expenditures
- Deposit / Credit: recording Giving screen deposits, refunds, and church income
- Account Transfer: moving money between Accounts
- Fund Transfer: moving money between Funds
Choose an abbreviation from the Reference menu, or type your own:
- Next Check Number: the highest number from your checkbook, plus one
- DEP: Deposit
- TRX: Transfer
- ATM: Automated Teller Machine
- PMT: Payment
- JE: Journal Entry
- ACH: Automated Clearing House (electronic bank payment)
A Journal Entry is a record of a deposit or expense that went through the account but is out of the ordinary, such as an insurance reimbursement or an unexpected expense.
Payee/Description
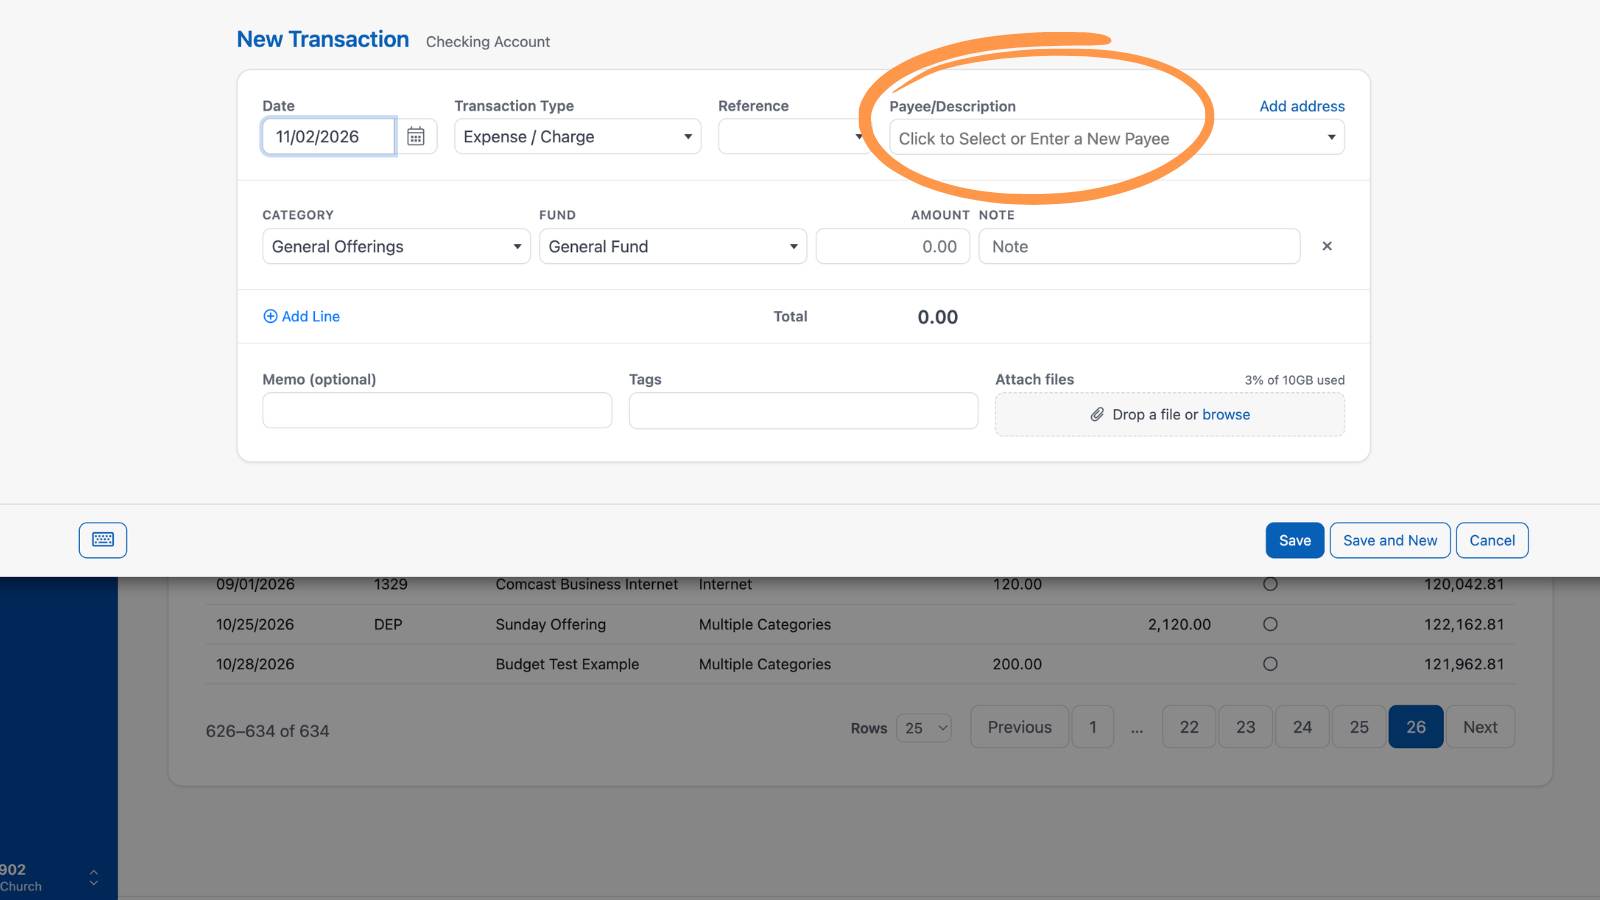
Select a saved payee from the list, or type a new name. To include a mailing address (for example, for printing checks), select Add address.
Splitting a transaction
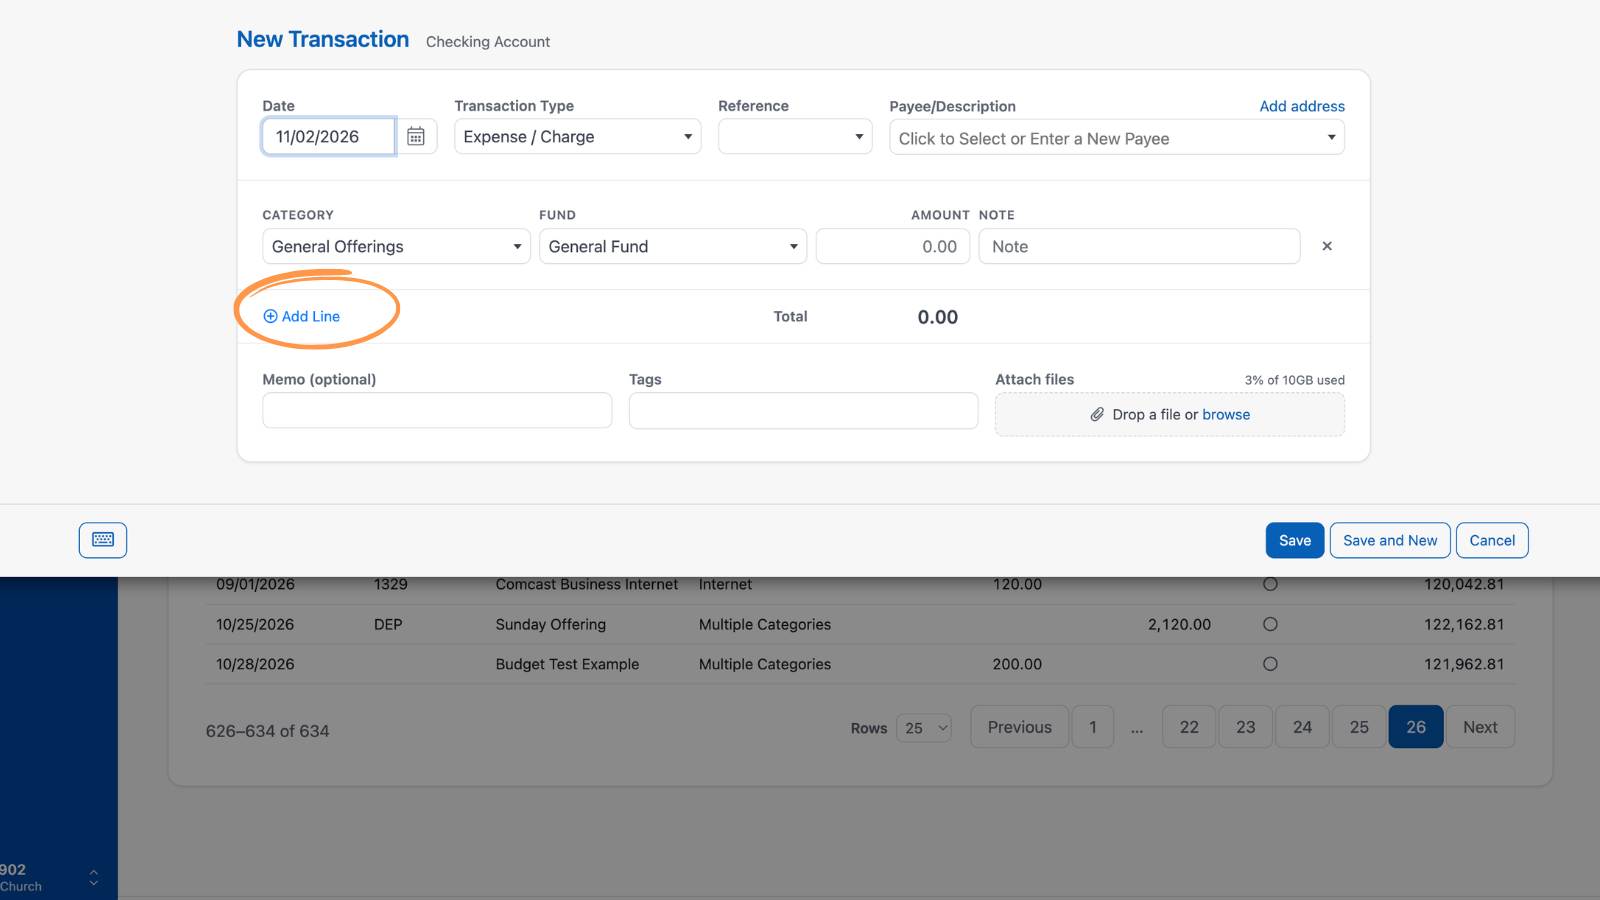
To assign a transaction to multiple categories or funds, select Add Line, then enter the amount for each category and fund. The Total updates as you go.
Note
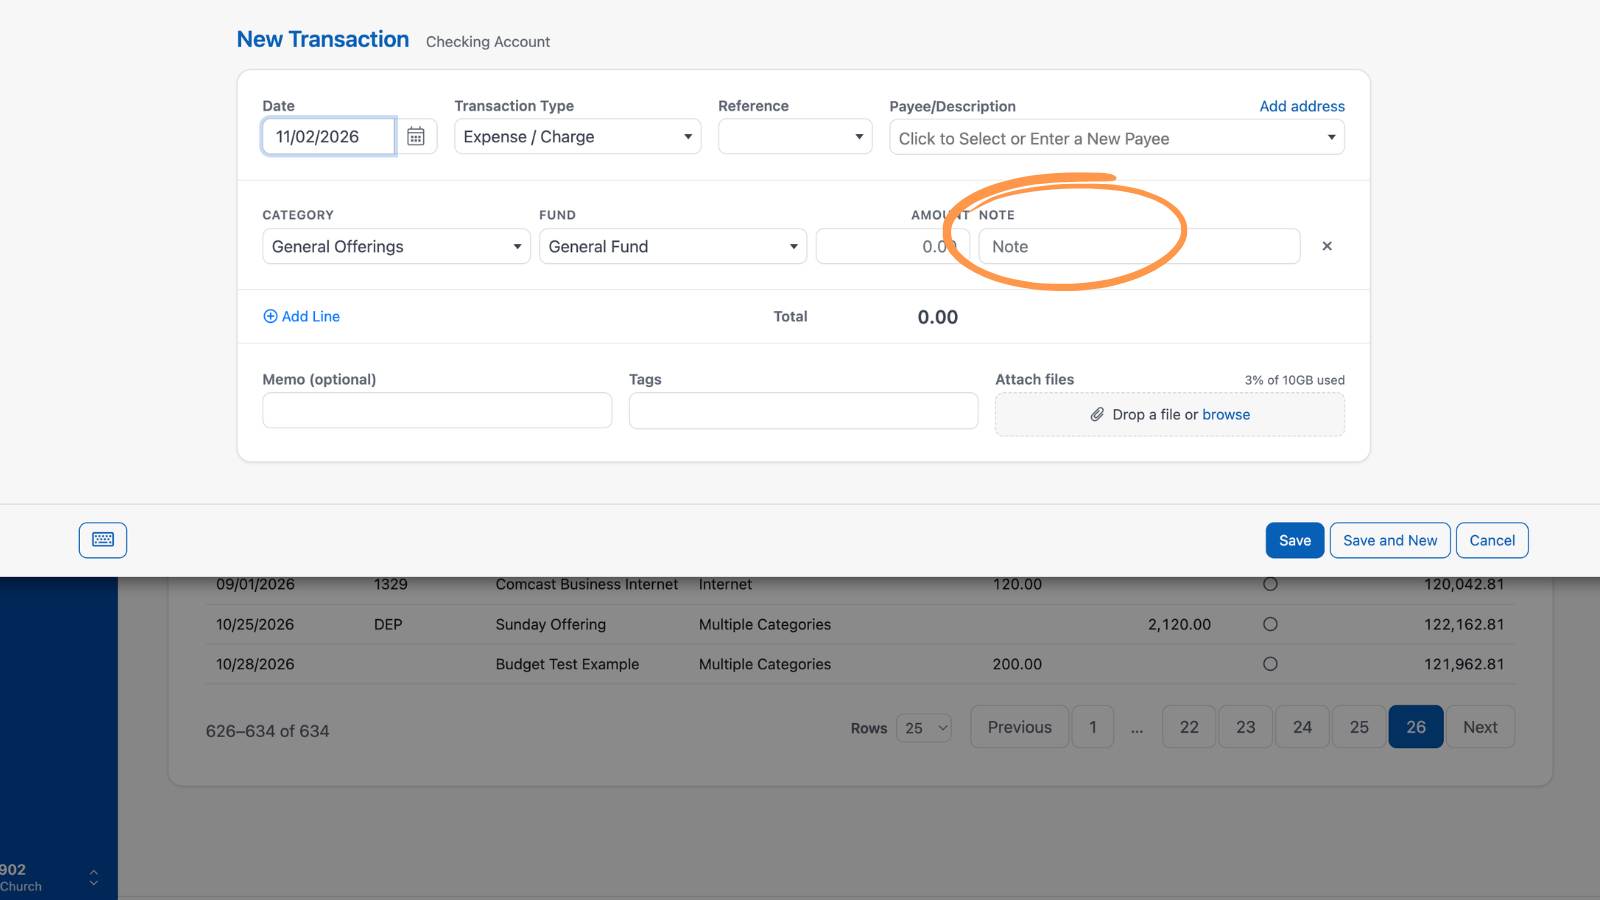
The Note field on each line is for internal reference, such as voucher details or reminders. Notes are not printed on checks and do not appear on standard accounting reports. You can find transactions with Notes using the Accounting Search tab.
Memo
The Memo field is for a short description that prints on a check, such as the purpose of a payment. Because it must fit on the printed check, its length is limited. The Memo field does not affect standard accounting reports.
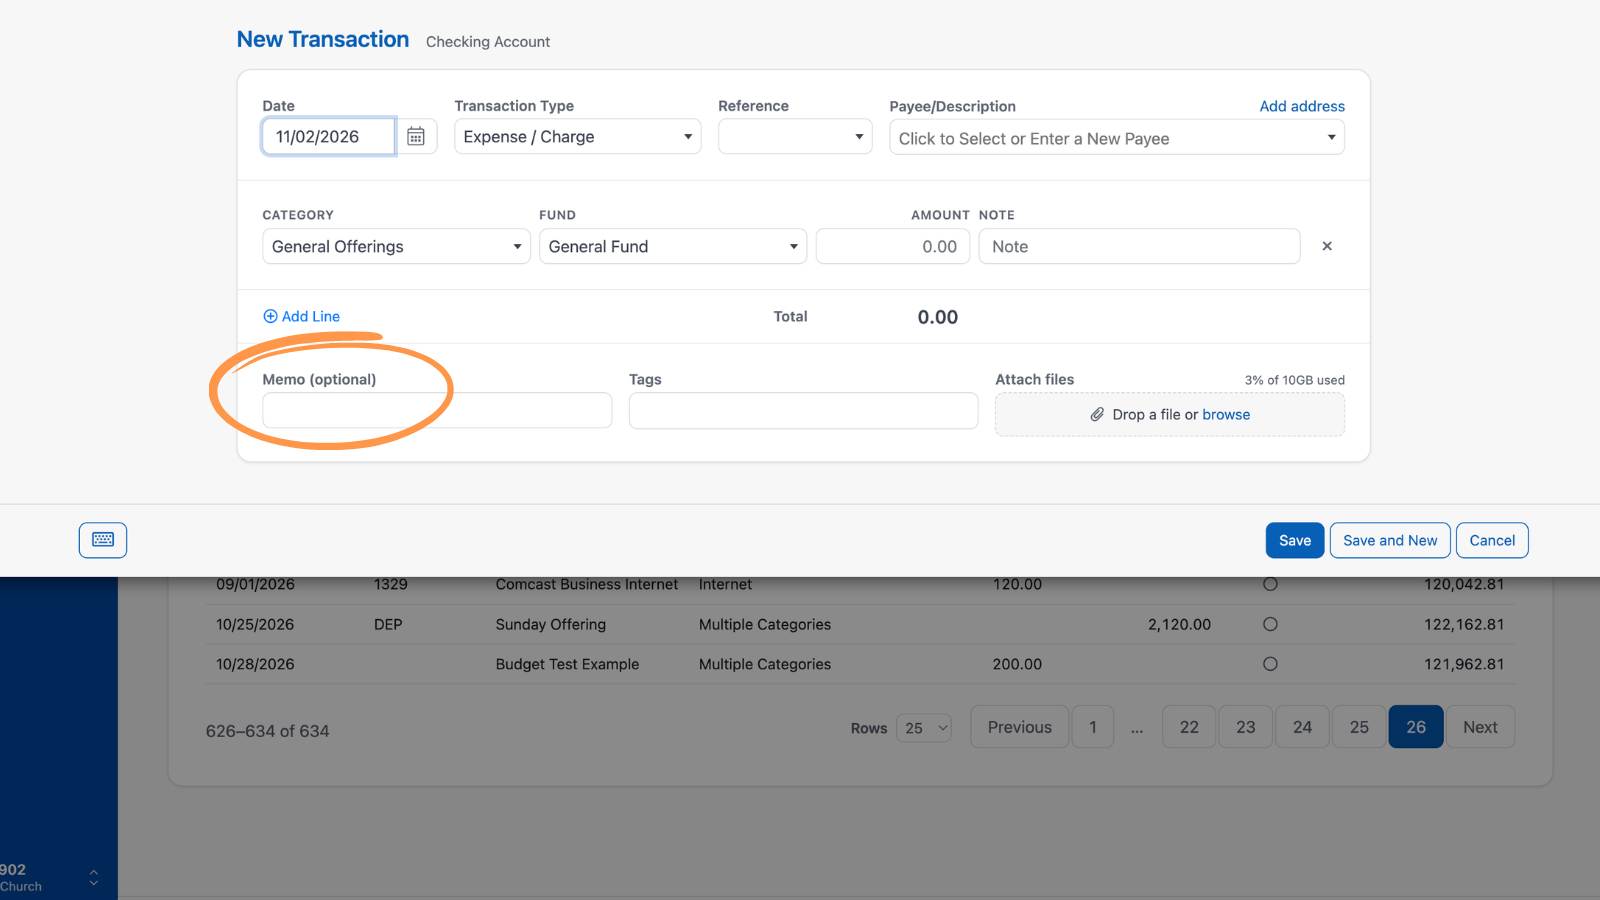
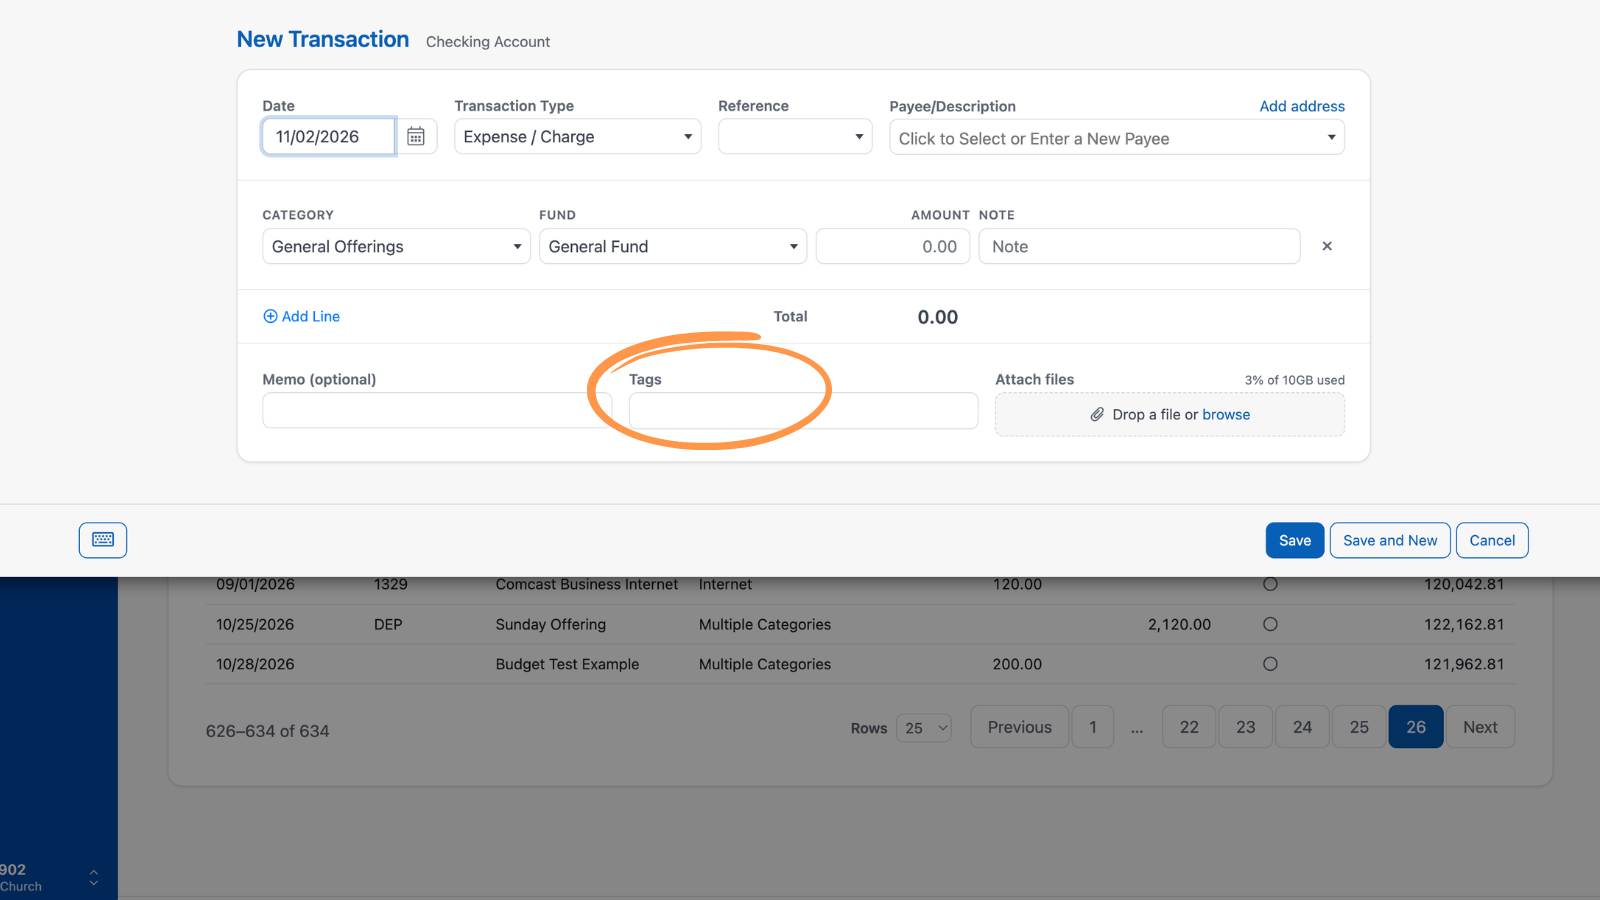
Tags
Tags let you label transactions with simple identifiers, such as "electric" or "lawn service." Tags are optional and mainly help you find transactions later using the Accounting Search tab. They do not replace Categories or Funds and are not used in standard accounting reports.
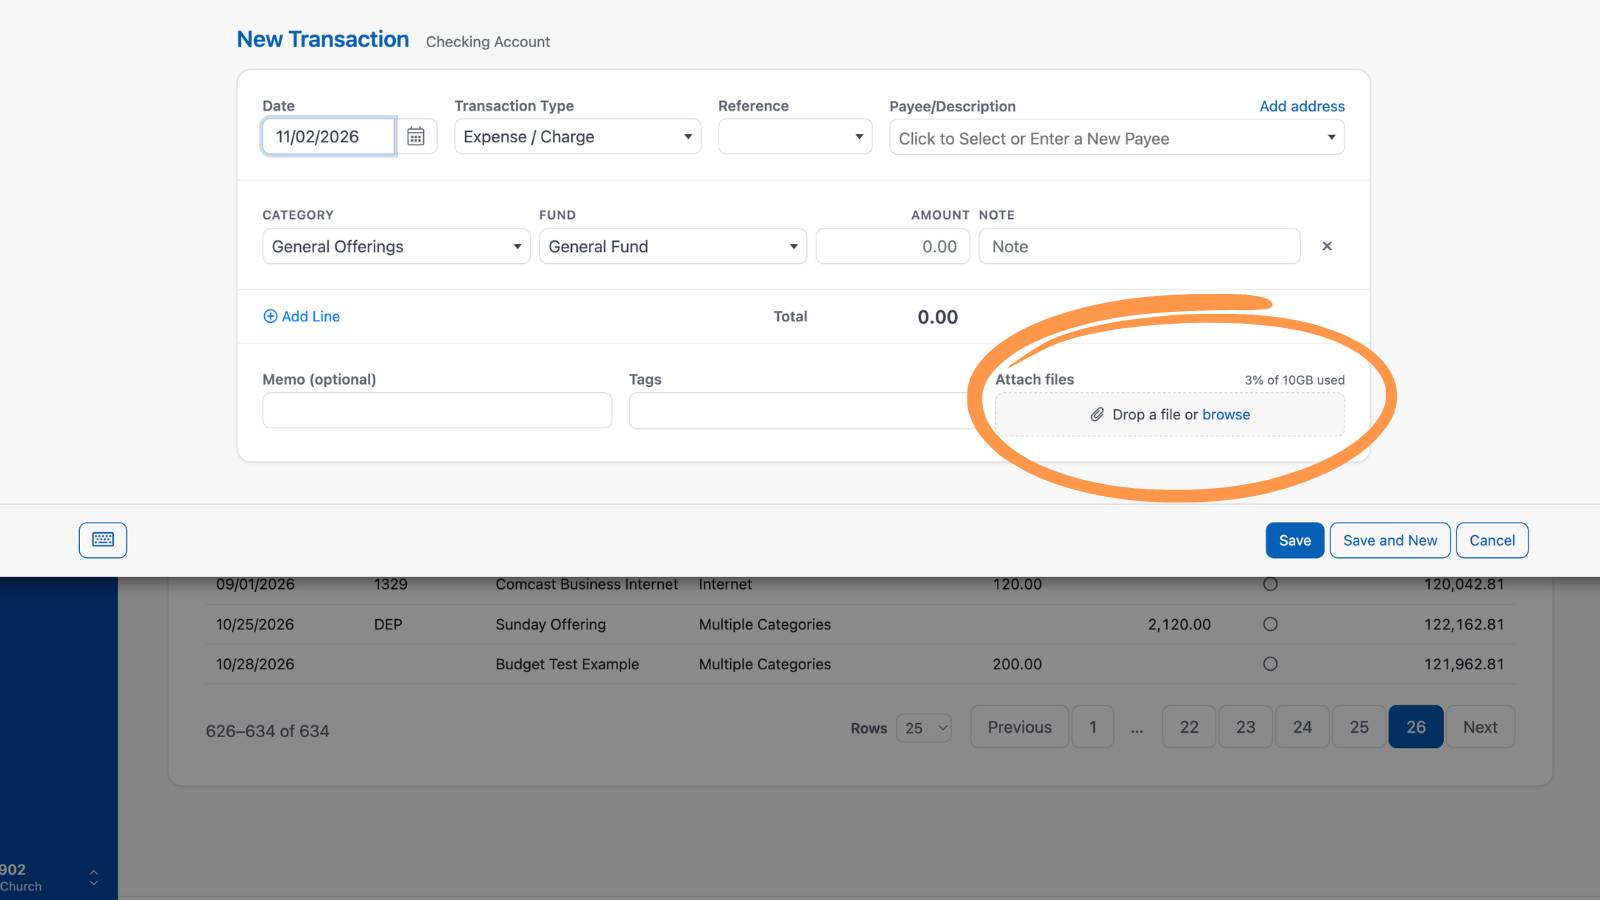
Attach files
Drag and drop supporting files, such as invoices or receipts, or select Browse. The amount of your file storage used is shown above the drop zone.
When you're done, select Save. To save and start another transaction right away, select Save and New. Select Cancel to close without saving.
Importing and Syncing Transactions
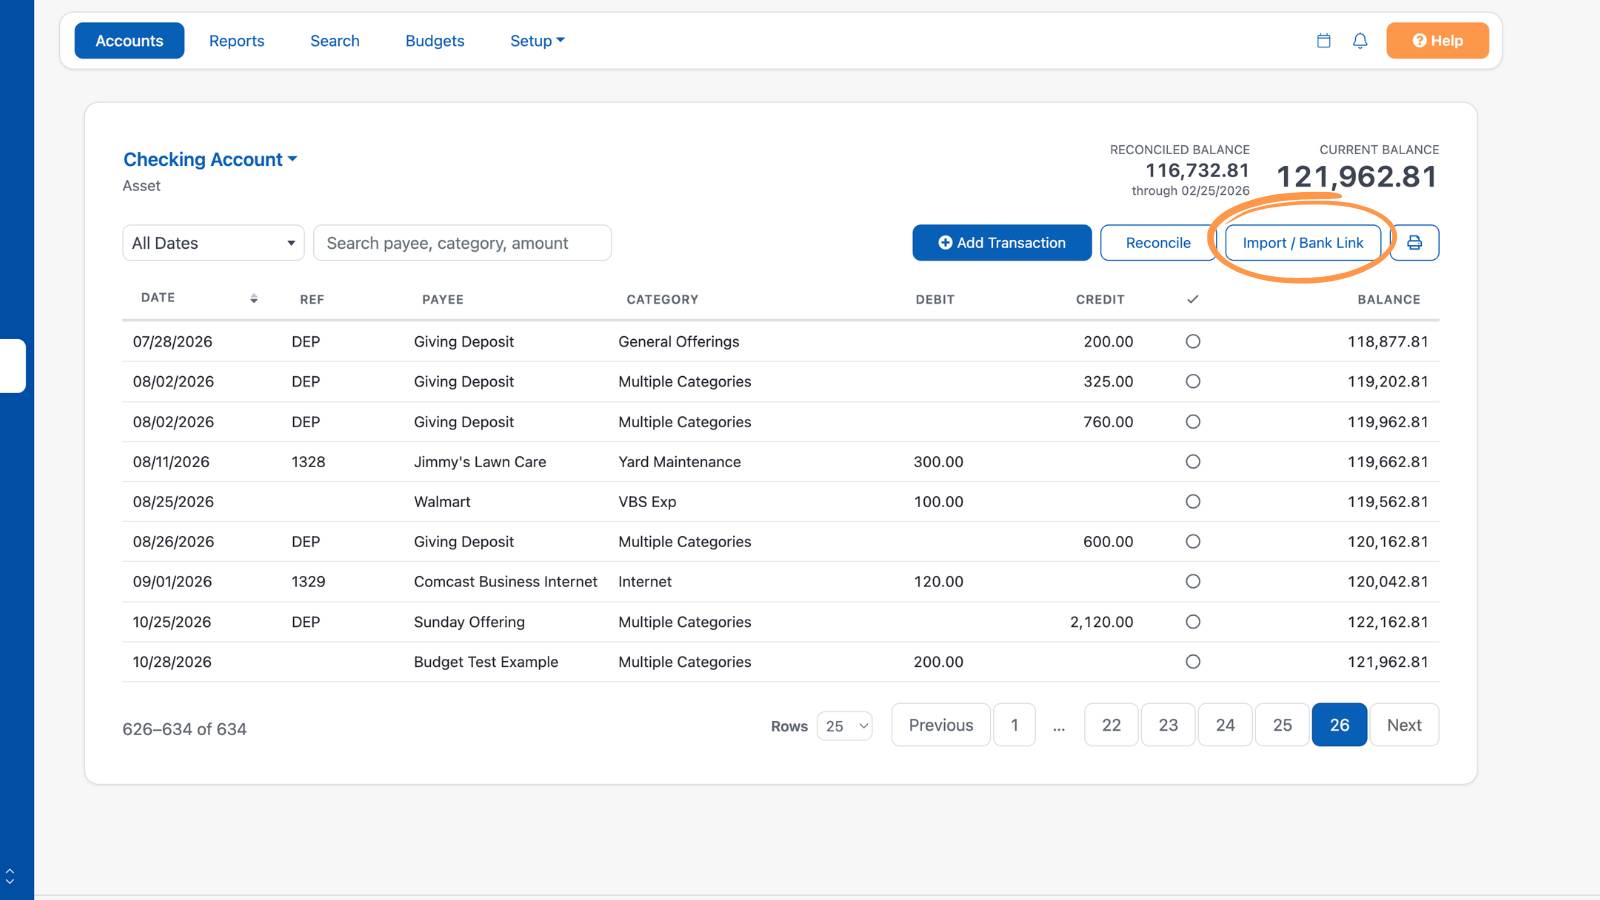
Instead of entering every transaction by hand, you can upload a PDF statement or bank file, or connect your bank with Bank Link. Either way, you review each transaction before it's added, and Import Rules can fill in the details for you.
Keyboard Shortcuts
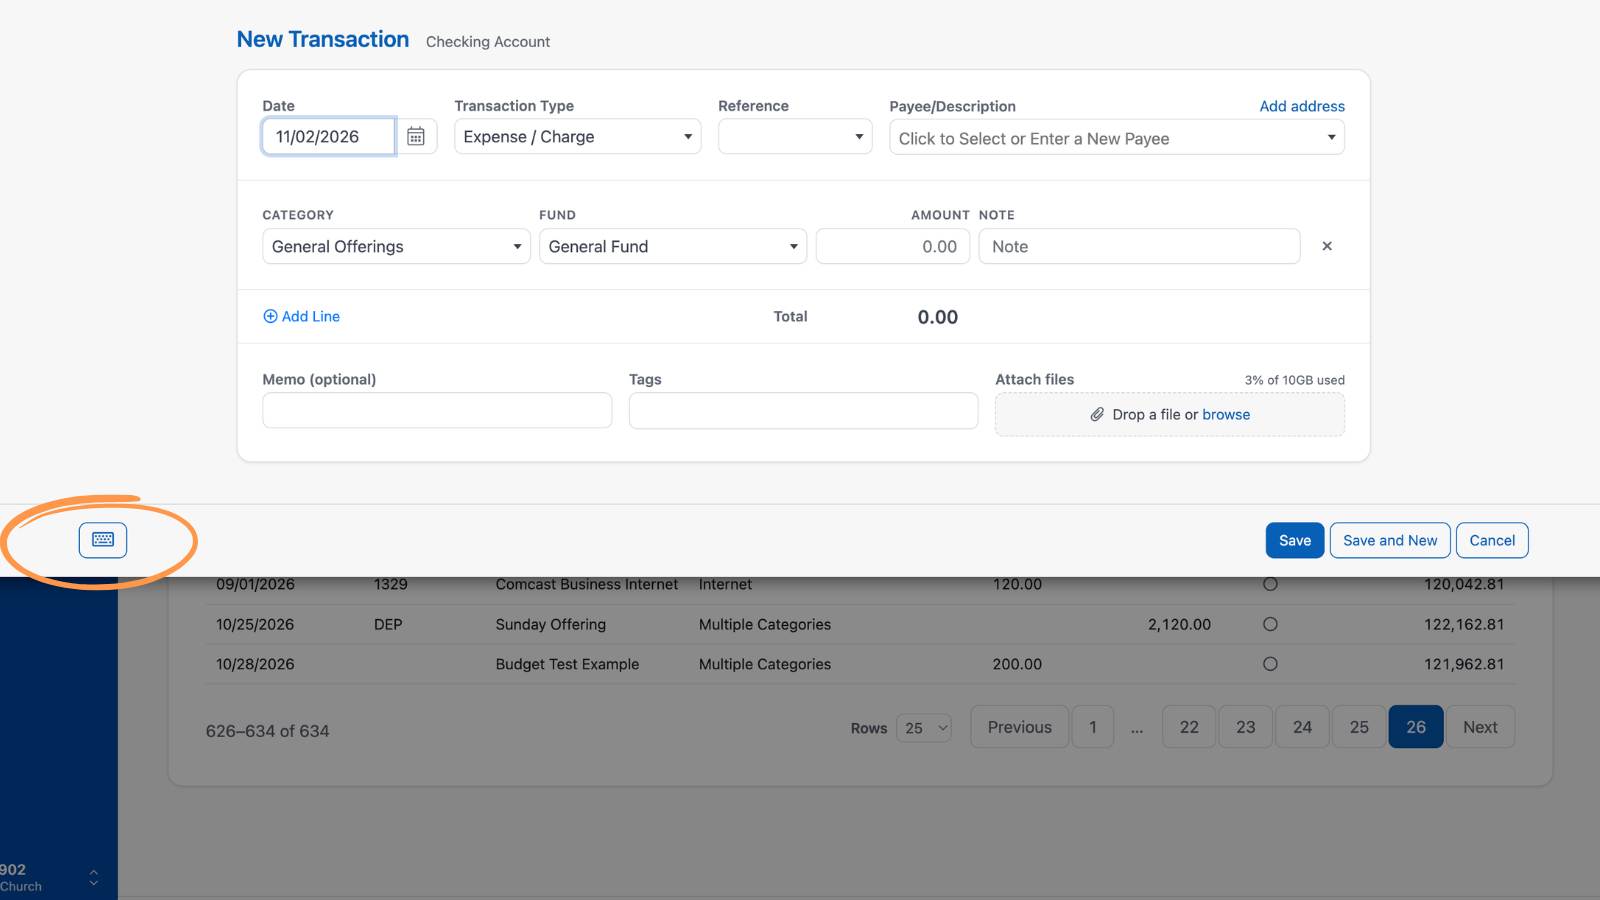
You can enter transactions without leaving the keyboard. Select the keyboard button at the bottom of the transaction window, or press Cmd + /, to see all shortcuts.
- Next or previous field: Tab / Shift + Tab
- Next field, or open the list: Enter
- Same field on the line above or below: Cmd + Up Arrow / Cmd + Down Arrow
- Date: open the calendar: Option + Down Arrow
- Date: next or previous day: + / -
- Date: today: T
- Date: first or last day of the week: W / K
- Date: first or last day of the month: M / H
- Date: first or last day of the year: Y / R
- Save: Cmd + S
- Save and New: Cmd + Shift + S
- Close: Esc
On Windows, use Ctrl instead of Cmd and Alt instead of Option.
Creating Giving Deposits
If you use the Giving screen to track contributions, you'll need to create deposits from the Giving screen for them to show in the Accounting screen.
Printing and Voiding Checks
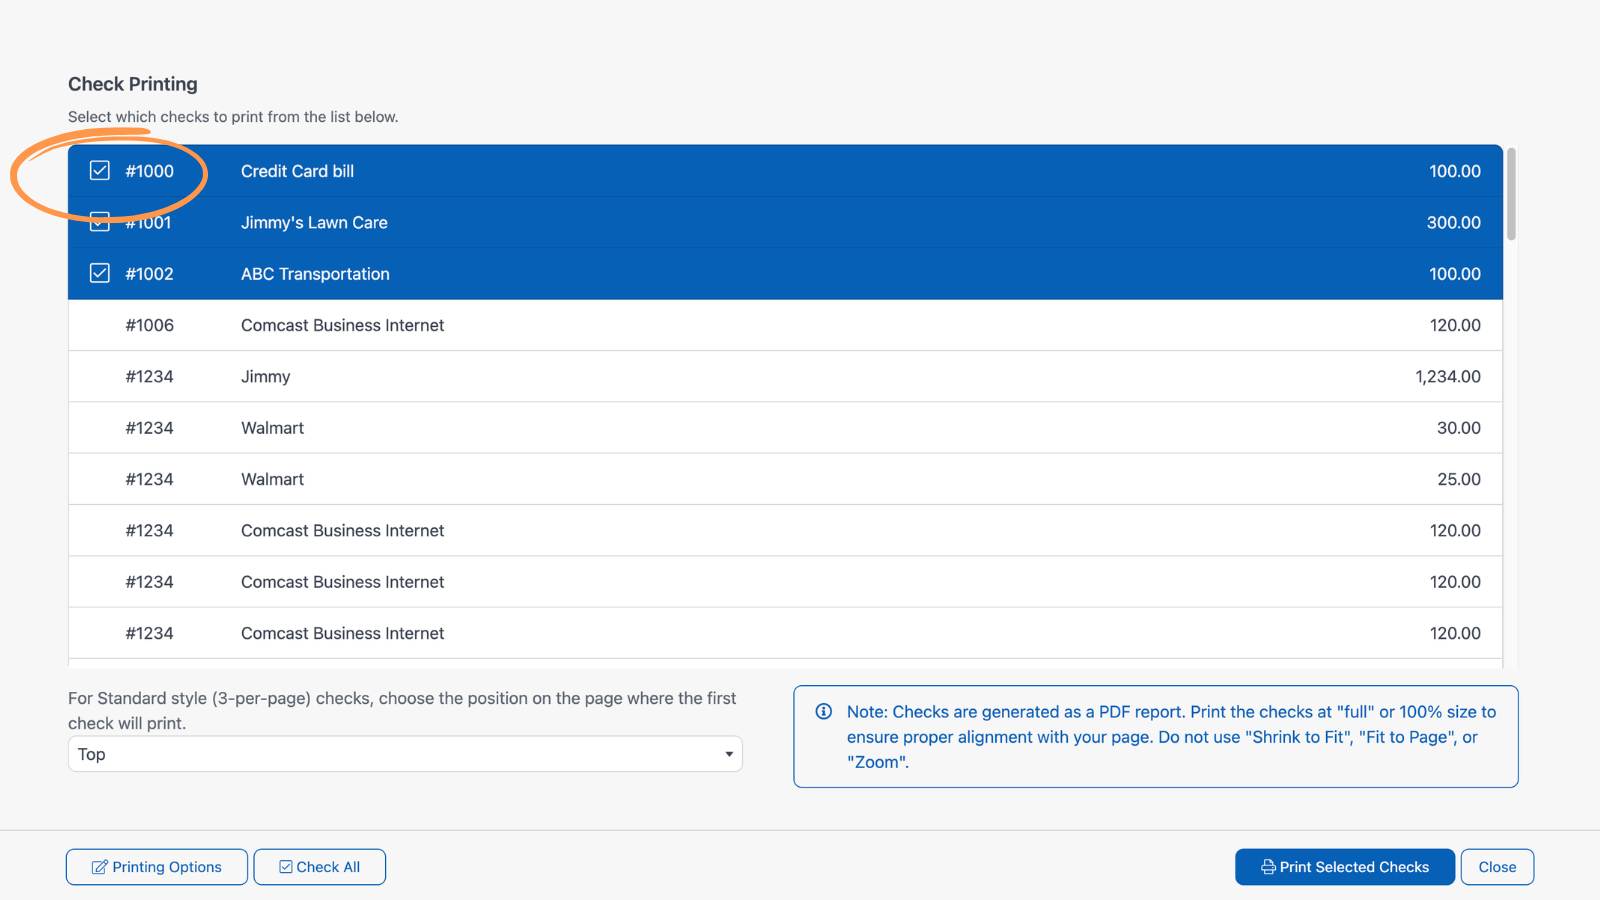
To print checks, select the print button (printer icon) above the register. The Check Printing window lists checks waiting to be printed.
Step 1: Select the checks you want to print, or select Check All.
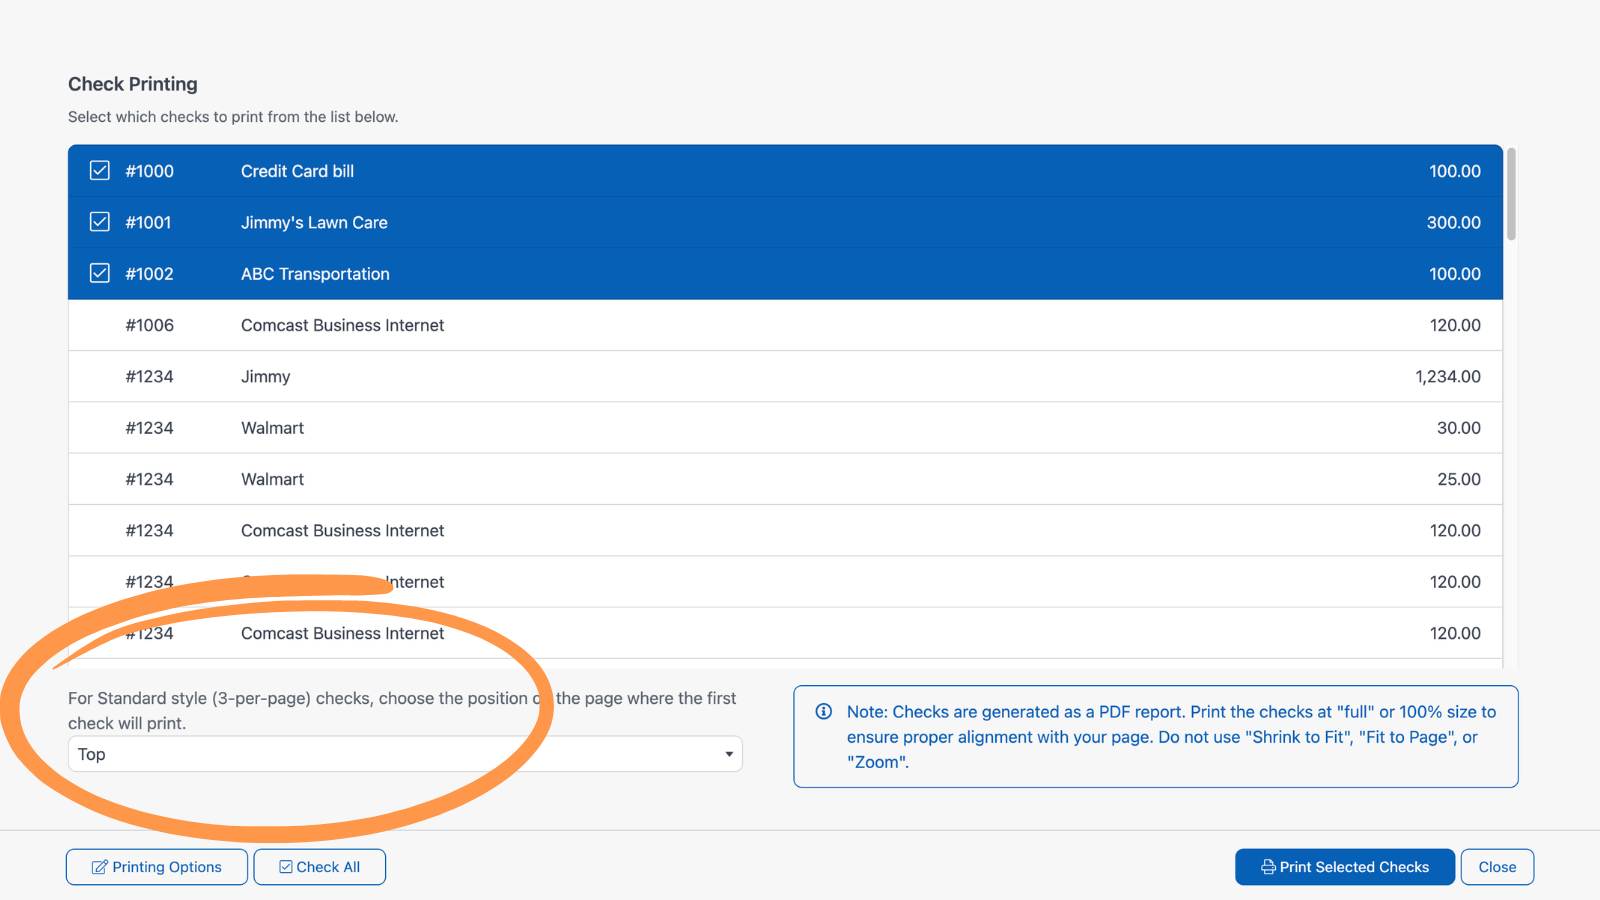
Step 2: For Standard style (3-per-page) checks, choose where on the page the first check will print (for example, Top).
Step 3: Select Print Selected Checks. Checks are generated as a PDF.
Print them at "full" or 100% size to make sure they line up with your check paper. Do not use "Shrink to Fit," "Fit to Page," or "Zoom."
To change the check style or adjust where the payee, date, amount, memo, and address print, select Printing Options.
Make your adjustments based on a full-size printed PDF, not a page that is zoomed or scaled. Learn more in our Printing Checks article.
Voiding Checks
When it comes to voiding checks, there are 3 common scenarios in which you would want to void a check in ChurchTrac. Learn more in our Voiding Checks article.
Transferring Money Between Funds
Need to transfer money between funds? See our Transferring Money Between Funds article to learn more.
Transferring Money Between Accounts
You can also transfer money between Accounts in ChurchTrac. View our Transferring Money Between Bank Accounts article for further instructions.
Reconciling Transactions
Reconciling makes sure your numbers in ChurchTrac match your bank. This is important for accurate reports and financial transparency, and it is your first line of defense against accounting errors and mismanaged funds. We encourage ministries of all sizes to reconcile their bank accounts.
Select Reconcile above the register to start. Learn more in How to Reconcile Bank Accounts.
Pro Tip: If you upload statements or use Bank Link, turn on Auto Reconcile for the account. ChurchTrac will reconcile it automatically after you review new transactions, once your register matches the bank's balance. To turn it on, select Edit Account next to the account on the Accounting dashboard, then enable the Auto Reconcile option.
Recording Payroll Transactions
Though ChurchTrac is NOT a church payroll platform, you still need to enter your final payroll numbers into the Accounting screen to track your church's finances properly. See our Entering Payroll article for instructions.