Getting Started With ChurchTrac
Getting Help
One of the best ways to learn the software is to join a Getting Started Livestream. These weekly livestreams are a fantastic opportunity to see all the core features of the software and ask questions live.
Don't see a time that works for you? Watch a pre-recorded livestream on-demand.
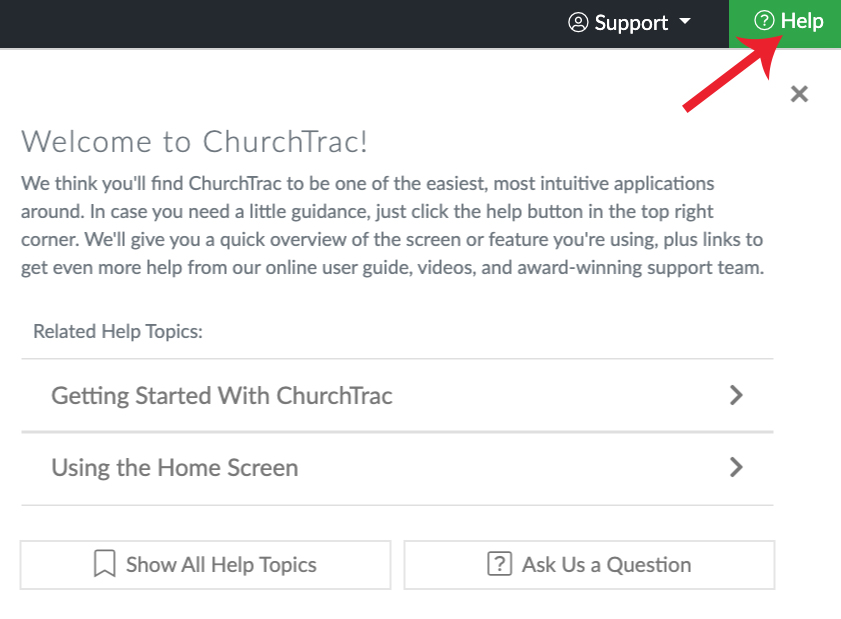
When you have questions or need extra help, connect with our Support Team by creating a support ticket. We also have over 100 instructional videos on YouTube, an active Facebook presence, and we regularly host in-depth livestreams on a variety of ChurchTrac topics and features.
Navigating the Application
ChurchTrac is organized into eight main sections, or "screens" (Home, People, Events, etc.). These screens make up the "Main Menu."


Each screen has its own "toolbar" that contains the specific functions available for that section.
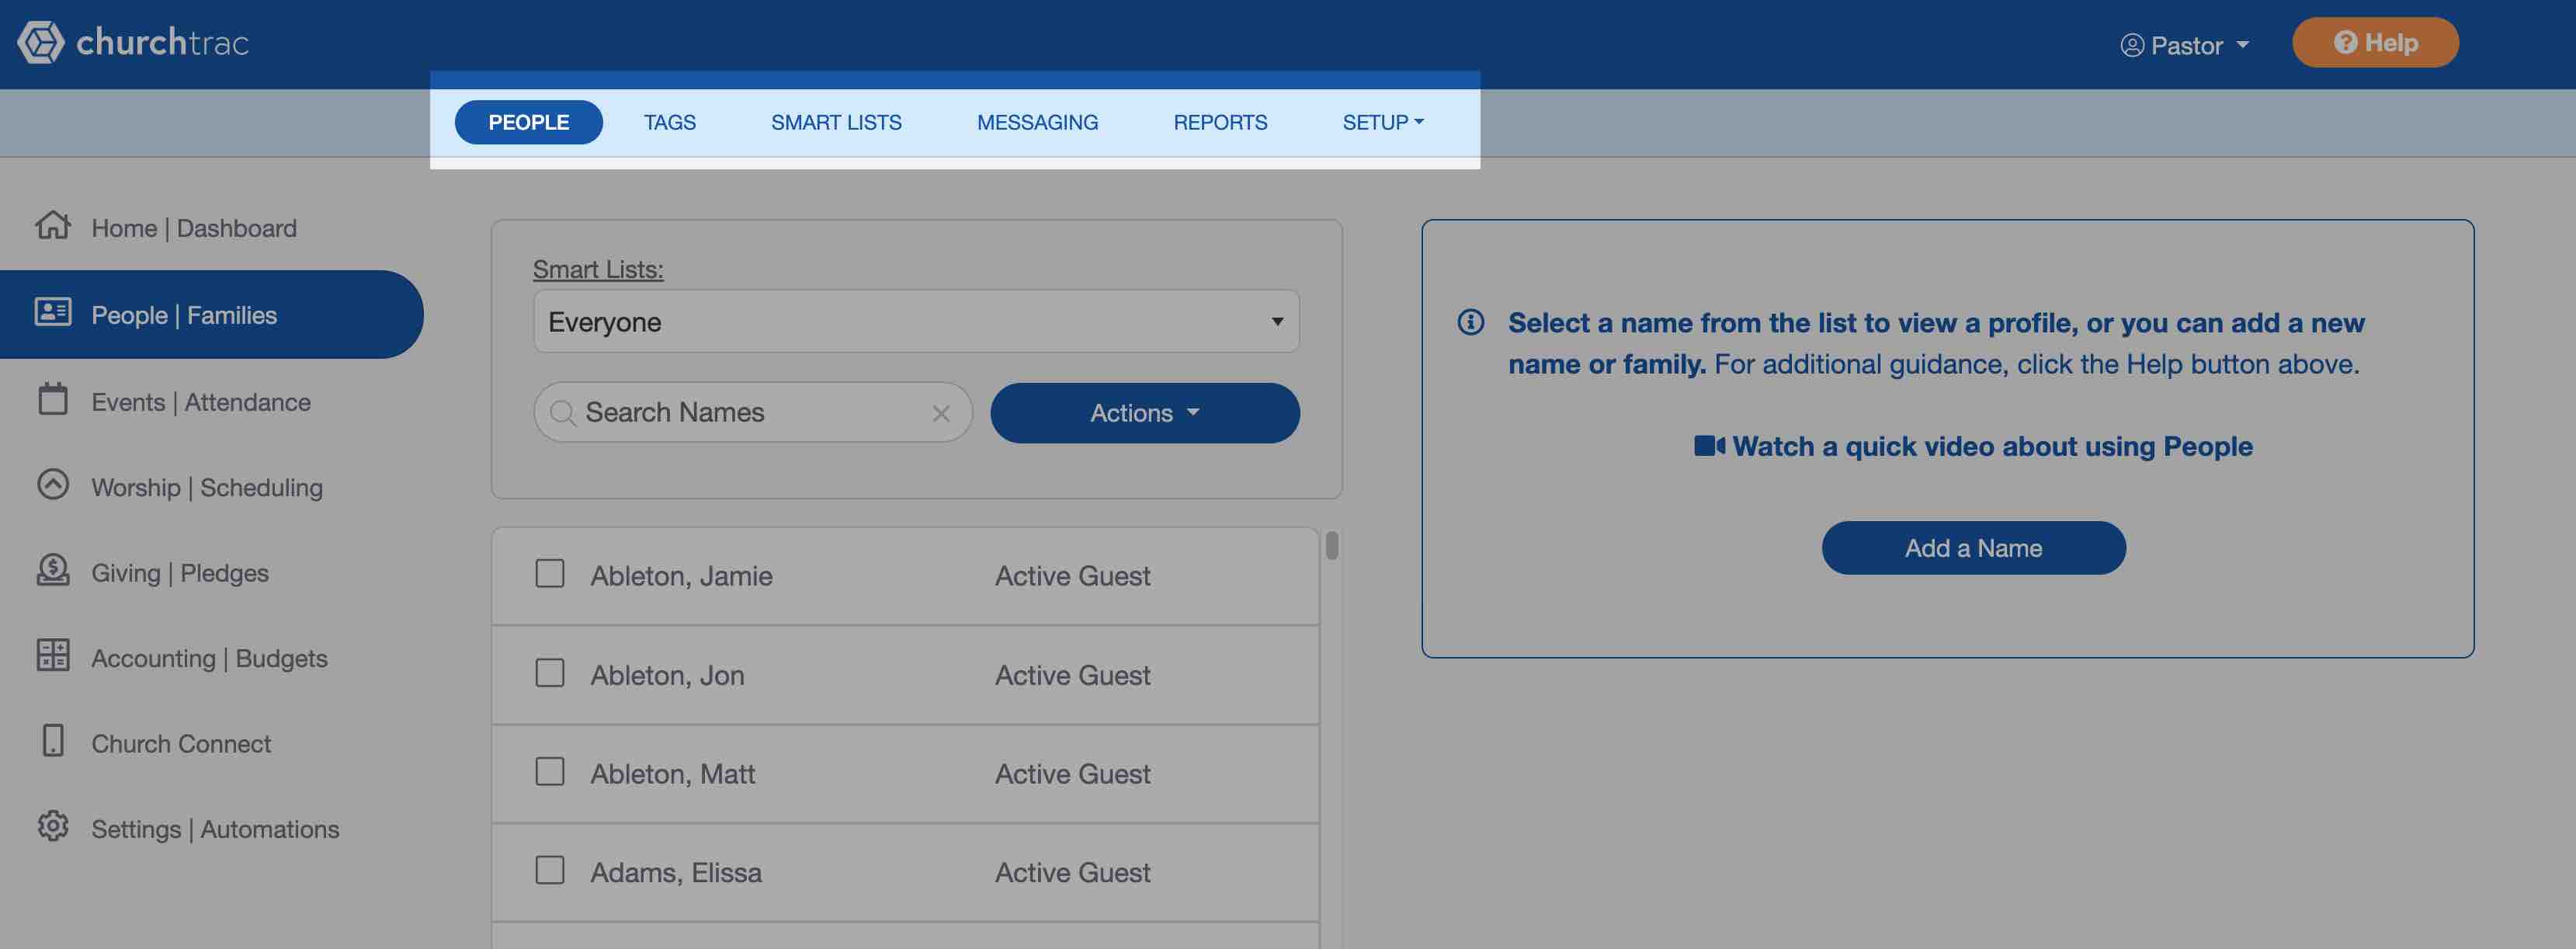
On smaller screens, these page options can be found by selecting the arrow on the top-right corner of the screen.

What Should I Do First?
One of the biggest challenges in using any application is knowing where to start. To assist you, we've created a Roadmap to provide a clear path forward.
Add User Accounts
- Create a user account for each leader in your church (pastor, worship leader, treasurer, staff, etc.). Your ChurchTrac account includes up to 10 users initially. Just reach out to our team if you need more!
- Assign permissions: Control access so each user only sees and edits information related to their ministry or role.
Add Your Names
- Add your name and your family's information. Then, start adding your members.
- Use the "Add My Family" feature and let your congregation provide their information (recommended).
- Let us import your data (for free) from a spreadsheet or another church software provider.
Join a Getting Started Livestream
- Gather you and your team to join one of our weekly Getting Started Livestreams. These free livestreams last about 1 hour, and they're the perfect opportunity to ask all of your questions.
Other Next Steps
FAQS
ChurchTrac's pricing is based on the number of names you add to your church database. To learn more about pricing, visit our pricing page.
ChurchTrac includes free support for all paid subscriptions. Our average response time for new support tickets is under 1 business hour. Please reach out to our support team if you have any questions.
Yes! We’ll take care of your very first People import at no cost. Just send us your spreadsheet, and we’ll get your members set up for you. You can also import your giving records directly into ChurchTrac whenever you need.
No. Any data you enter during your trial will automatically carry over when you sign up for a paid plan.
Here are the 4 top reasons churches choose ChurchTrac...
- The most affordable All-In-One Church Management Software.
- Easy to use. (Ranked #1 according to Software Advice & Capterra).
- Most affordable and easy to use Church Accounting Software.
- Low online giving fees with an average savings of over $500/year.