Using Projects and Tasks
The Projects and Tasks feature allows you to create multiple church projects, as well as tasks for those projects. It can help you to get your To-Do list and staff organized.
Creating Projects
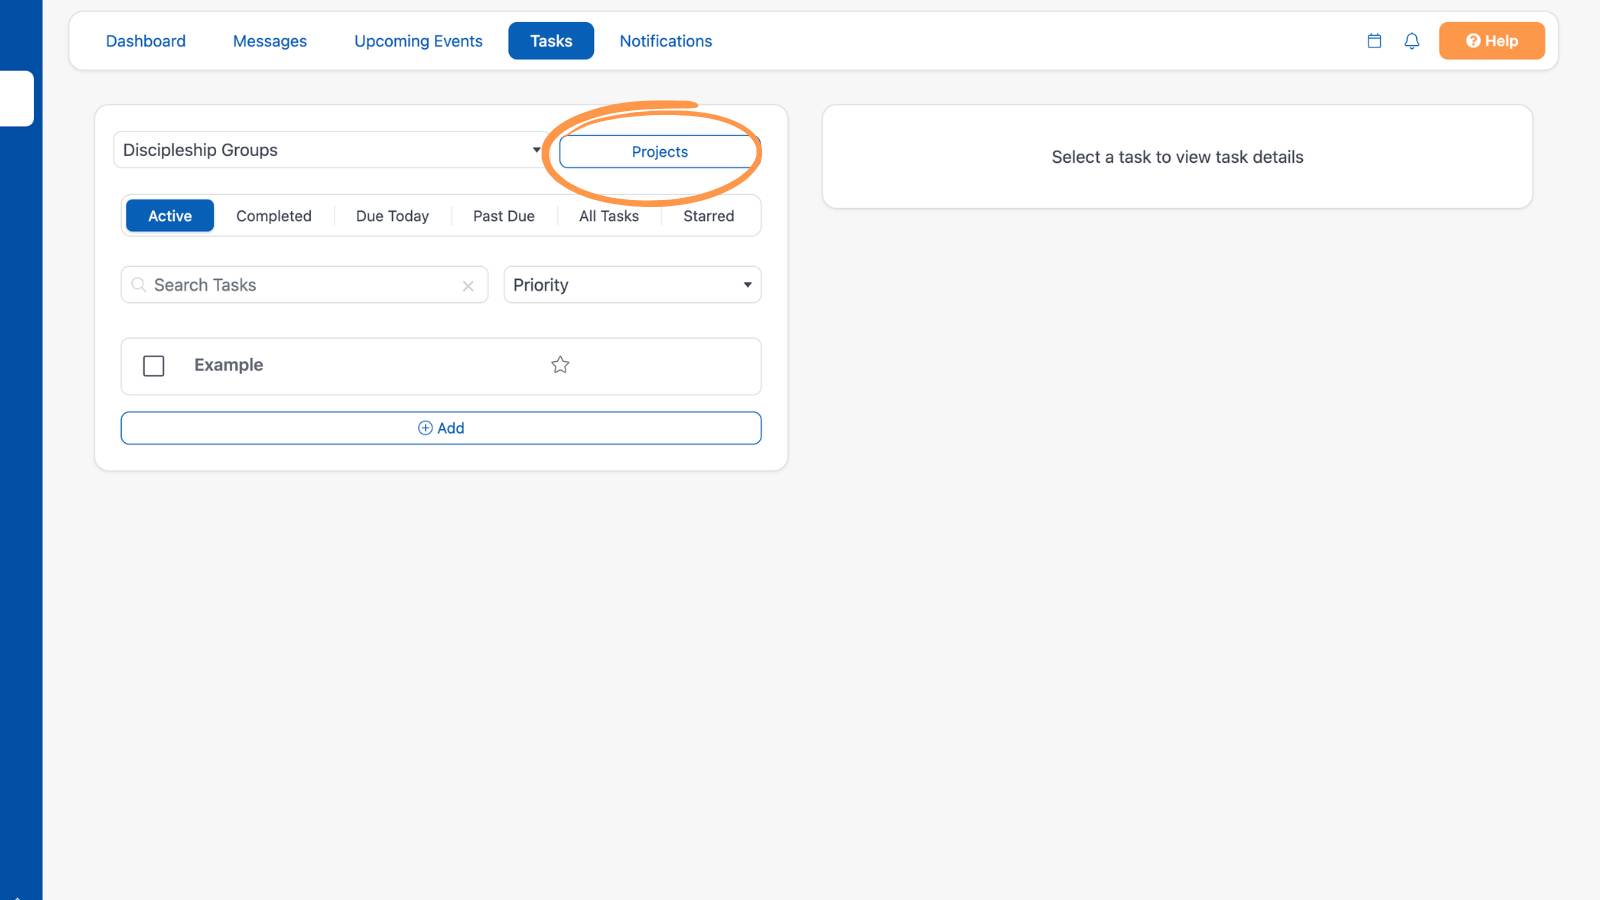
ChurchTrac enables you to create an unlimited number of projects. To create a project, select the “Tasks" menu on the Home | Dashboard. Then click Projects.
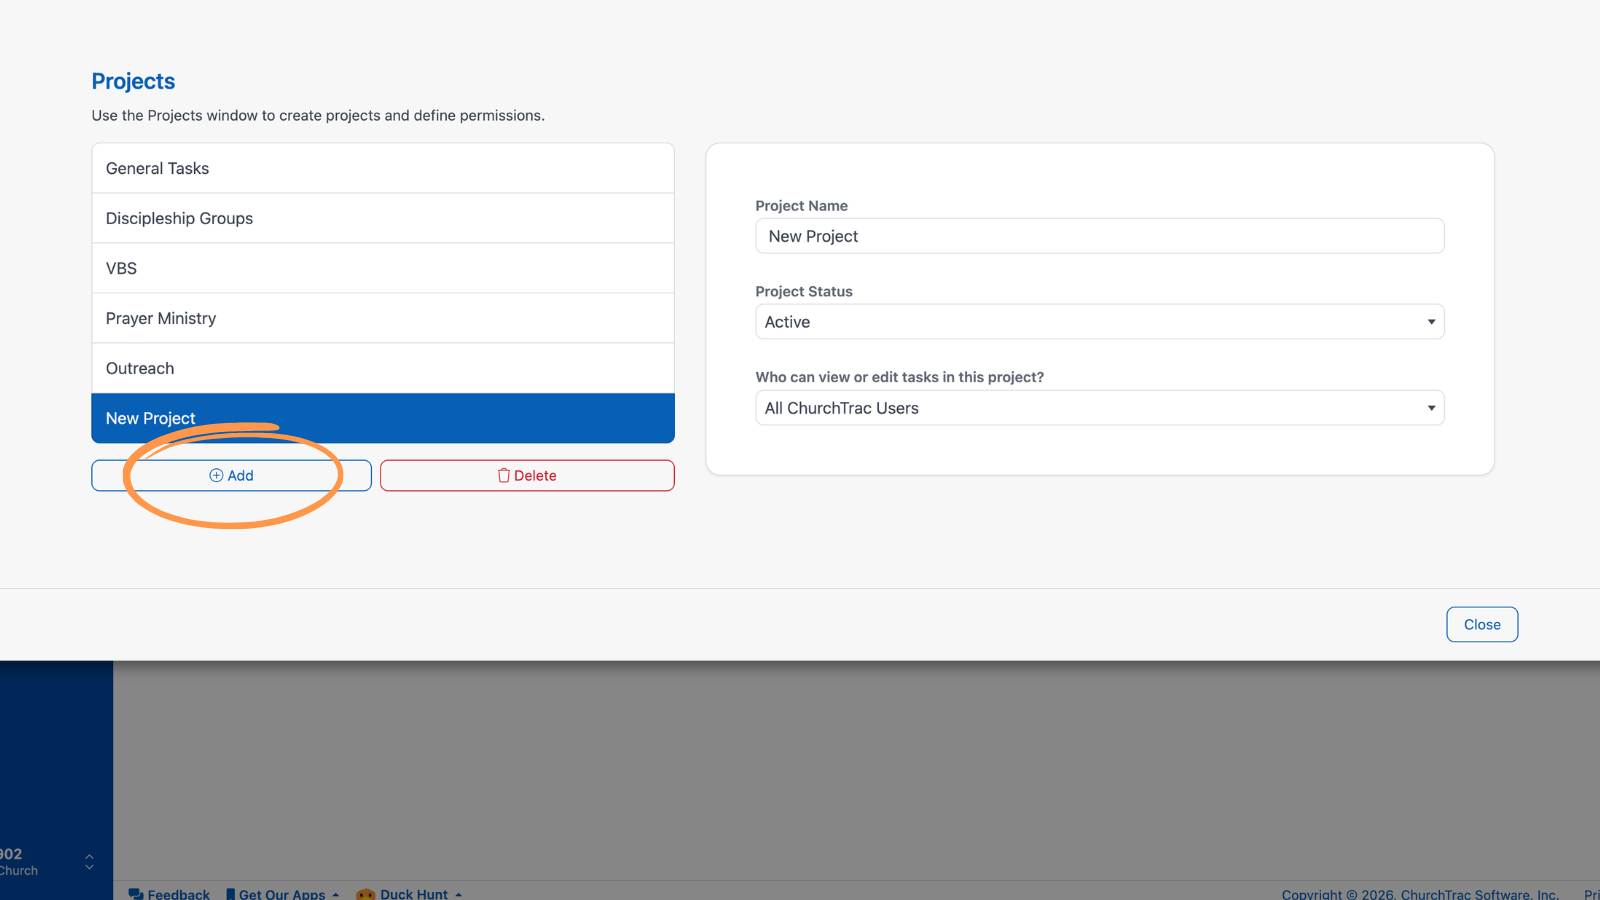
Next, select the “Add” button to create a new project. You'll be prompted to name your project, update its status, and customize project permissions.
Project Permissions
You can choose "All User Accounts" to grant access to everyone or select "Only Selected Users" and manually assign access to specific users.
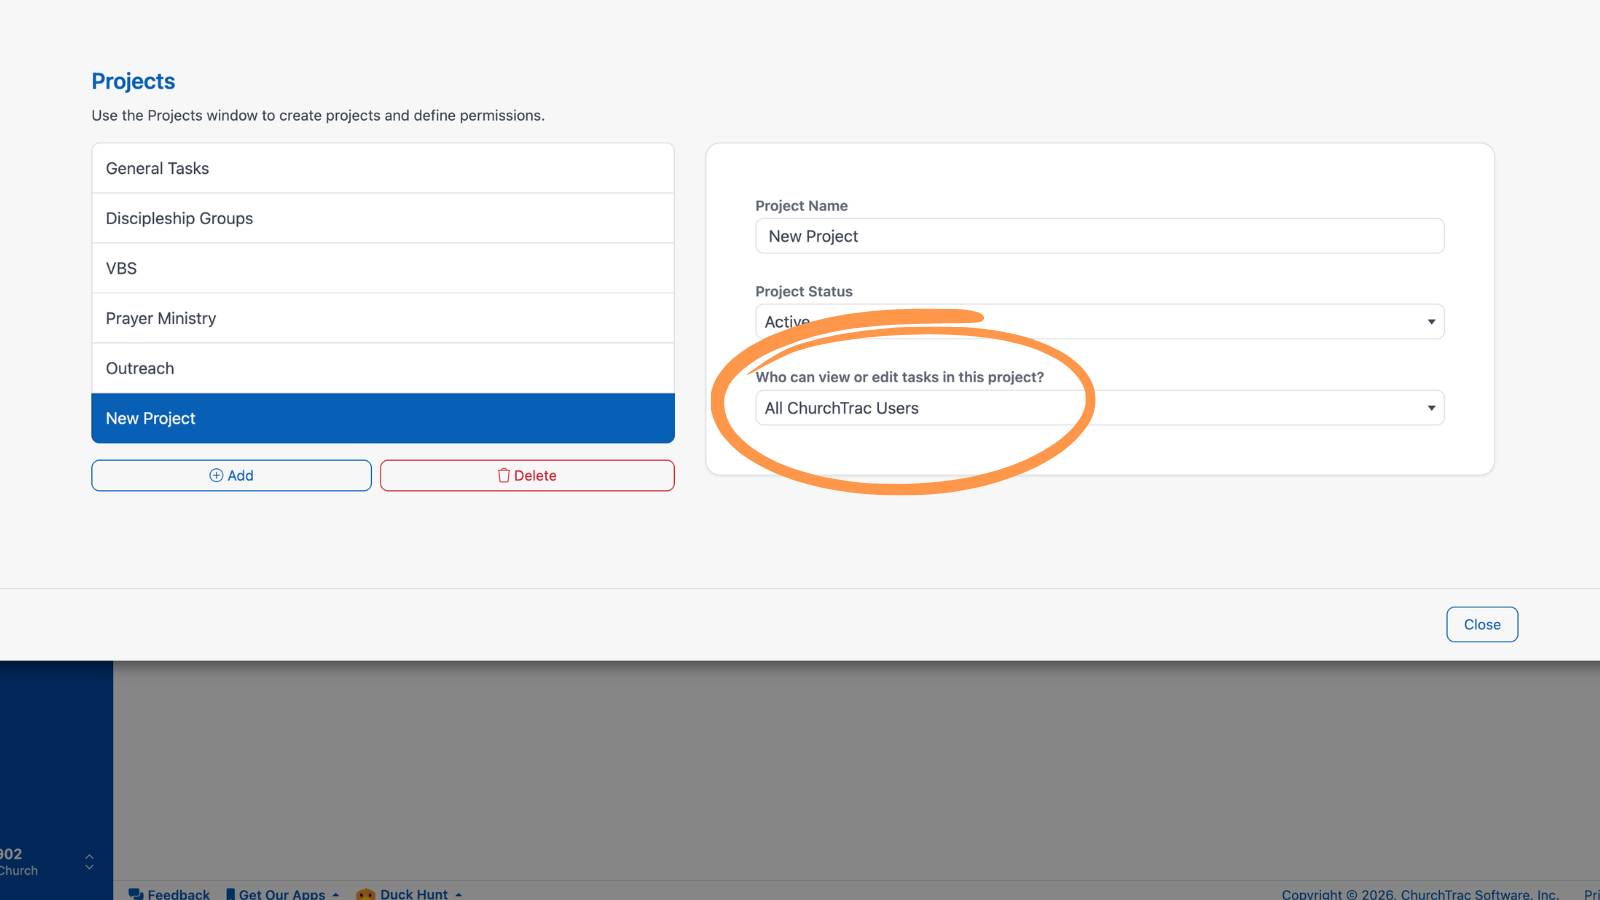
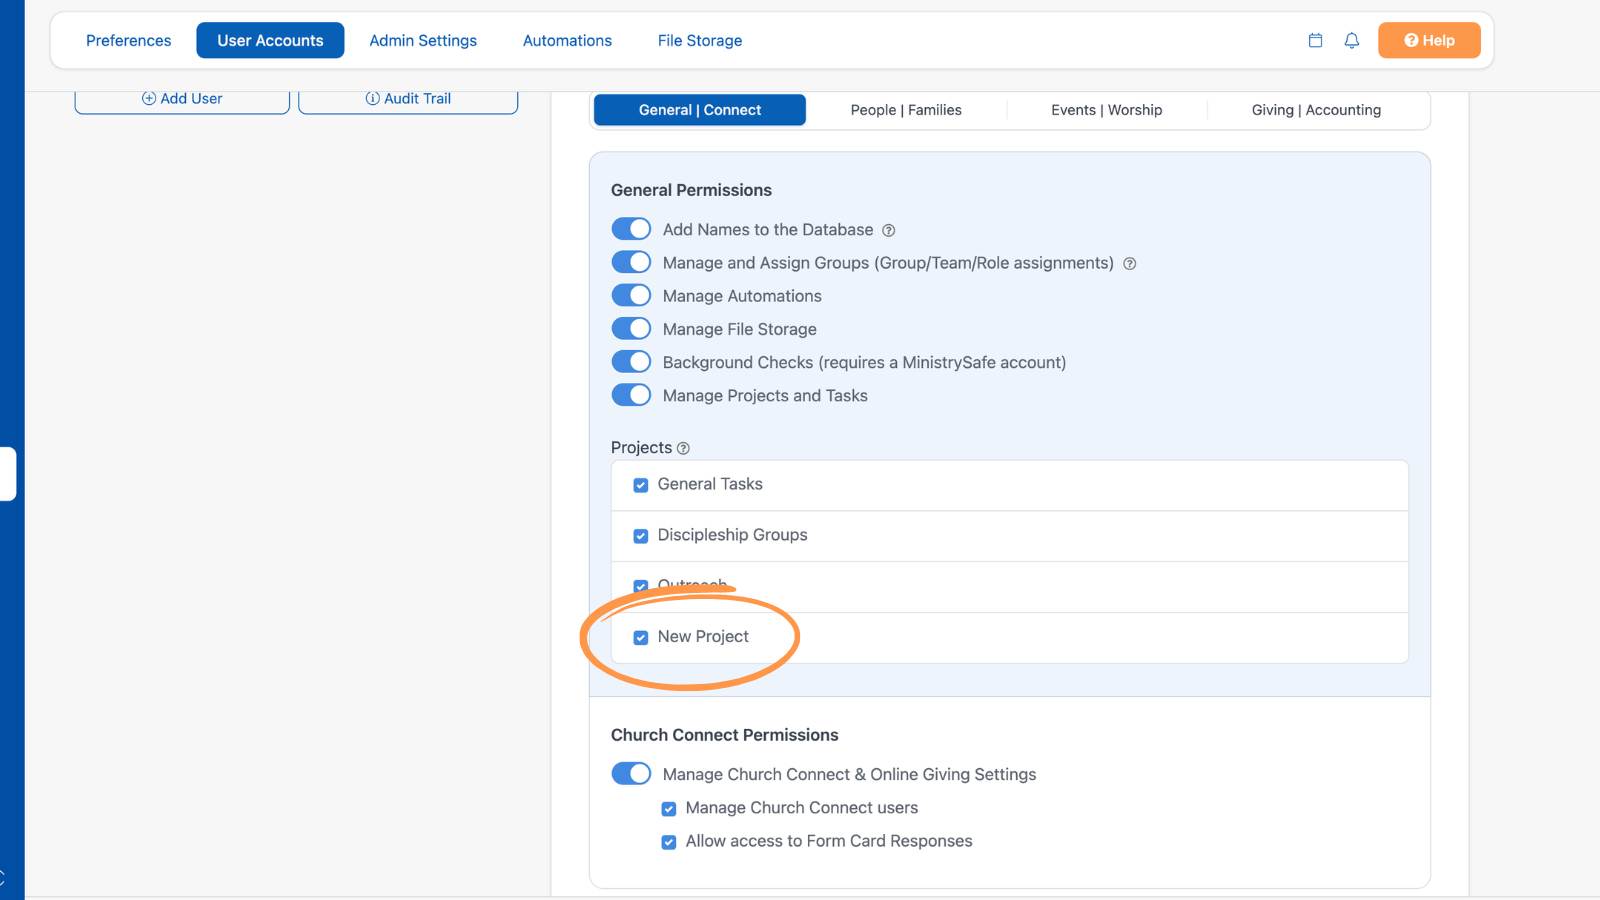
When "Only Selected Users" is chosen, those Projects will appear under your Settings → User Accounts → General and Connect → "Projects" permissions for each user. Any projects not restricted to specific users will be accessible to all users. Learn more about User Account Permissions ›
Creating Tasks
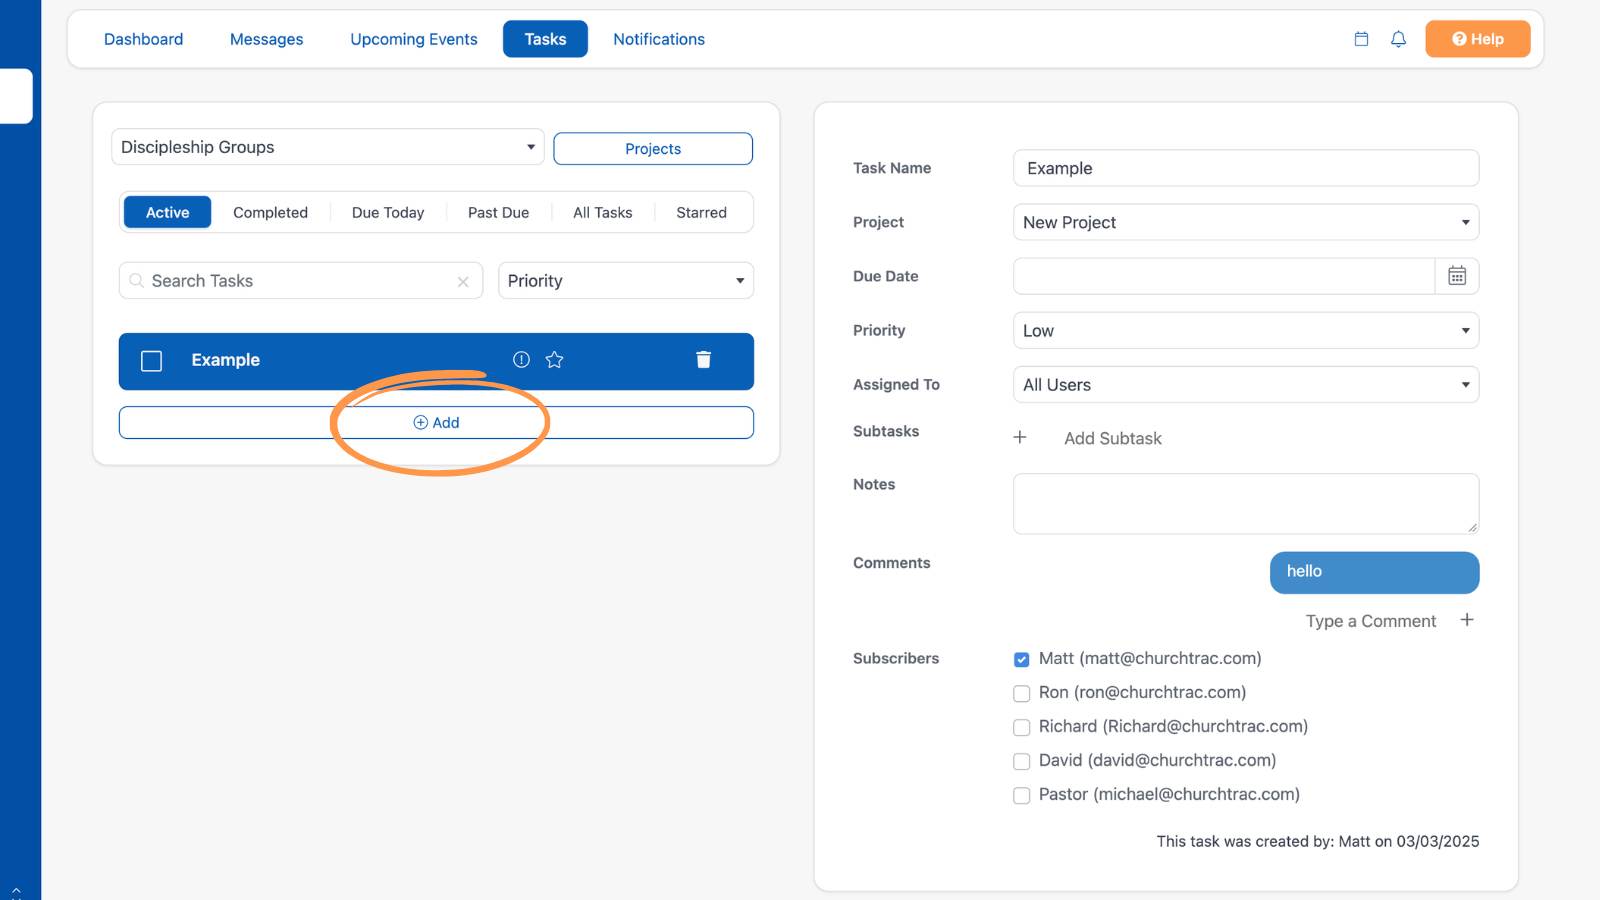
To create a task, select the "Add" button.
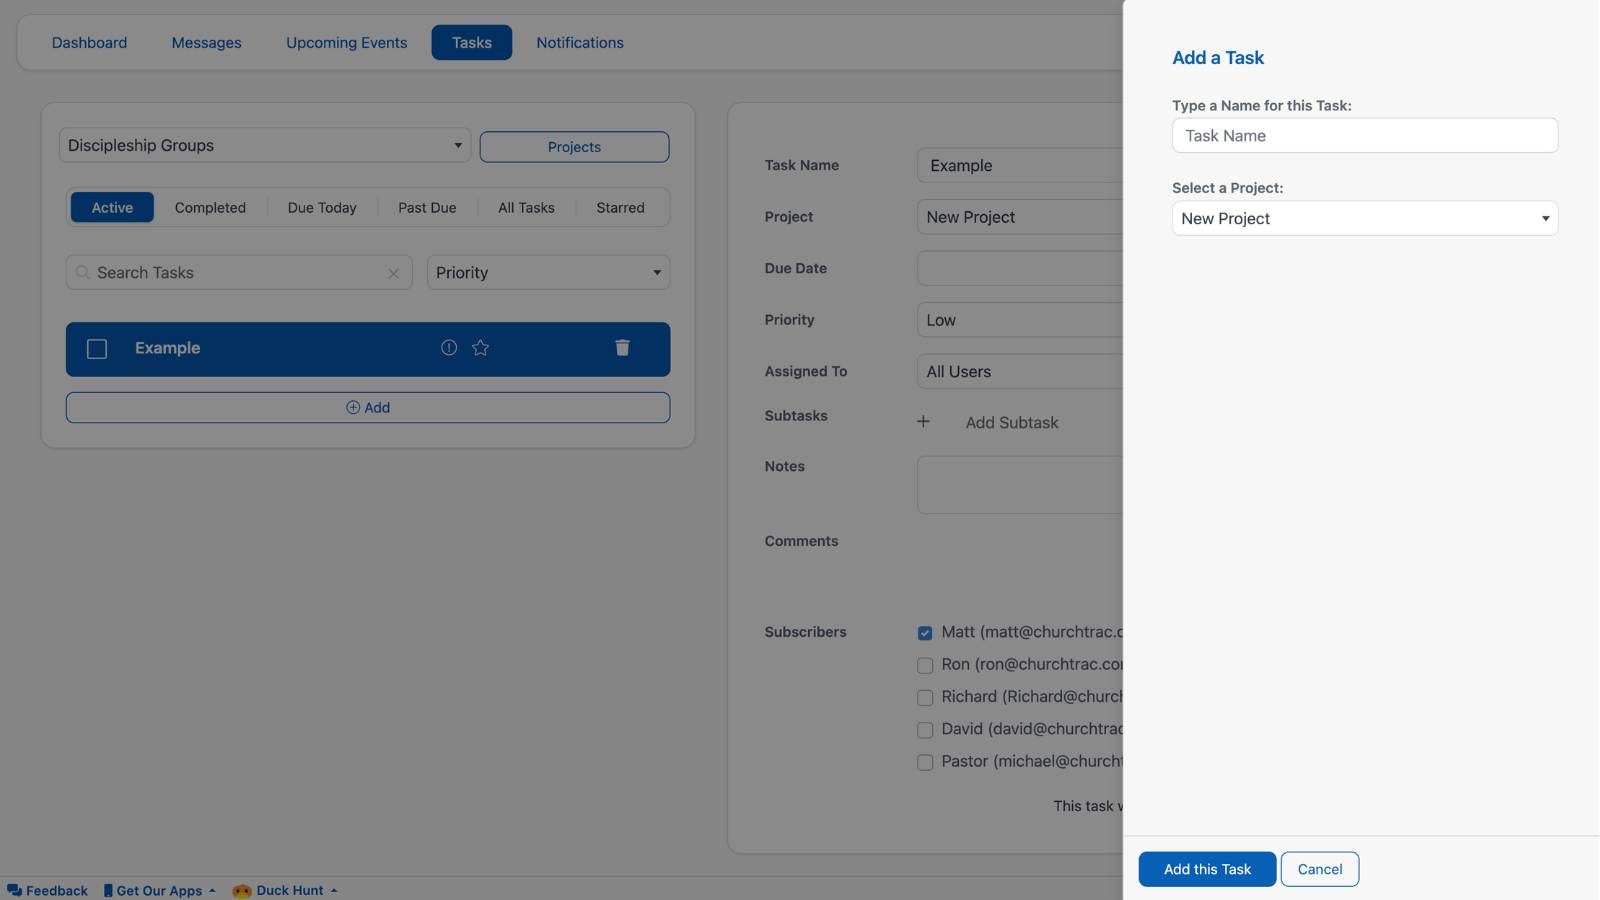
You'll be prompted to name the task and assign it to the project of your choosing.
Using Tasks
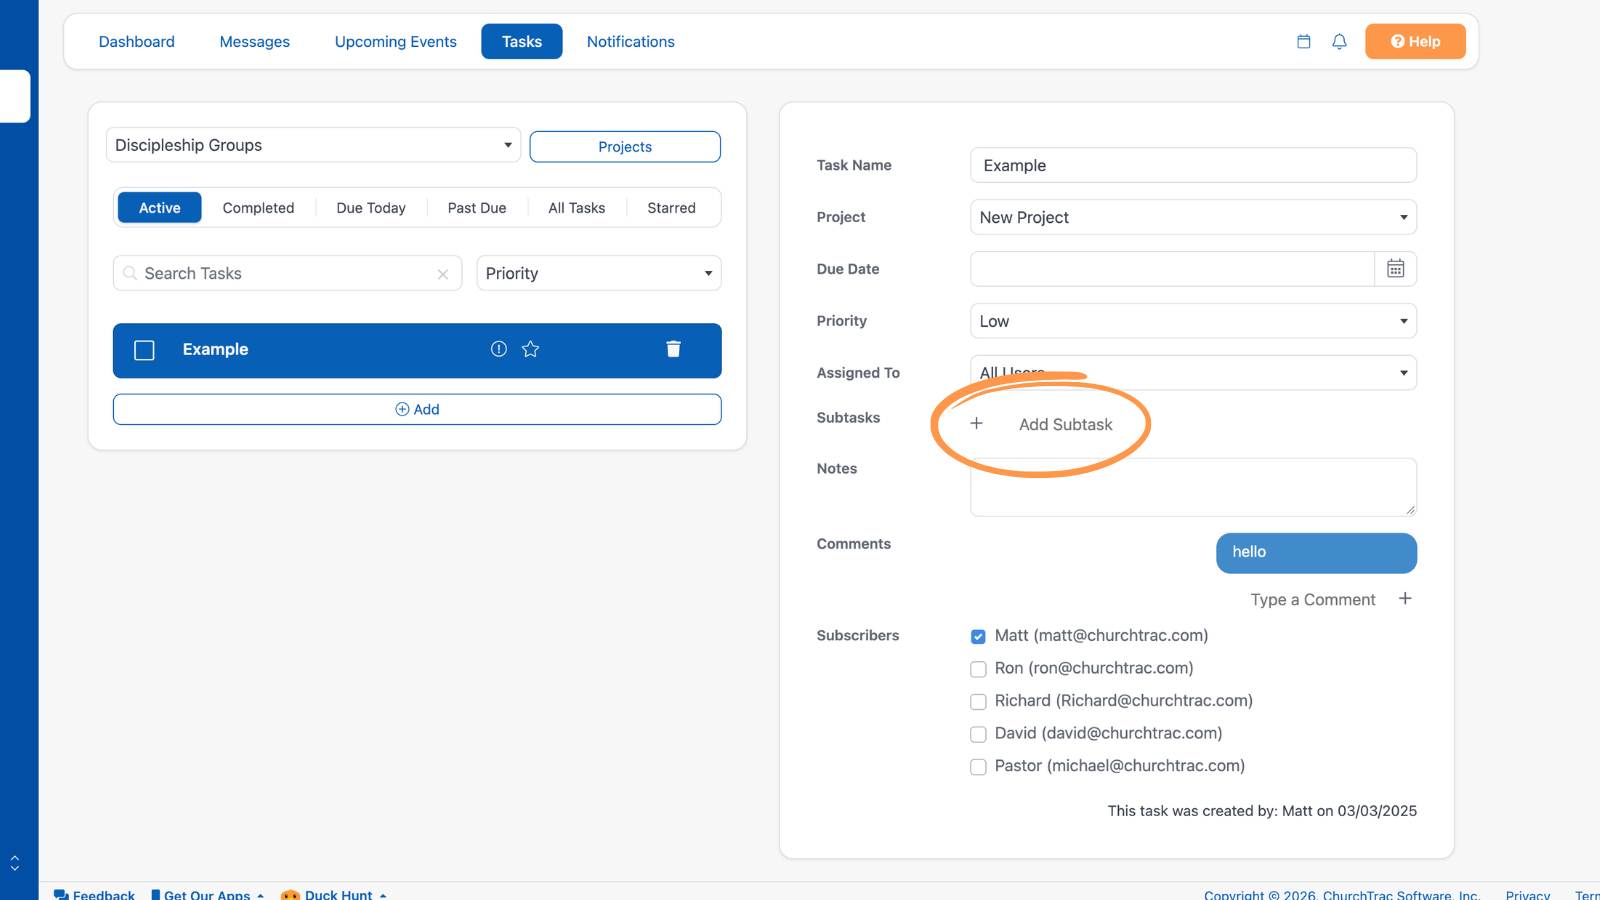
After the task has been created, you can edit it by selecting the task. On task edit, you are given the ability to rename the task, assign it to a different project, mark a due date, set a priority, and assign it to the user of your choosing.
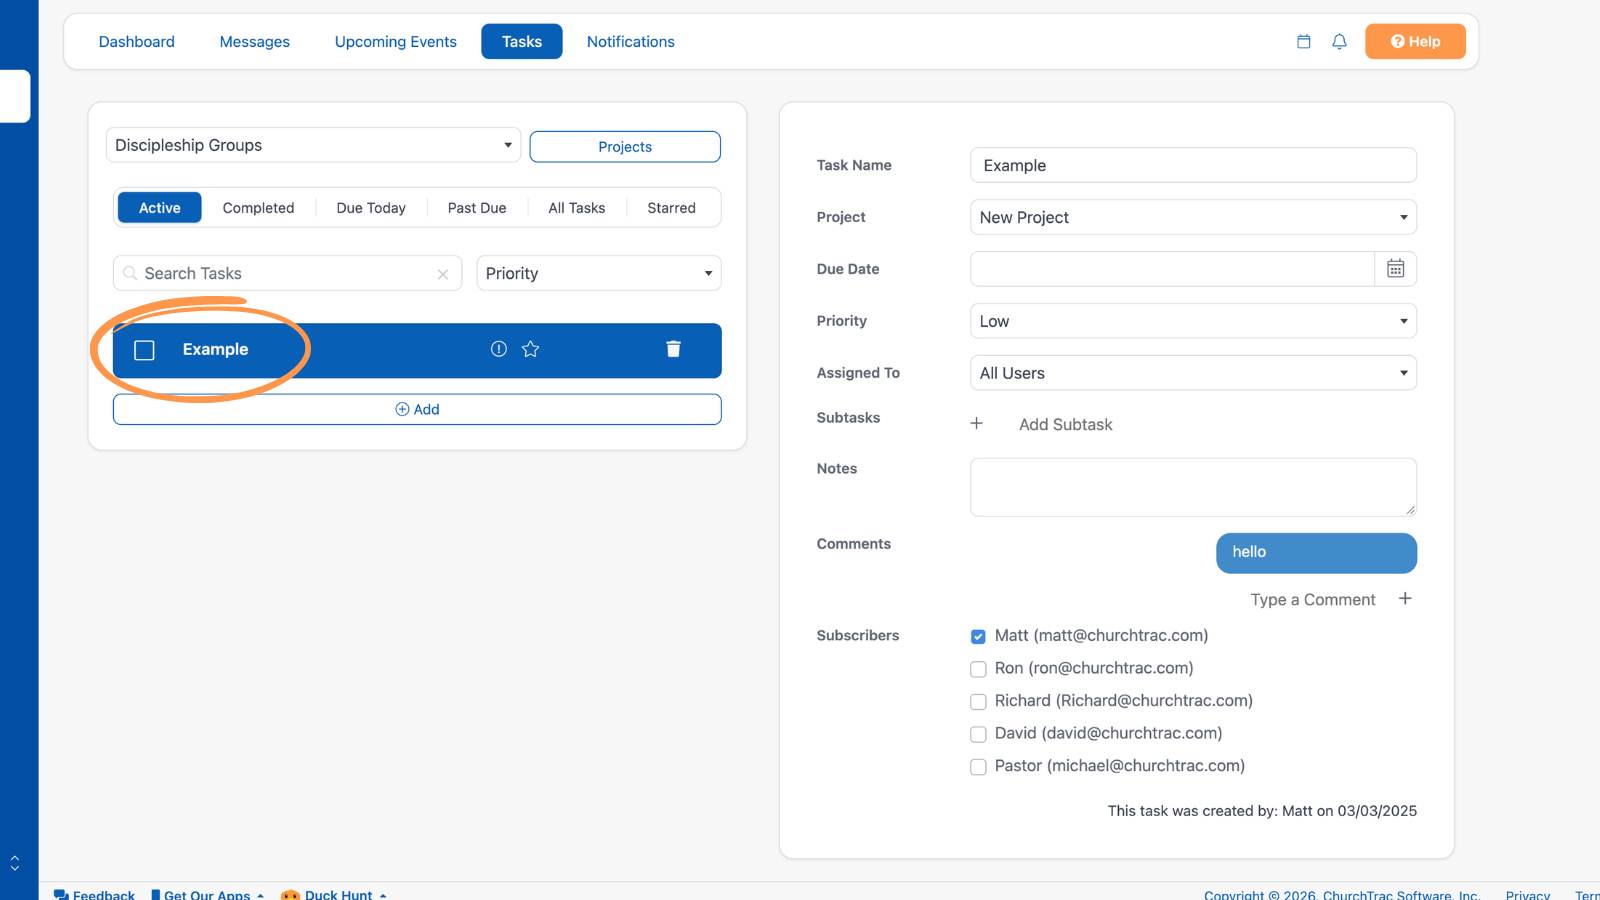
For tasks that are more detailed or require more steps, you can create subtasks that can be individually checked off. There is also a Notes section as well as a Comments section for your entire team to collaborate.